How To Create Faux Patina with Paint…Easy!!
Learn how to create faux patina…the simple way (plus video)! A little softer, more subtle look that’s elegant and easy to achieve.
I’m back again today to share one of two tutorials I promised in this post I shared last week: “How To Paint Light Fixtures (without taking them down!)”
If you missed that post, pop on over and see the tutorial I did in that post for changing the color of your light fixture with paint…and yep, without taking down the fixture. :)
Today I’m sharing how to create faux patinas and on Tuesday I shared >>> How To Create Faux Verdigris.
This process is just slightly different and with one less step.
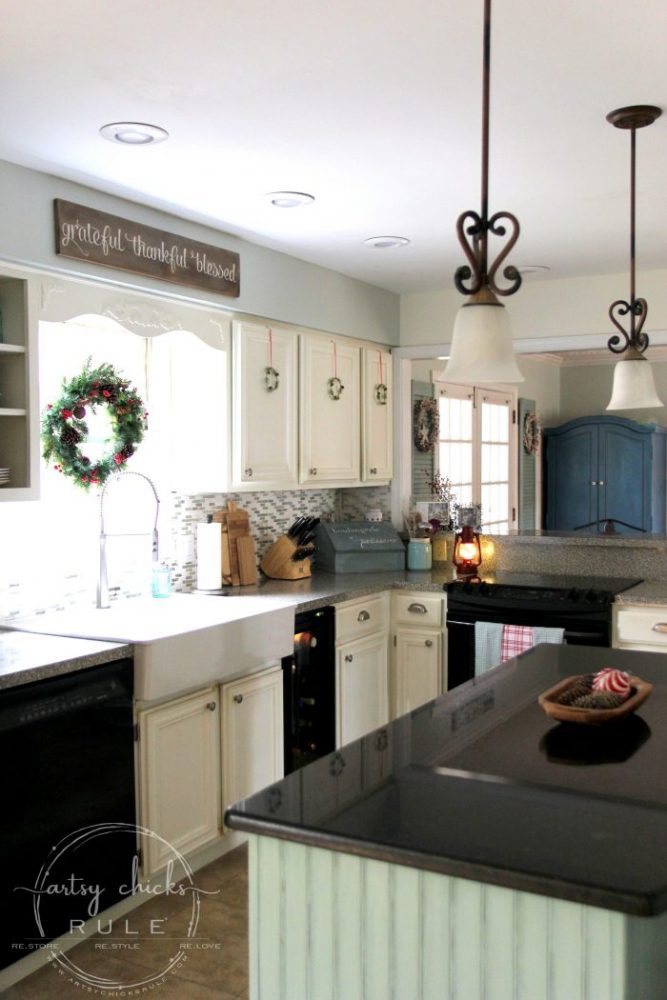
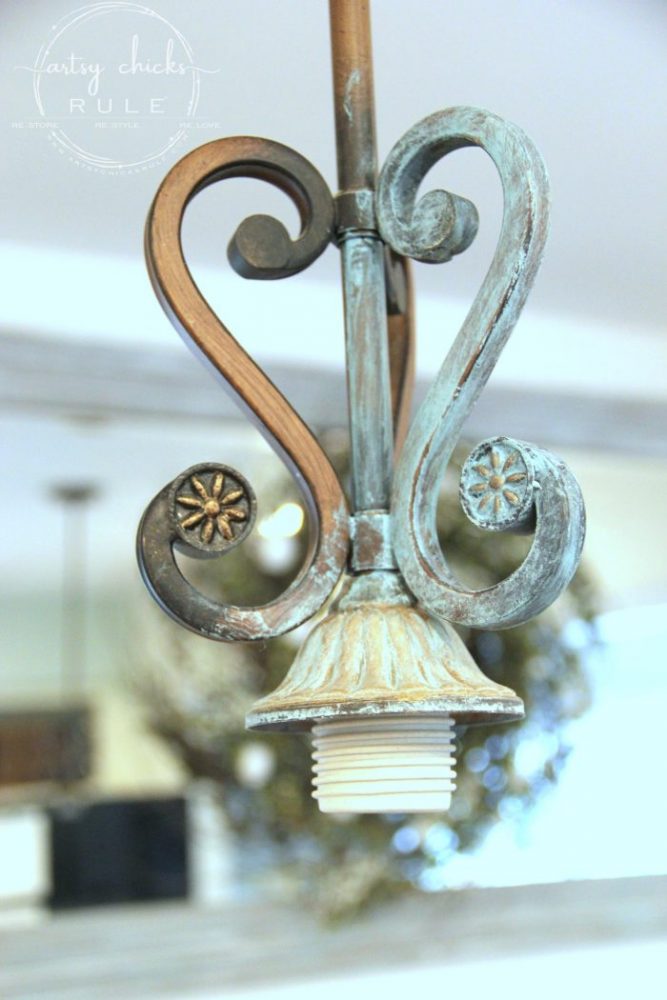
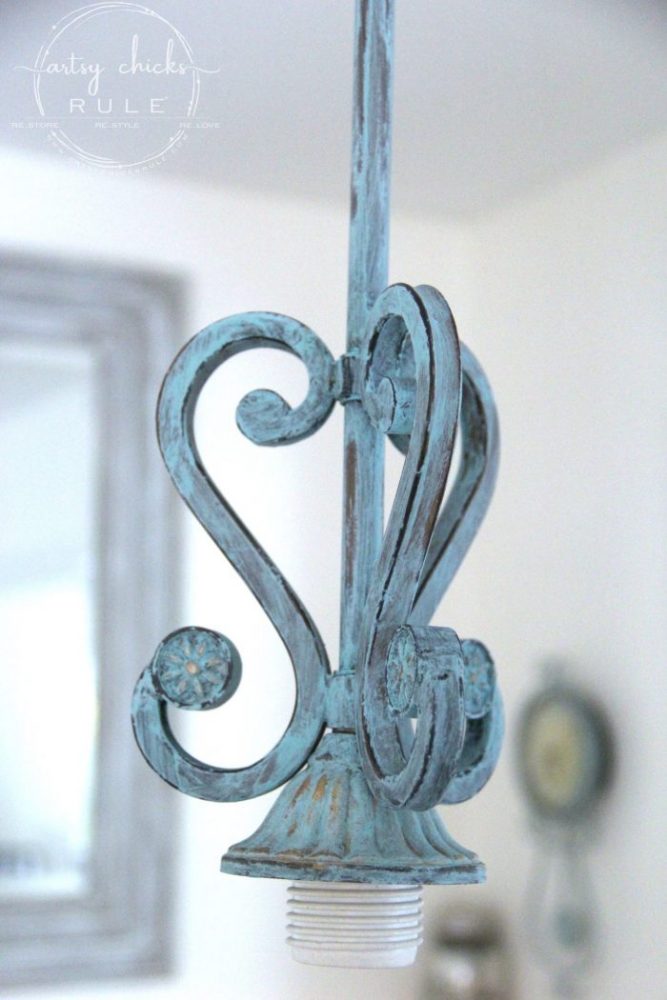
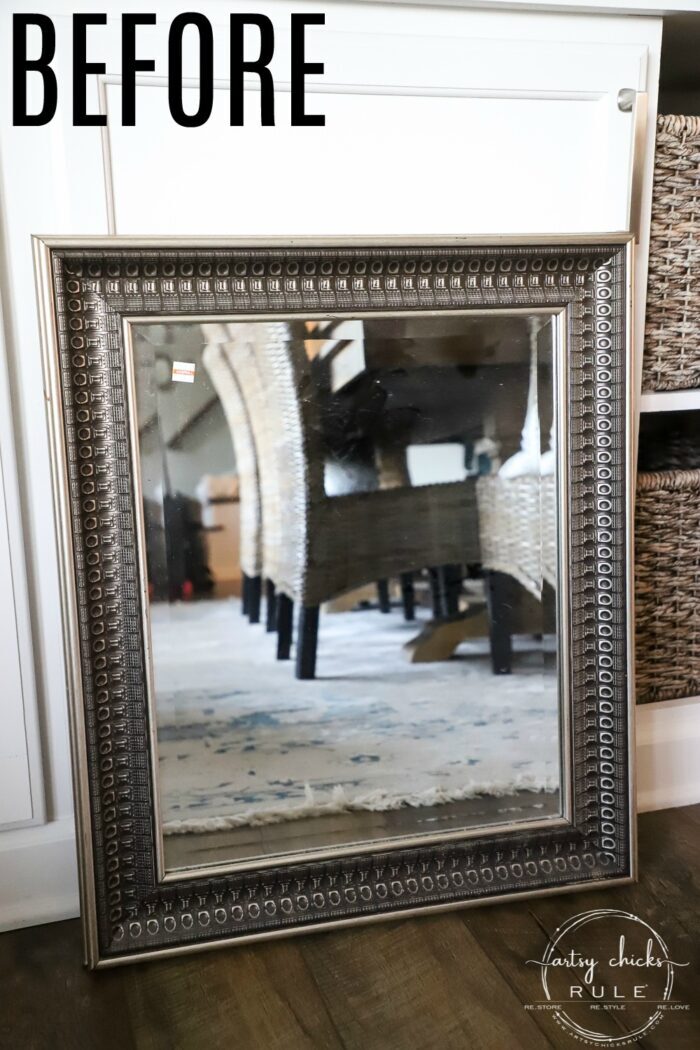
This is how these light fixtures started…..
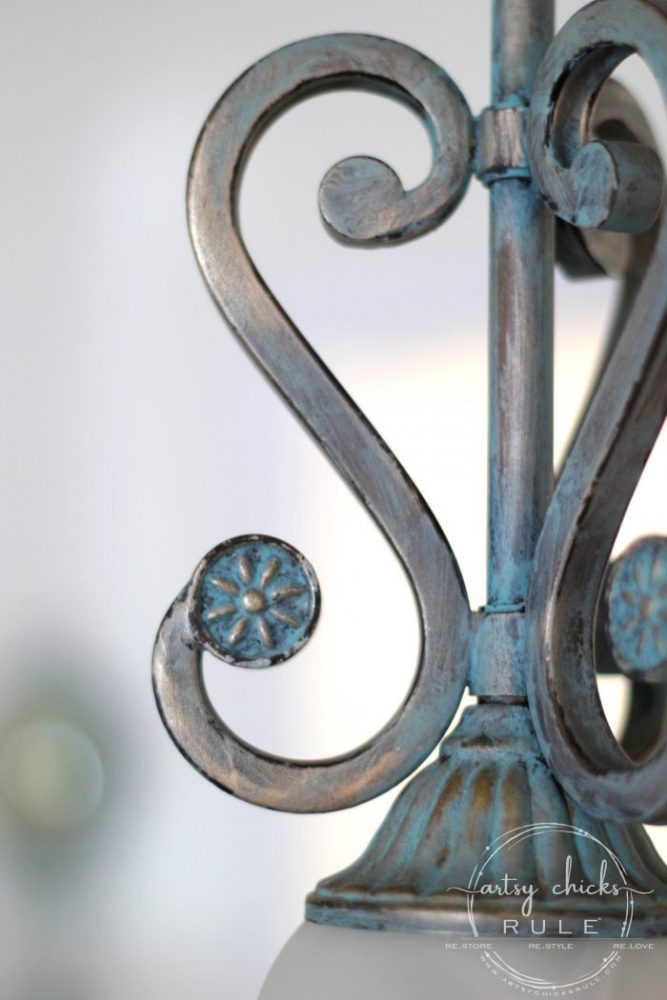
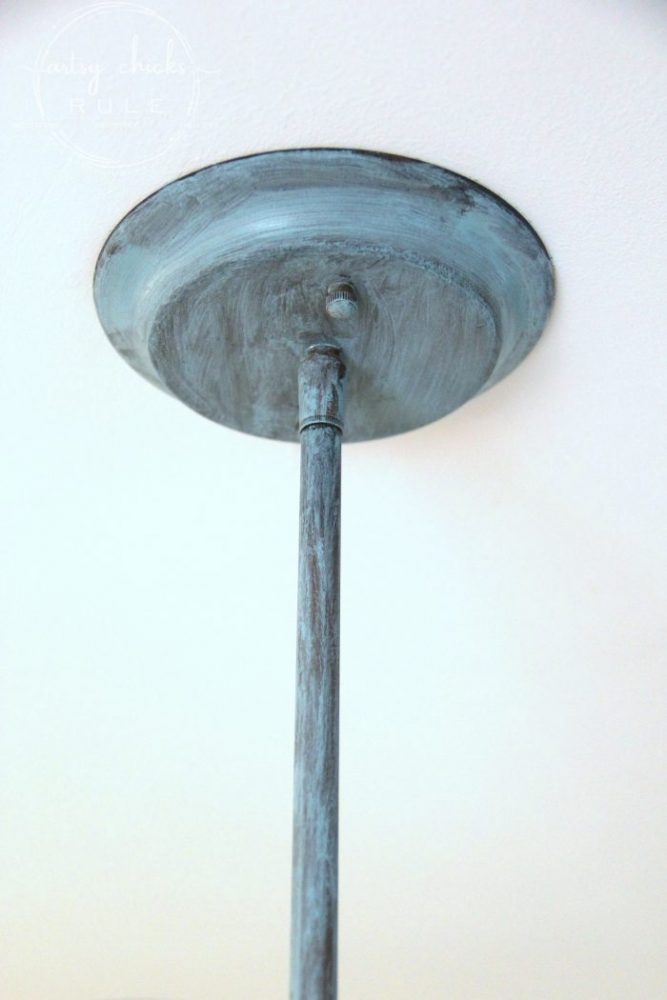
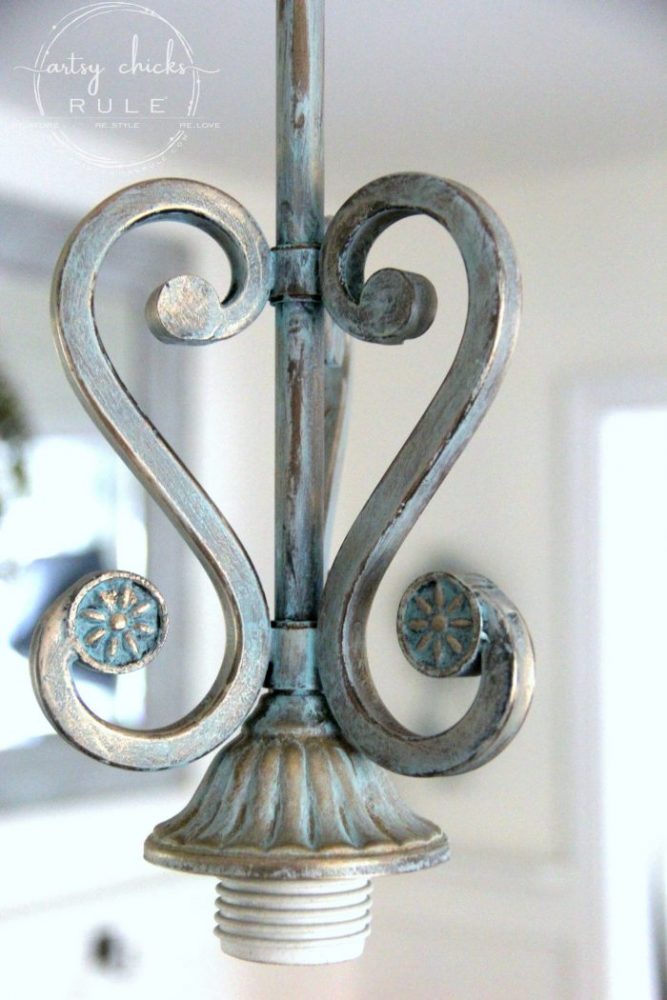
And how it looked after I gave it the faux patina finish…
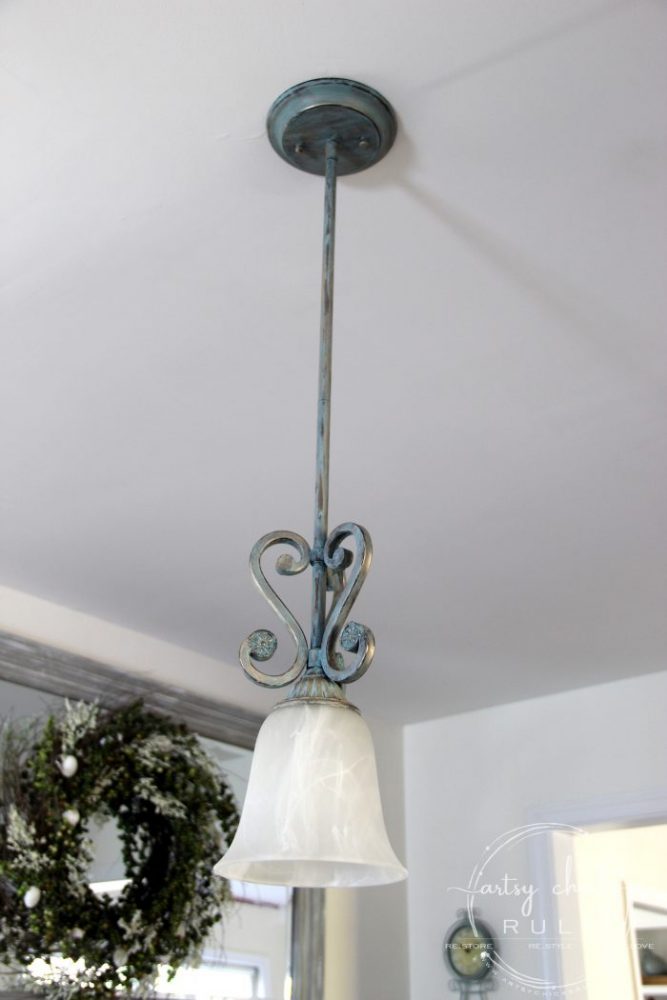
So much fun and really was easy to do.
I’ve created a video on how to create faux patina finish because, as you know, I thought it’d be easier to show you how than tell you how. ;)
But I’ll also give step by step instructions here too.
How to Create Faux Patina Finish:
- If the item you are giving the faux patina finish to is not already a bronze or copper color (or even a dark gold color), you may want to give it a quick spray of Oil Rubbed Bronze or Copper Spray paint. If it happens to be a light fixture like mine that you don’t want to remove from the wall, you can use something like this product to brush on. Or any other liquid-based metallic paint of your choosing.
- For this technique, I used Annie Sloan Chalk Paint in the color Provence.
- Wet an artist’s paintbrush with water before beginning. Then dip just the ends of the bristles into the paint and then wipe some away on a paper towel. Apply liberally but keep in mind you don’t want full coverage so be sure to let some of the bronze show through.
- You can add as little or as much blue as you like. Let this dry.
- Next, using an old t-shirt or rag that is only slightly damp, rub away a bit of the paint to let more of the bronze/copper show through.
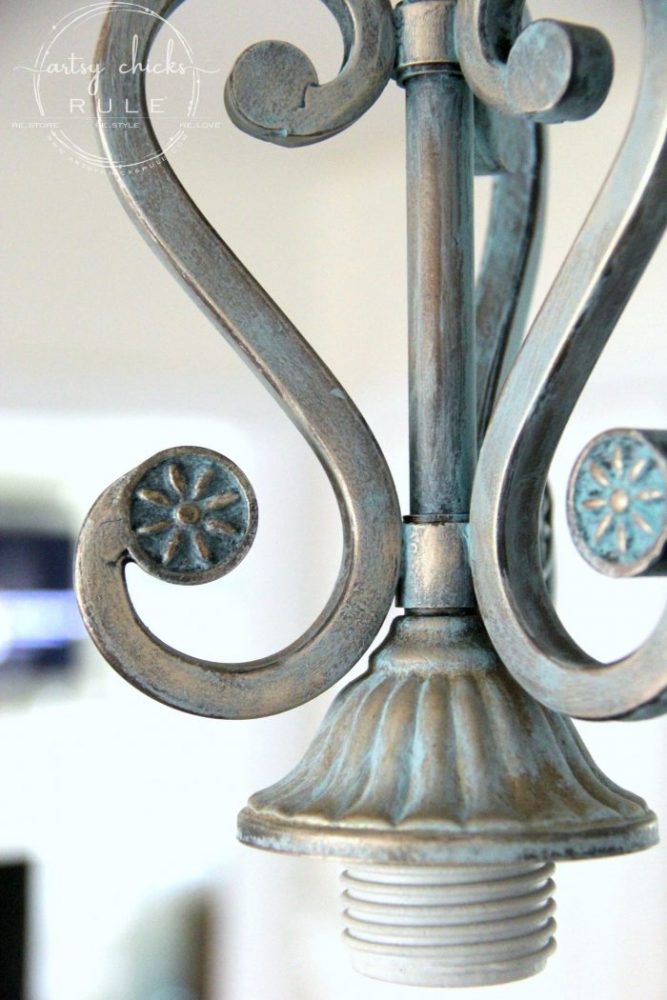
- Now you will apply the finishing touch, Baroque Art Gilder’s Paste Wax.
- Rub your finger into the paste wax until you have a small amount on your finger.
- Now rub your finger over all of the high points on your project or anywhere else you want the gold color.
- Continue applying it until you are satisfied with the look. You can add as little or as much as you like.
- You are done! You can apply a sealer at this point but it’s really not necessary as the paste wax acts as a sealer here. A little finish up buffing might be nice.
NOTE: Keep in mind, this is just a guideline. You can add more Provence blue color or less. You can also use more gold or less. Just decide as you go!
Here are a few photos of the process described above on how to create faux patina finish:
Beginning to paint with the Provence Chalk Paint.
It looks a bit rough, I know, but keep going. ;)
You can see below where I started rubbing back some of the paint to reveal more of the bronze.
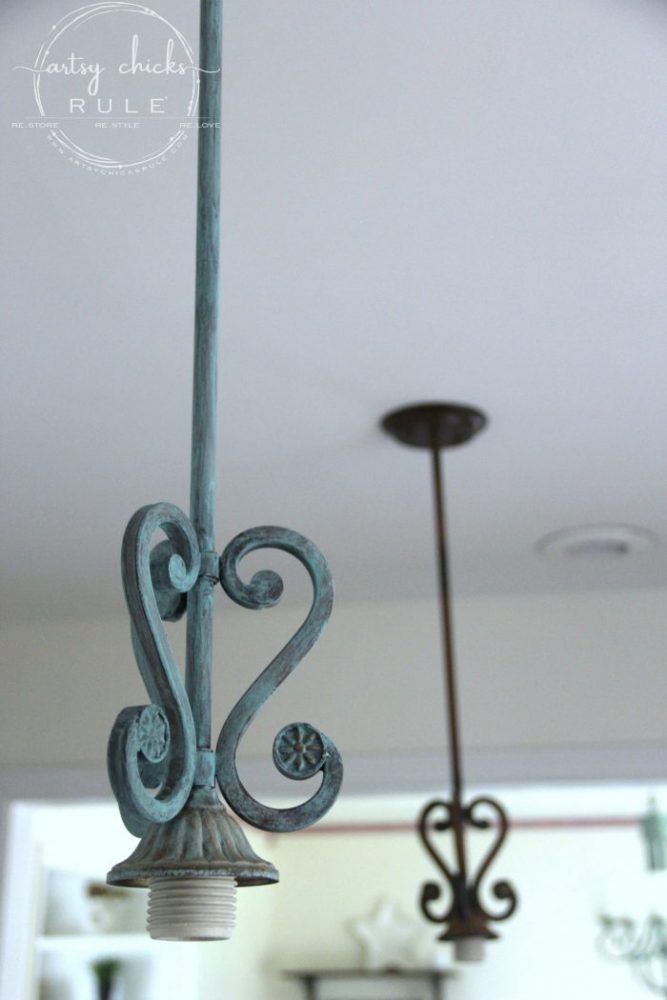
One in the works, one waiting to be beautified…
More “distressing” and waiting for the finishing touches.
Still not looking so hot! ;)
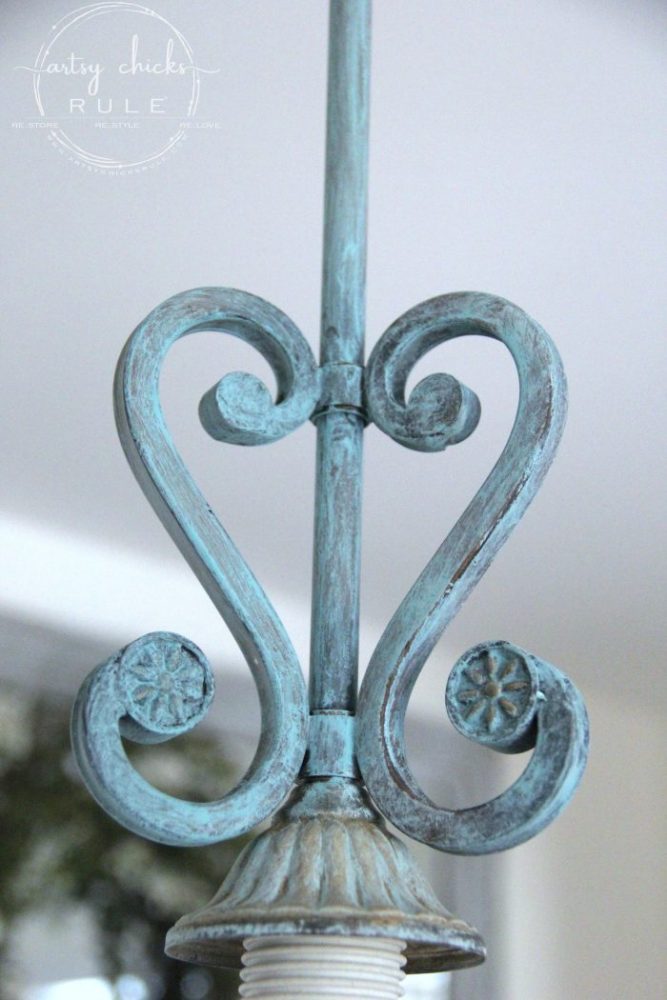
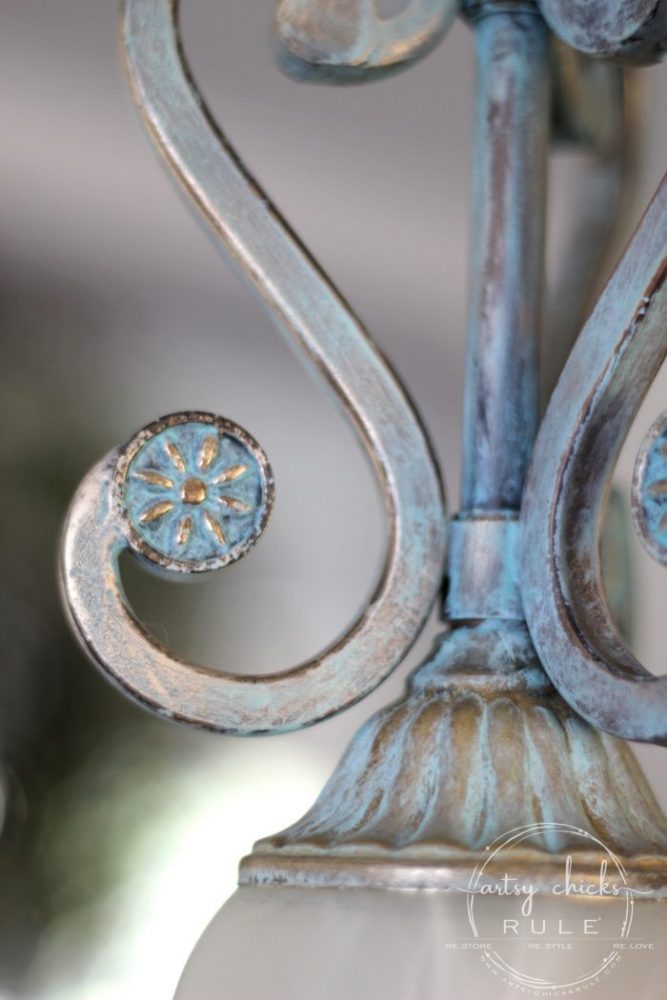
Adding a bit o’ gold….better…
Or magic, as I like to call it. :)
Okay, onto the video.
I told y’all the other day, I’m SO not a pro at this. ;) And I don’t love my voice…or hearing my voice. Lol Nope, but really who does?
And I know there are “ums” and awkward pauses and such but hopefully, this new tutorial will be also easy for you to follow and understand! :)
This faux patina finish is a little less involved than the verdigris one was, but even that one is pretty simple.
The finishes look similar but they are not exact. I think they both have their place.
- If you want a bold look….go with the faux verdigris tutorial.
- If you want a softer, less pronounced look…go with the faux patina tutorial.
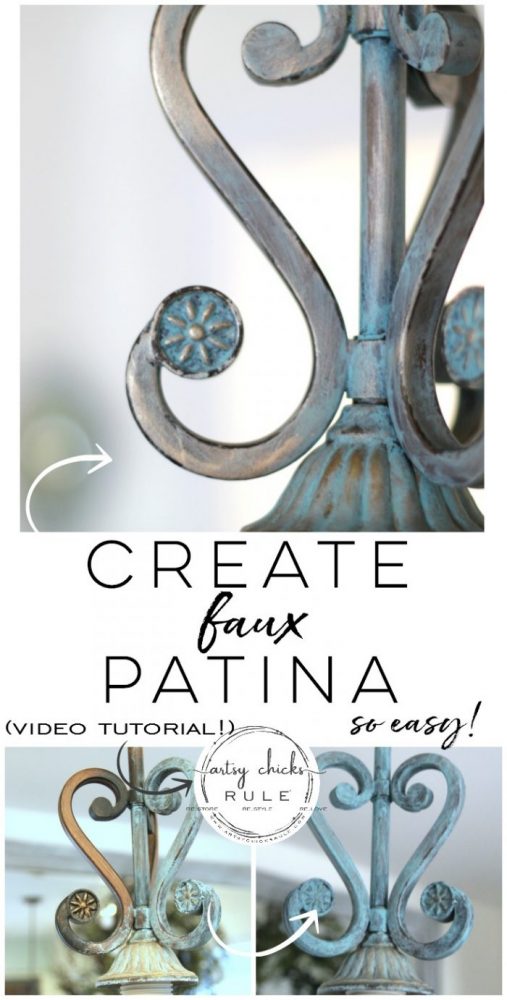
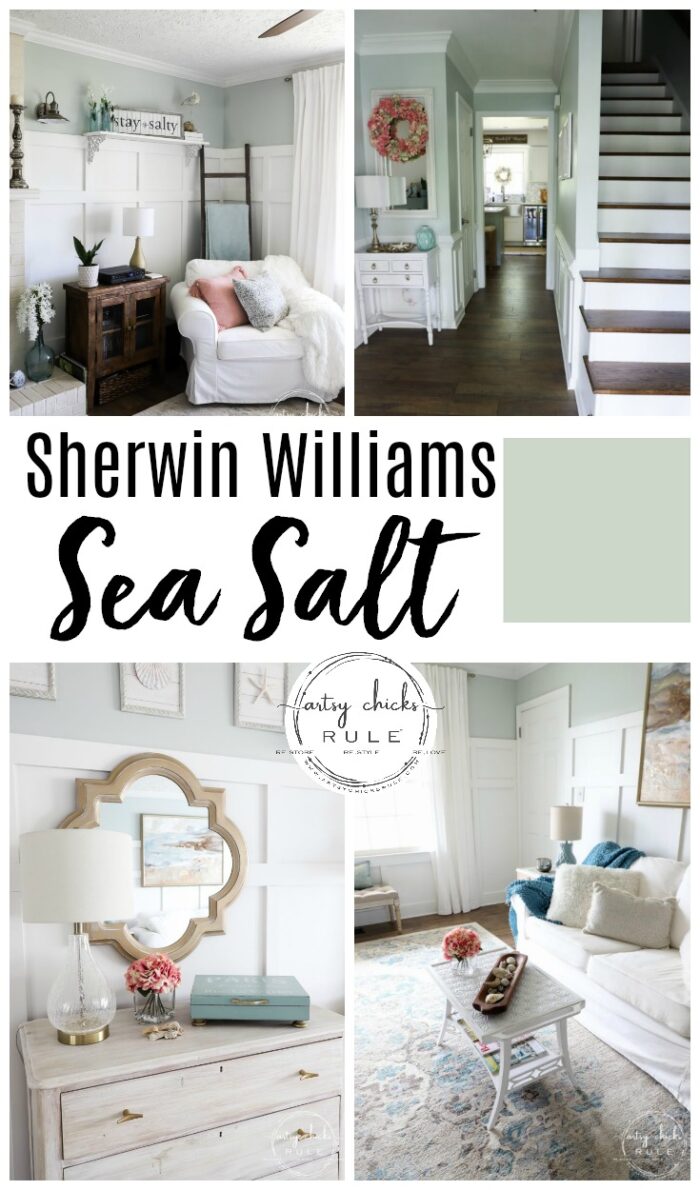
PIN it to save it!
If you have any questions at all, please don’t hesitate to ask in the comments below. (or email, if you prefer)
More posts in the “back to basics” series:
- How To Create Faux Verdigris (and video)
- How To Create Faux Patina (and video) (you are here!)
- How To Dry Brush
- 26 Different Types of Chalk Style Paint
- Pros and Cons of Chalk Paint For Furniture
- 5 Top Ways To Seal Chalk Paint
- How To Chalk Paint Furniture & More!
- How To Transfer Images
- How To Import Images Into Silhouette
- How To Restain Wood Without Stripping
- How To Use Gel Stain
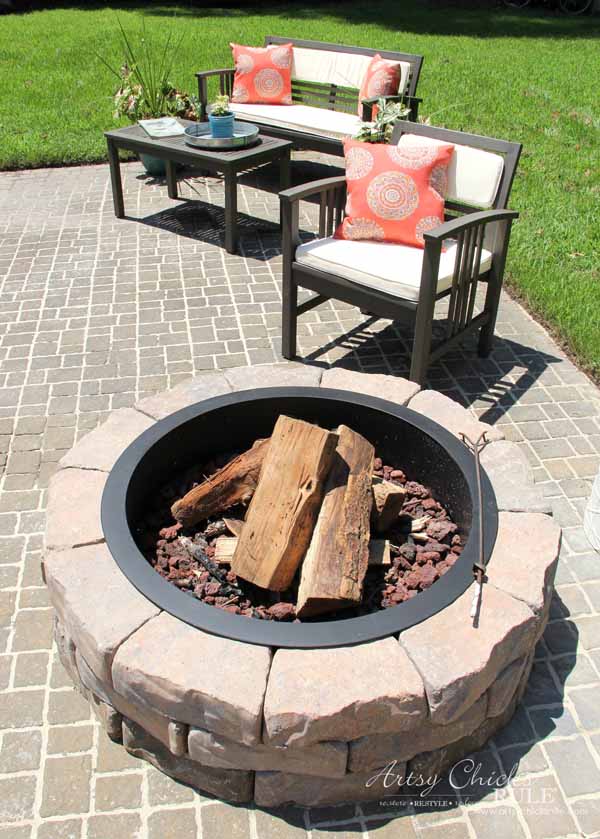
Here’s my latest painted “patina” look project!
See what it looks like now, here!
Hope you have a wonderful spring weekend!


")
")
")
")


Thank you for the fantastic video! This is just the thing I was looking for and can’t wait to try it this weekend.
You are very welcome Susan! So glad it is helpful to you! :) xo
You are so welcome Susan! :) Did you try it? Hope it worked out well for you! xo
Positively beautiful my friend! Great tutorial as well. I’ve saved the products to my wish list.
Thanks so much Christina! :) I’m hoping to do a few more upcoming tutorials (on things I share here on the blog) now that I’ve finally gotten past the apprehension (fear, lol) of doing them. Baby steps. ;) xoxo
Such a great post, and great tutorial! Love finish, and how ‘real’ it looks!
Thanks Julie!! :) This one is probably my favorite! xo
Love all your projects. You give great information for us to follow. When are you going picking again at the thrift shops. You find so many great things to redo. Have watched all of your other videos on the trips you’ve taken more then just once. Hope you ca do some more soon.
Hi Linda! I am so happy you enjoy the projects and find them easy to follow. :) Oh yes, we are hoping to be able to go again soon. It’s definitely been too long! Stay tuned, we will have to come up with something soon. :) xoxo
Help. I’m looking for a book or a list of what patina color to use with what base color. Like if I painted something tan, I can use bronze patina. Or if I painted something turquoise, I could use bronze patina. I would like to have a list of colors and which patina colors could be used over them to highlight raised parts or crevices. Do you have something with that information? Thank you
Hmm, I don’t think I know of any like that, Kathy. I’m sorry! I would say, I think you can use pretty much any one you like though.