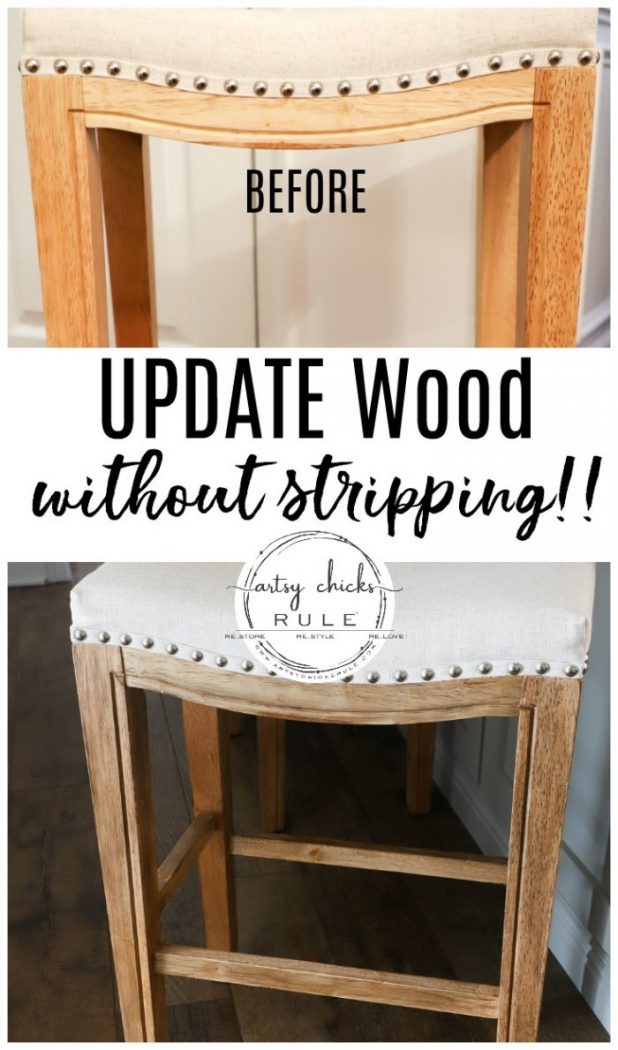
How To Restain Wood Without Stripping (so simple!)
I’m sharing how to restain wood without stripping today! I use a simple product, and a simple process, to do this. Read on!
Hey, hey beautiful friends!
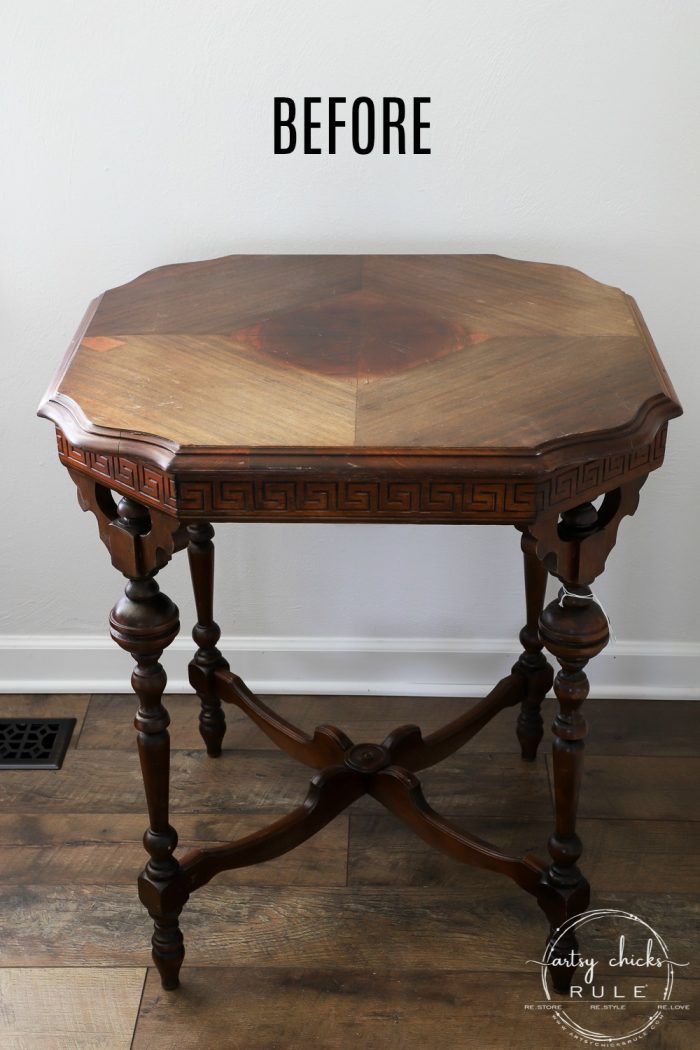
I’ve got a super simple little DIY for you guys today. I had planned to share a brand new (old) piece of furniture that I am giving a makeover to, today.
But sadly, did not get it finished. (I didn’t want to rush it just to post it today) I will be posting it next week, so stay tuned.
Here it is…just to tease you guys a little! ;)

Isn’t it a beauty??
If you follow along with me on Instagram, you probably saw me post about it in my “stories”.
I shared it and asked what you thought I should do about that top (see that odd piece of wood?). Well, a lovely follower over there gave me a great idea.
And I did it! :) I just love you guys. I hope to inspire you with my posts, makeovers, thrifty decor, and tutorials, etc, but guess what….. YOU all inspire me too!
It’s such a giving community, and I just love it.
Okay, so let’s talk about how to restain wood without stripping.
It’s one of my favorite things to do.
Because I’m a lazy crafter. lol
I hate sanding and prepping. I mean who likes doing that?
I just want to get the fun part….painting, making beautiful, etc! And the sanding and stripping are just not fun for me.
Although…I do love to see that gorgeous bare wood that’s revealed after stripping and sanding. Go figure!
But today we are talking about how to restain without stripping.
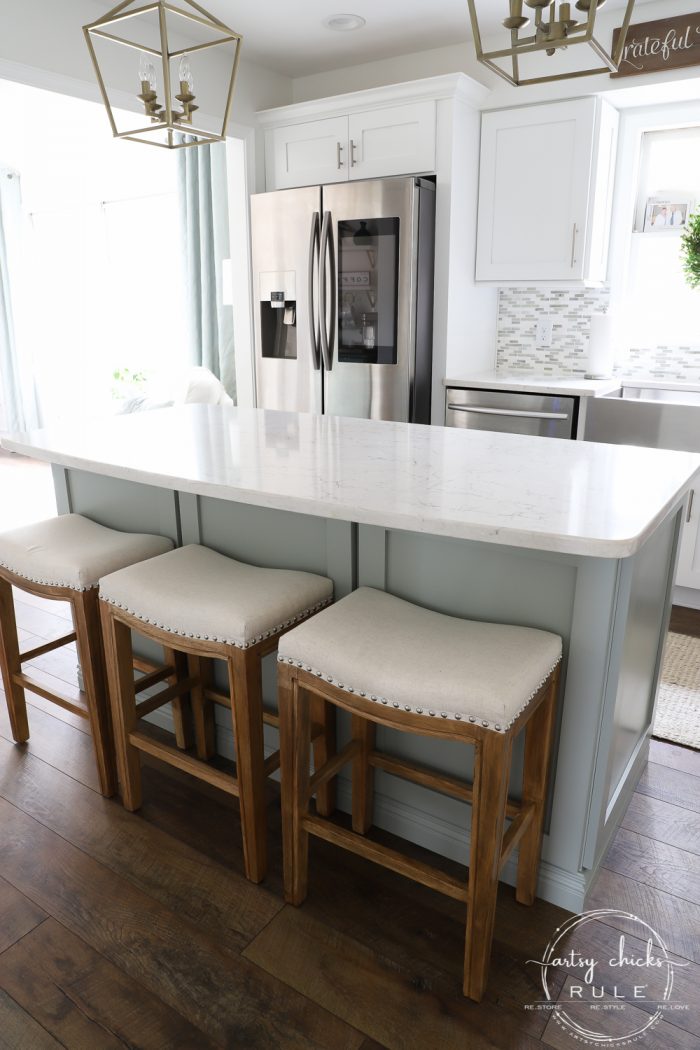
When I shared our recent kitchen reveal you probably saw these bar stools we picked up for the island.
You can see those photos here >>> Coastal Kitchen Remodel Reveal
Except they didn’t look like that in those photos.
I paired them with our newly renovated kitchen island. (that we made with big box store cabinets)
You can see that here >>> DIY Kitchen Island
OH!! And pop back over there because I found 2 photos on my phone that show how we did the backside of the island.
Duh, I thought I had taken photos of that but since I did it on my phone, instead of my camera, I missed them.
Anyway, go check it out if you are interested in seeing those.
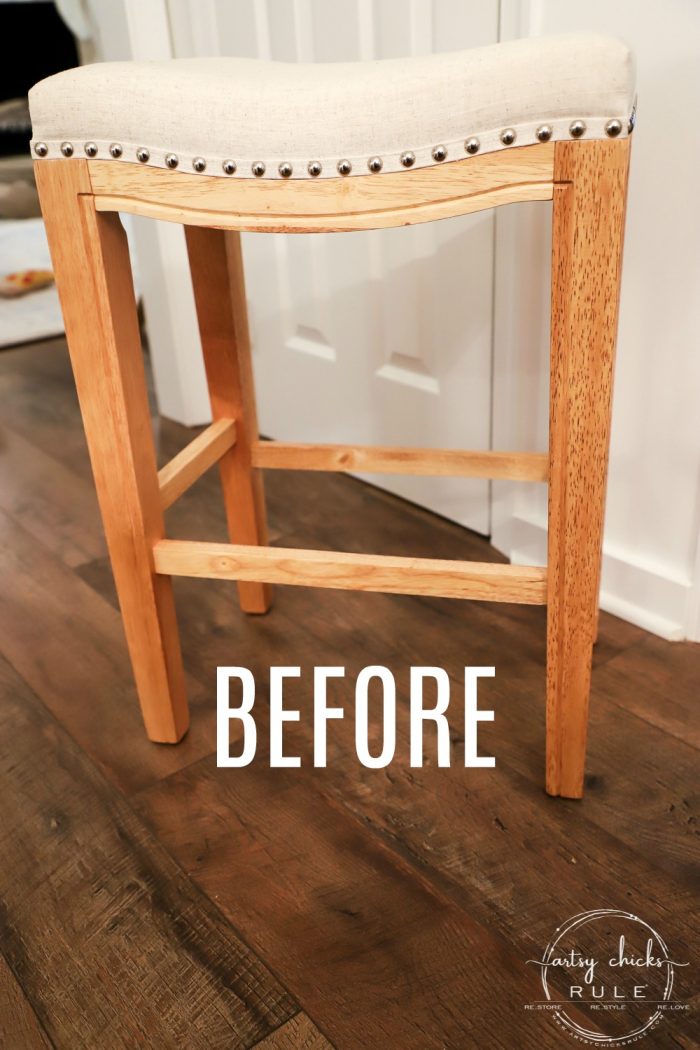
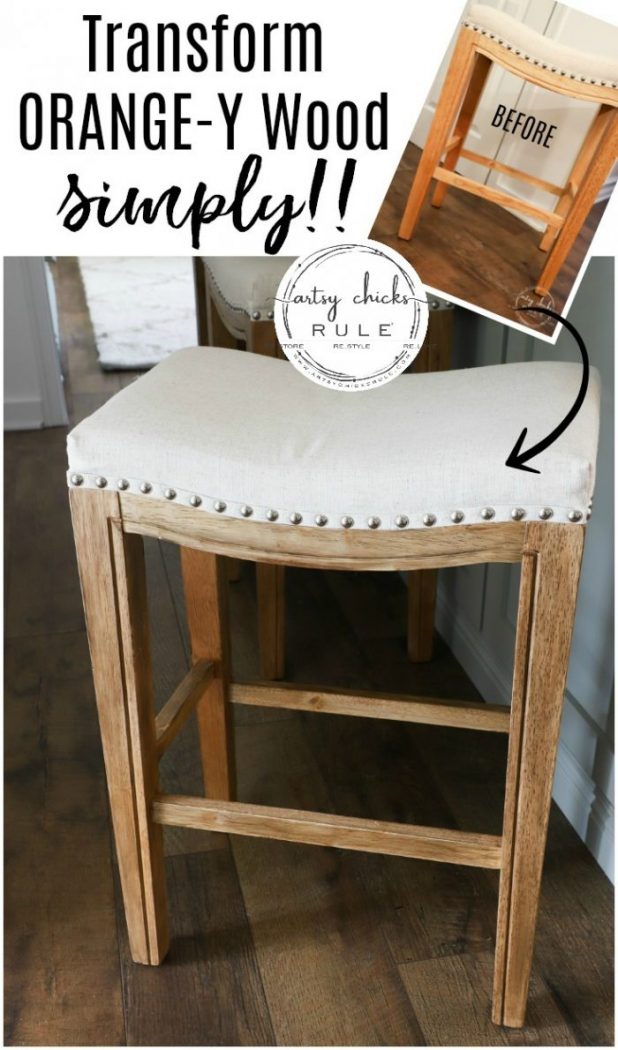
See how orange-y these barstools are???
Not exactly the look I was going for and they don’t look that great with our new flooring either.
BUT the style…. perfect.
I had searched (and searched) for bar stools I liked but couldn’t find any anywhere.
I absolutely loved the style of these, the ivory upholstered top, nailhead trim…all exactly what I was looking for.
So what’s a girl to do??
Well, this girl buys them anyway knowing she will have to give them a quick update once they get here.

Because that color will just not do. And giving things makeovers is what I do, so…
Interested in these barstools? Let me first tell you where I got them >>> here.
MATERIALS LIST
So when they came in, I pulled out my trusty PolyShades and got to work. (I have no photos of this as it was during my rush to finish in time for Christmas…along with everything else we were rushing to finish around here…sorry!)
But, it’s simply applying with a brush. (or a foam brush works good too)
(Want to see even more of my favorite furniture makeover supplies??? Take a look at my very own curated shop, here!)
TIP – Use a good brush or foam brush, a light hand with enough product that it doesn’t “pull” and “drag”. It will settle nicely as long as you’ve used enough product.
Too little and it can look splotchy. However, too much and it can look heavy, thick and cover up any graining you have. It’s best to practice on a scrap piece of wood so you can get a feel for the product first.
Here is the exact >>> color I used for this project if you want to recreate it.
And as you know, this is how they turned out.
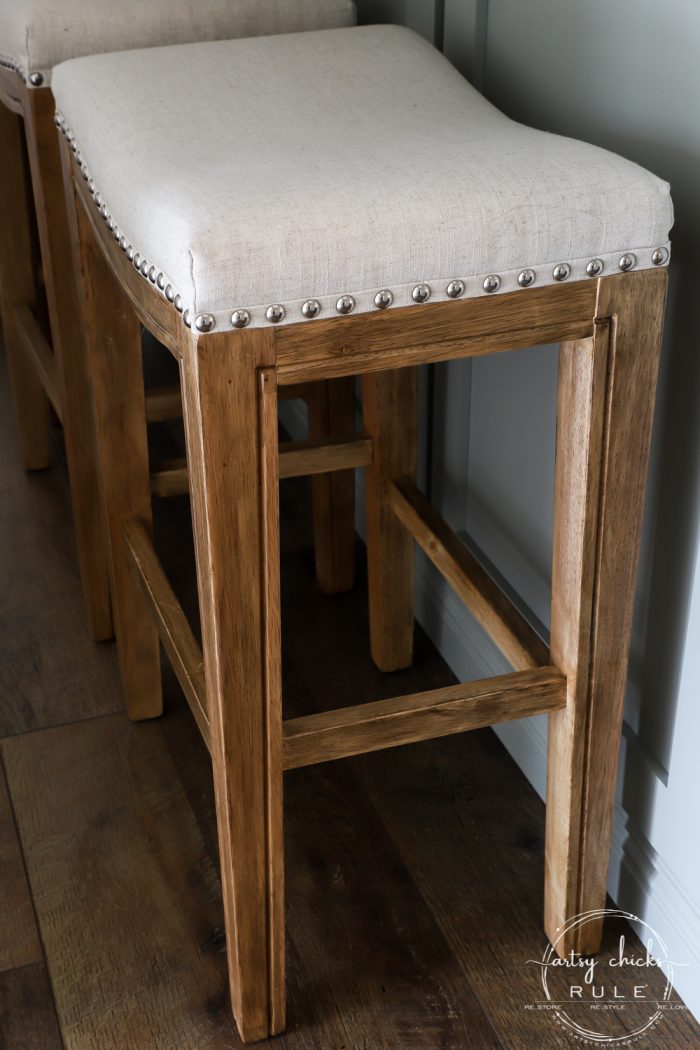
SO much better.
And they look much nicer with the flooring without clashing with it.
This is the exact time I’d use a product like this instead of sanding and stripping down the wood.
I don’t recommend this product for every makeover project, but when you have something small like this that needs a quick little update, this is perfect.
But just to be clear, I did very lightly sand 1 of them…and then forgot to sand the other 2 (remember…I was frantically trying to finish up things before the holidays, lol) I just got on a roll! I should’ve lightly sanded them all but they are honestly are all good to go.
All 3 are hard and have not scratched one bit. (I tested because I realized…oops…didn’t do the light sand on the remaining 3)
Now, here’s the thing, you don’t always have to sand.
It really depends on the finish you start with. This finish actually happened to be less “shiny” and more matte.
I think that is why I had no issues.
Overall I would recommend doing a very light sand (and I do mean light with a very fine sandpaper).
Be sure to wipe away all of the dust before you begin. And always clean well. That goes without saying.
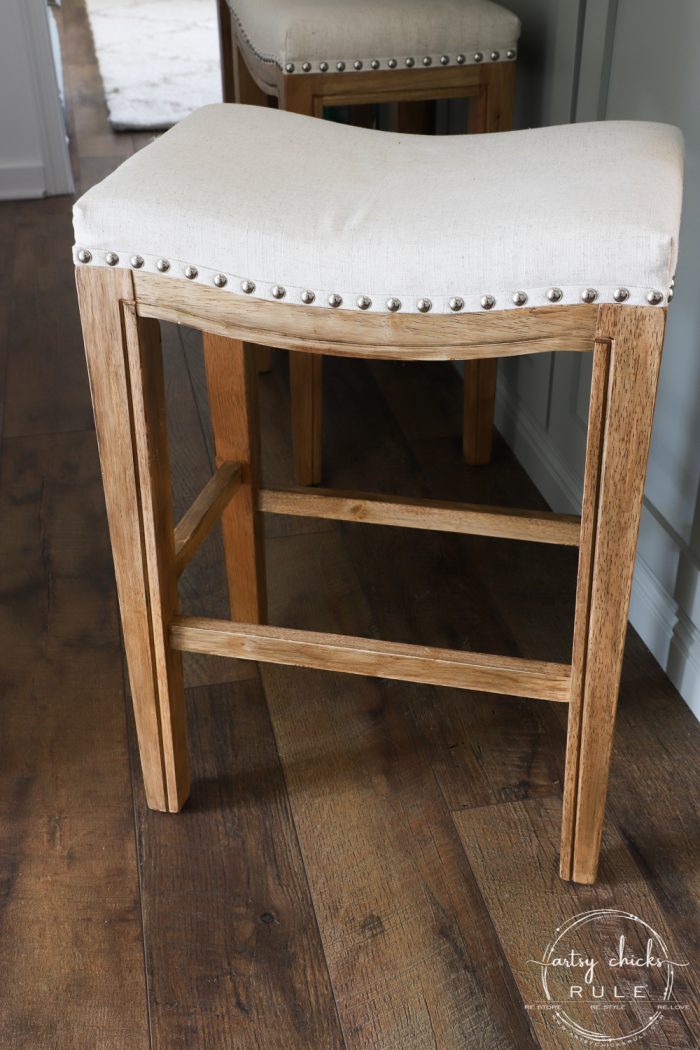
I think they look so much better and it truly was an easy update.
I’m so happy with them.
And like I’ve said many times before if you find something you love and it’s just not right, or the right color, etc, bring it home anyway.
Then give it a little mini makeover..and voila!, your perfect, new loved piece.
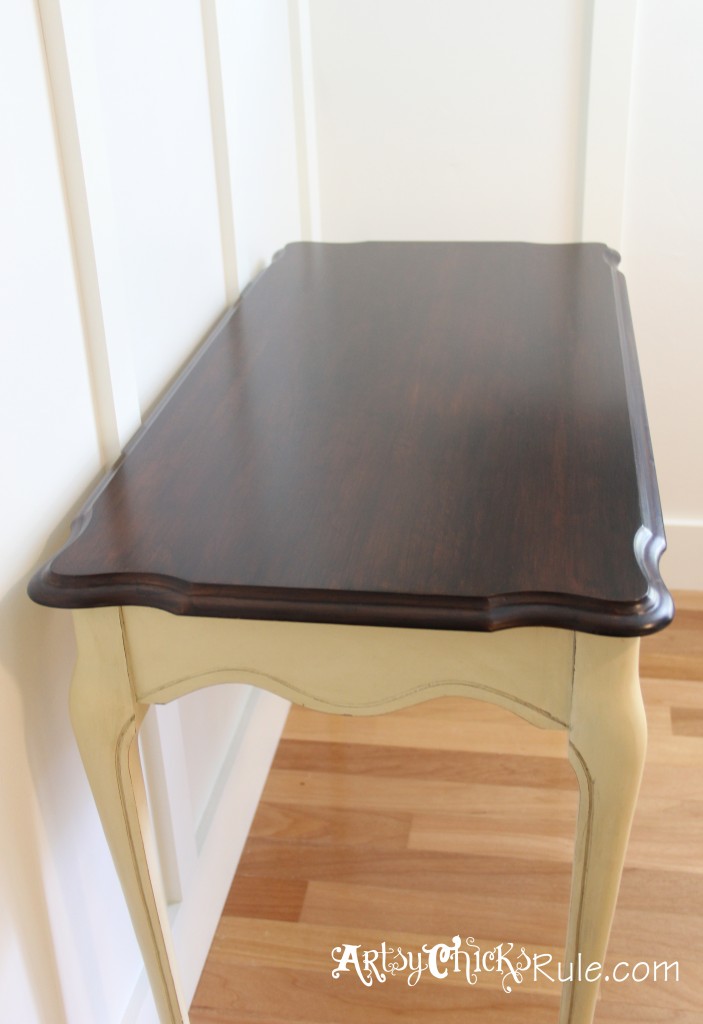
I did that same exact thing with our coffee table in our morning room….and our table in the foyer.
Here are a few other projects I’ve used this product with:
Some of my first projects with this product in this post.
See them all >>> here.
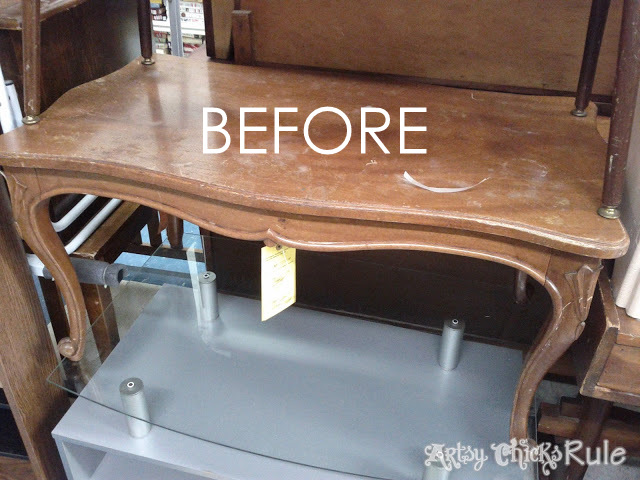
Another favorite and early one on this $5 thrift store coffee table!
Details >>> here.
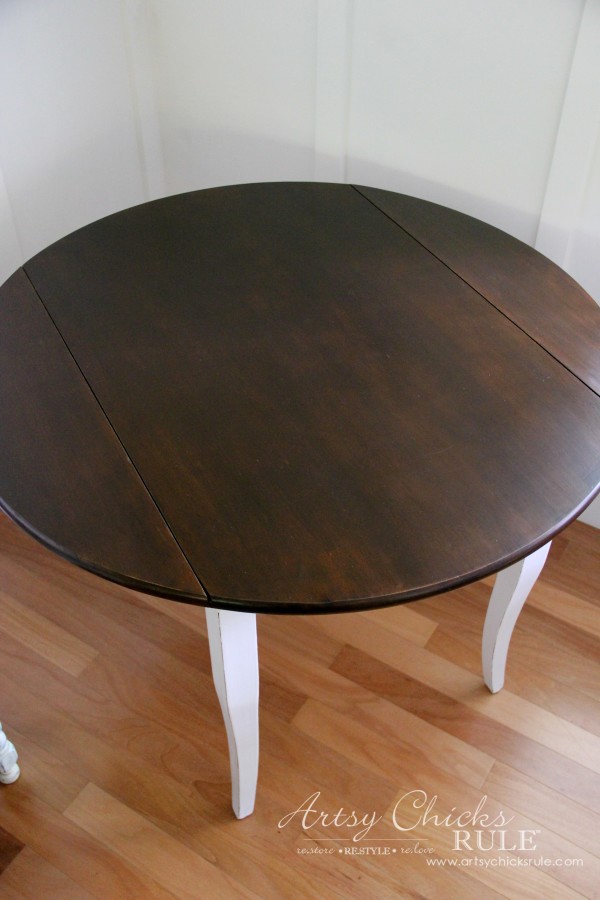
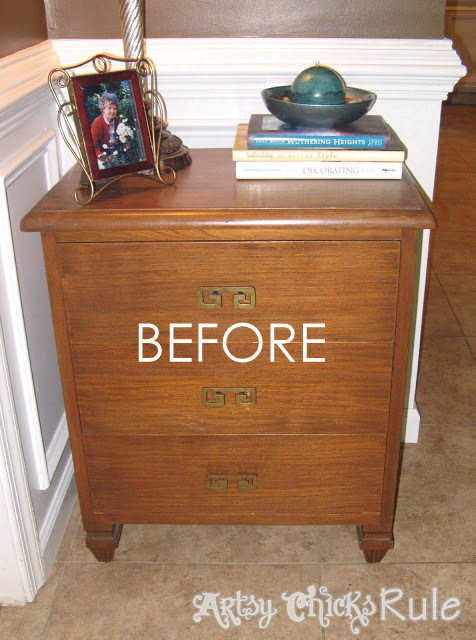
This old table got a brand new look…with paint and PolyShades.
See what it looked like “before”>>> here.
Check out what this one looked like “before”>>> here!
Totally different!
And edited to show how I even updated our stairs this way too…
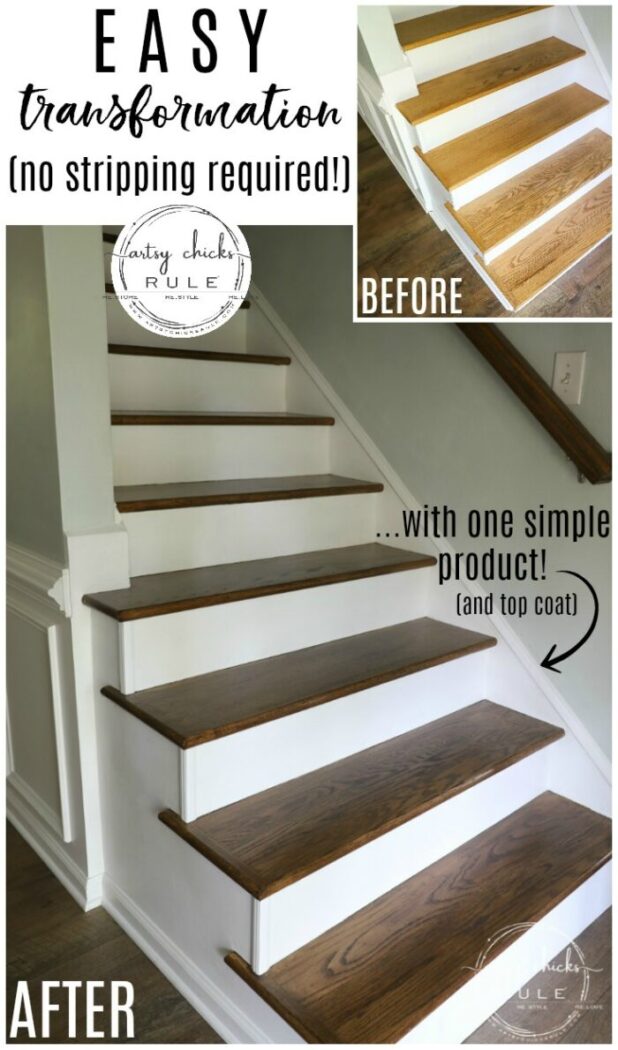
Hop on over here to read more about it!
……………………………………………………………………………………
So, as you can see, this is a nice workaround from sanding and stripping.
Less work with optimal results is always a good thing, right?
As I mentioned, I don’t recommend this for every project but it is a great one for many!
I do have some other products that are equally simple to update old stain with…just differently.
I’ll be sharing more on that in another post soon. (UPDATE!! See that post now, here.)
It’s good to have lots of makeover options in your arsenal. Options are good….and fun.
I hope you enjoyed learning more about how to restain wood without stripping.
PIN it to save it!
I’ll see you back here on Thursday with all the info on how we built out our deep, custom look crown molding in the foyer.
(UPDATE!! See it now, here)
More posts in the “back to basics” series:
- How To Create Faux Verdigris (and video)
- How To Create Faux Patina (and video)
- How To Dry Brush
- 26 Different Types of Chalk Style Paint
- Pros and Cons of Chalk Paint For Furniture
- 5 Top Ways To Seal Chalk Paint
- How To Chalk Paint Furniture & More!
- How To Transfer Images
- How To Import Images Into Silhouette
- How To Restain Wood Without Stripping(you are here!)
- How To Use Gel Stain
I’m also be sharing this brand new makeover. Be sure to stop back by to see it. :)
UPDATE!! See it now, here!!
See you then!
xoxo


")


 Posts For 2020")
")
")


Positively brilliant Nancy! Love the color and the poly stain looks wonderful. Saved it to my wish list.
Aw thanks Christina! :) xoxo
That worked wonders!! they look SO good now!! XOXO
It really did! Thanks, Christy!! :) xoxo
Looks great! I have some orangey kitchen cabinets . Would you suggest this product for cabinets?
Thanks, Mindy! I have seen some use it on cabinets, I haven’t personally but it certainly can be, yes! I would suggest playing around with and testing on other items first, though. You really want to get a good feel for the product and even the color you are using, how it covers, how it applies, etc. :) xo
Do you think that it would be possible to restain a darker wood with a lighter poly stain? I have a dark stained laundry hamper my uncle built years ago but the finish is too dark for my new furniture.
Unfortunately no, you must remove the darker stain by sanding/using a stripper first. You can paint over top and give it a faux weathered, with would be “lighter”, finish but not with stain.
Thanks for sharing this! I have a beautiful jelly cupboard my husband built for me when we were first married 25 years ago, and I love it so much, except it is stained a orangey honey color (it is pine) that was popular in country decor back then and clashes with my current kitchen cabinets which are more of a dark oak color. I know the grain is very different, but I think I could at least get it to a color that blends better with my cabinets, as I don’t want to paint it. After looking at the colors, I’m not sure which choice would be best, but I guess I can test it on the back of the cupboard. I would assume the existing color underneath affects the new color it to some degree.
OH yes!! I remember those days…and decor! I had all the country goodness when my husband and I were first married, too. Yes, I think you absolutely can get the pine closer to the color of your cabinets. You can definitely get rid of the orange-y color, for sure. And yes, testing on the back is a great idea as the color underneath will affect the finished look with this. Good luck and have fun with it! :) xo
A wonderful improvement !
Is polyshades like gel stain….? Did you need to remove the upholstery before staining ?
Thanks for all your inspirations. ;)
Thank you, Phyllis! :) No, it’s actually a stain and poly in one. And nope, I sure didn’t! I just very carefully applied the PolyShades around it. xo
I may have to try this product sometime! I always like what you present!
Aw, thanks Rose!! And yes, do!! :) xo
I love the Minwax products!
Yes, lots of good ones!! :) xo
I love using Polyshades over wood that as an intact topcoat. I’ve used it over glossy and matte topcoats with great success. Over raw wood, I get splotchiness but I love it over sealed wood. I usually apply it with a blue paper shop towel. I dip it into the van of Polyshades and wipe it on. I always, miraculously, get a beautiful even coat. I can adjust the darkness and depth easily that way. Thank you for showing off one of my favorite, easy staining products! Your work is gorgeous and the stools are now fabulous!
Thanks for that comment. I followed this link from Pinterest because I’m moving into my grandparents’ 1958 home which has orangey cabinets AND paneling in the kitchen and dining room, and a friend of my dad’s did a lot of updating and applied a glossy topcoat to all of this woodwork about 10-11 years ago, but I really hate the orange shinyness to it. I’ve got a few months till the renters move out and I can start working on it, so I’m really trying to figure out what I want to do with this wood.
Hi Anna, It sounds like that wood would be a great candidate for this treatment. If it’s high gloss like you mention though, you will need to lightly sand it enough to remove the shine before you apply this. (you don’t have to sand all the way down, just enough to remove that high gloss finish) If you are trying to keep a wood finish. But you could also sand it and paint it white or another color. Lots of choices there! Good luck! :)
Thanks for that. I was thinking there’d need to be some sanding, but nice to know I wouldn’t have to sand it all off. I had been thinking that re-staining it would be a painful process and was just going to paint, but then I was looking at whitewashing as an option as well. I think I’m leaning towards whitewashing the paneling and re-staining the cabinets. Thanks again for the post.
Exactly what color did you use on the stools. It looks a little lighter than the Tudor.
Thanks,
Jan
Hi Janet! The color is Tudor. I applied a thin coat so that is why it probably looks lighter. :)
Love this idea. I wonder if it would work with kitchen cabinets?
Hi Debbie! Yes! It will! Many have done it. (I haven’t, but I know of quite a few who have, with success) :)
What a great idea and you did a fabulous job with it. I have orangey stained floors and my husband doesn’t want to go through the headache of having them all refinished. Would this work on a floor do you suppose? Thanks for the great inspirations.
Thanks, Christa! No, I would not tackle a large floor area with a product such as this. It will be a bigger headache than you can imagine! It’s great for smaller things though. :)
So happy to find this! Question…how did you keep the material from getting stain on it? I have a new coffee table with upholstery on the top that I cannot remove, but want to stain the bottom darker.
Hi Kelly! Oh, well…a steady hand! You could tape it off (I like FrogTape best for things like this) but I was just super careful. :)
OMG, I love this! We bought a home 3 years ago that was….VERRRYYYY Italian. And the wood stairs are so orangey, but I really don’t want to sand them. We actually installed the Shaw vinyl wood floors in the house (hello 2 great danes, a pool, kids, husband that never takes his shoes off, SIGH), and I really want the easy way to stairs that match. I’ve even got a brush ready! I’ll likely do my kitchen table, too. Thanks!
Hi Amanda! Oh yes, I do know those colors well! ;) I actually added in a link to our stairs that I redid over just like this. (not sure if you saw that post already but it’s now linked in this post if you want to take a look!) Good luck and have fun! xo
Would like feedback on how to redo bedroom furniture that is maple without sanding or stripping it. There is to much to start that process.
Hi Pat, can you send me more info about the set and what you are trying to achieve? Email me at Nancy (at) artsychicksrule (dot)com
these look great. Did you wipe the polyshades after application to get the lighter color?
Hey Rob! Thanks! Nope, this particular color is not very dark unless you layer it. (or lay a heavy coat, which you shouldn’t) I know it looks dark on the can but it’s not very at all (which was disappointing for the original project I bought it for but perfect for these barstools). Hope that helps!
How to you protect the seat cushion from getting stain on it?
You can just tape it off if you are worried you will get stain on it. :)