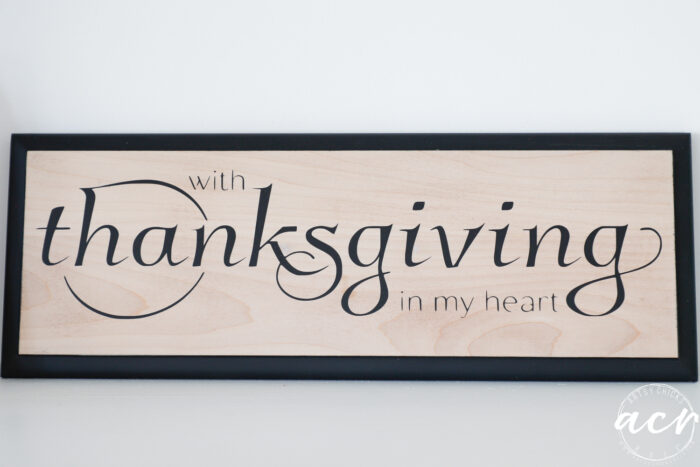
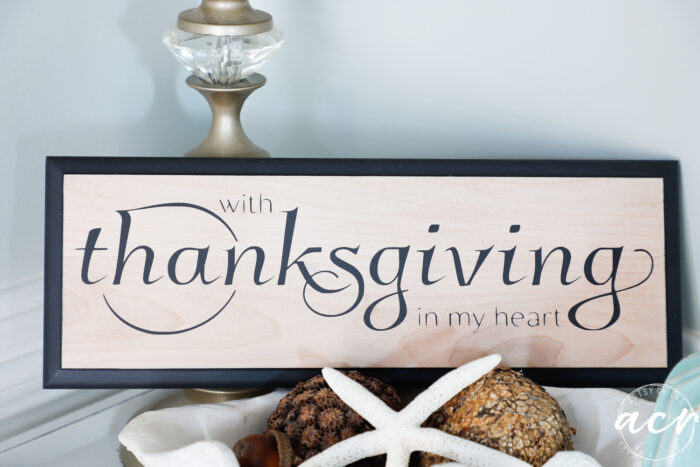
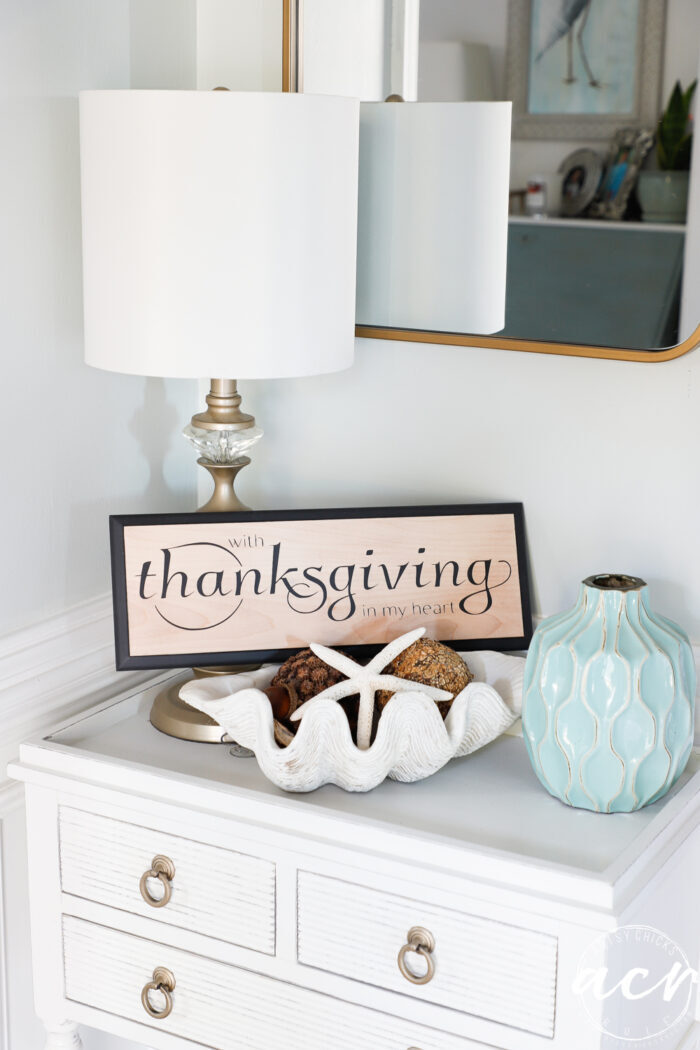
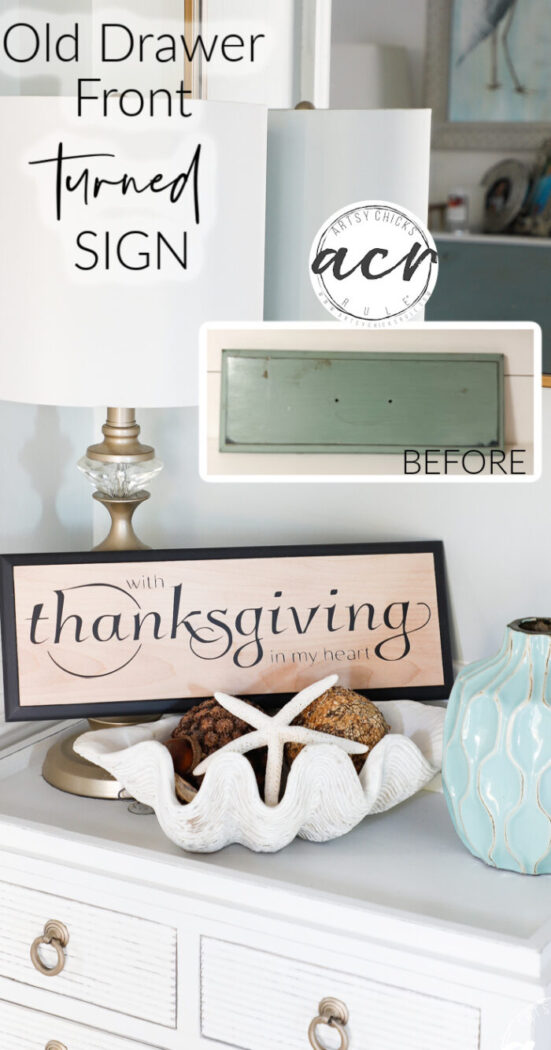
With Thanksgiving In My Heart Sign
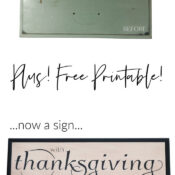
With thanksgiving in my heart, what a beautiful sentiment. And perfect sign for Thanksgiving too!
Hello beautiful friends! I’m sharing a little repurposed makeover today.
Remember my old kitchen? Before the second remodel?? Well the island, specifically, here, go look… DIY Kitchen Island Makeover
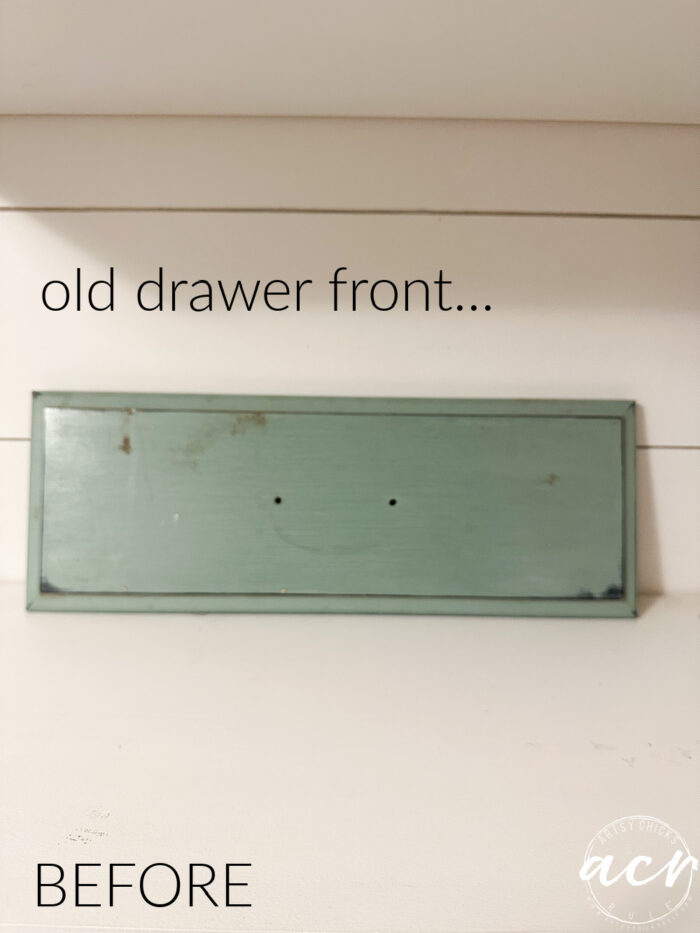
Well, I saved a bunch of those drawer fronts to make stuff with.
Here is a couple I’ve done already:
Today I’m giving this small one a new look.
With Thanksgiving In My Heart Sign
MATERIALS SOURCE LIST
I began by sanding the top well. All the way down to the wood.
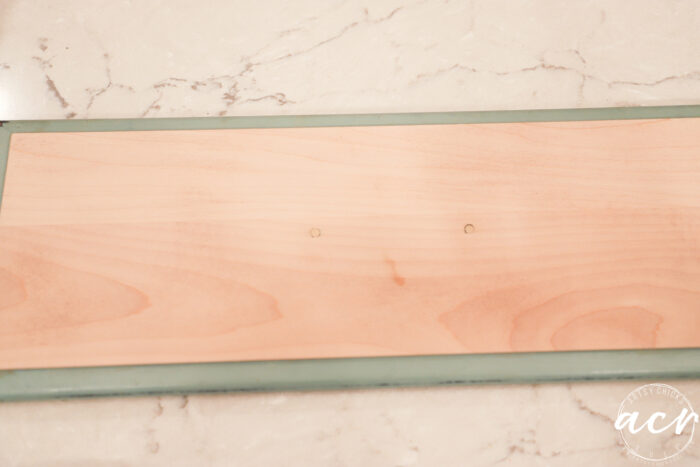
I filled in the holes with wood putty and let it dry, then sanded it smooth.
Unfortunately, the old black paint was still showing a bit. (the color I painted it before I painted it aqua)
No worries. I figured I would try to use the lettering of my graphic to cover it up.
I created this graphic on my computer…

>>>All of my graphics are free to my subscribers. Not a subscriber yet? No worries, you can become one right here. >>> Welcome!

>>>Then hop on over here to download! >>> Download printables
I uploaded it to my Silhouette Cameo and cut it out.
Don’t know how to do that?? I wrote an entire post on how to upload your own designs into Silhouette here.
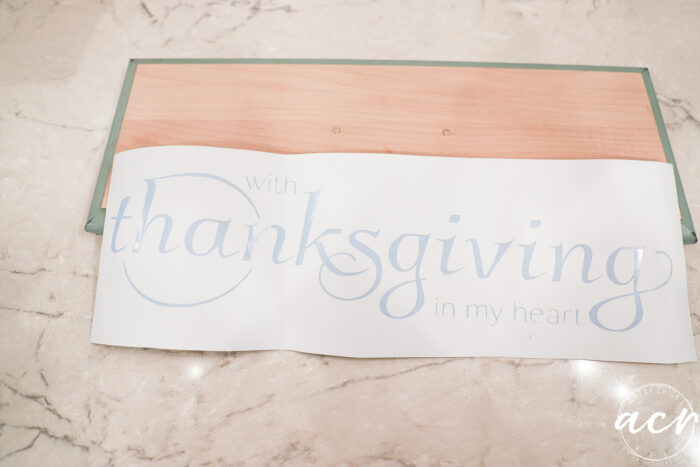
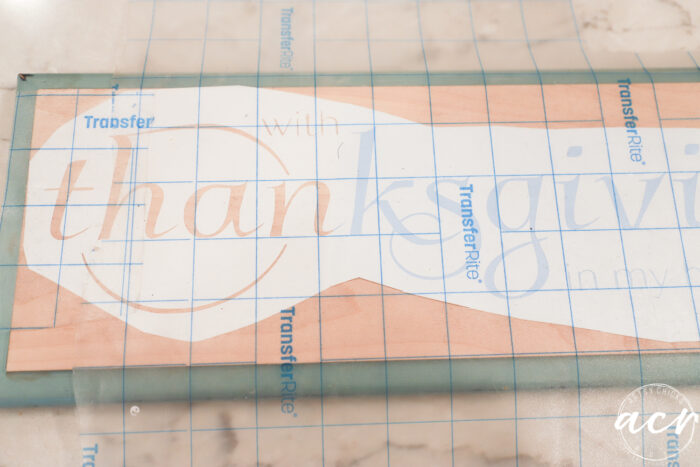
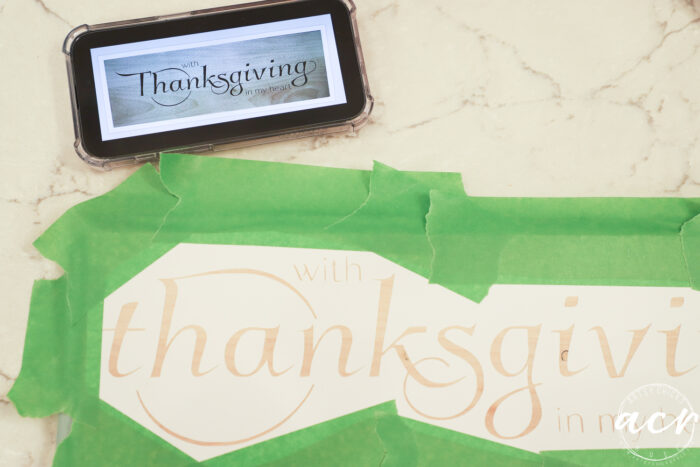
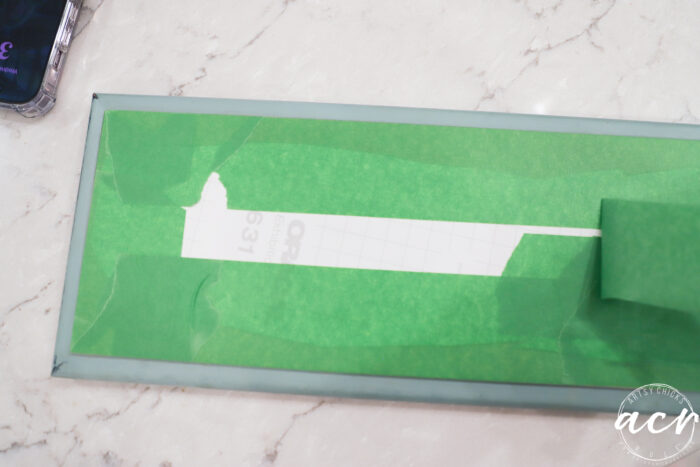
I’m going to be using this vinyl as a stencil so I removed the lettering.
Then applied the transfer tape over top…
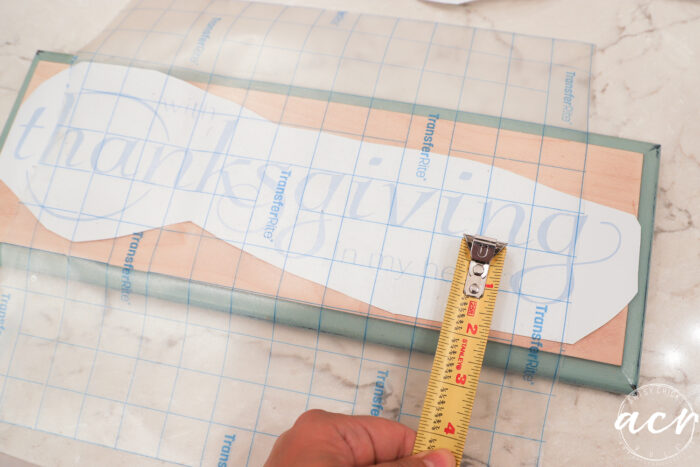
Be sure to line everything up before attaching it to your project.
I actually cut it out close to the lettering so I could better see to line it up.
I left the backing on while I did this so it would not prematurely attach to the wood. Then once I had it all lined up, I simply lifted up one side at a time to remove the back and attach the vinyl cutout to the wood.
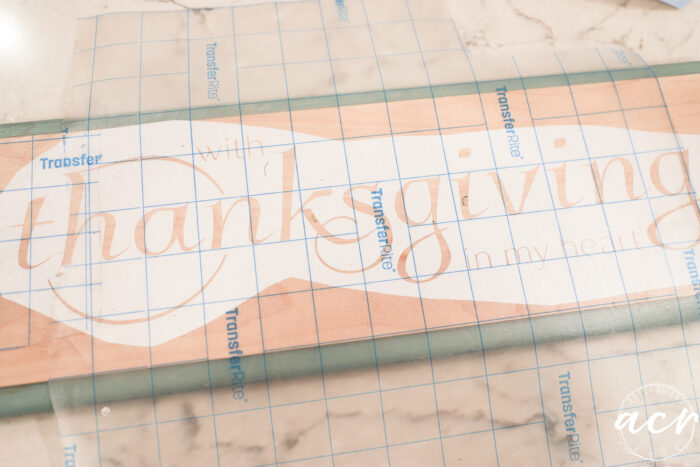
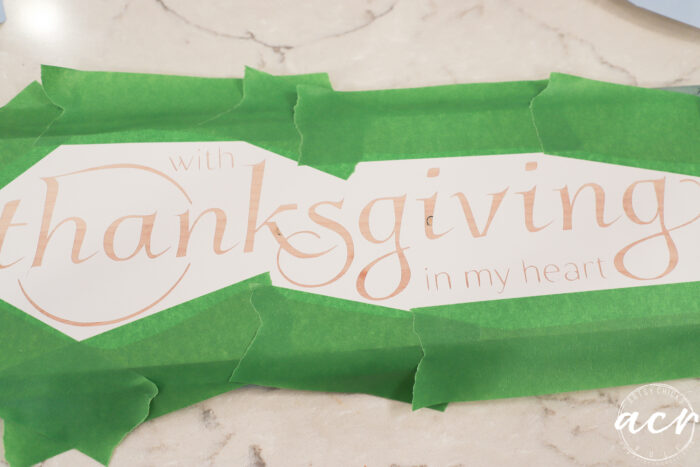
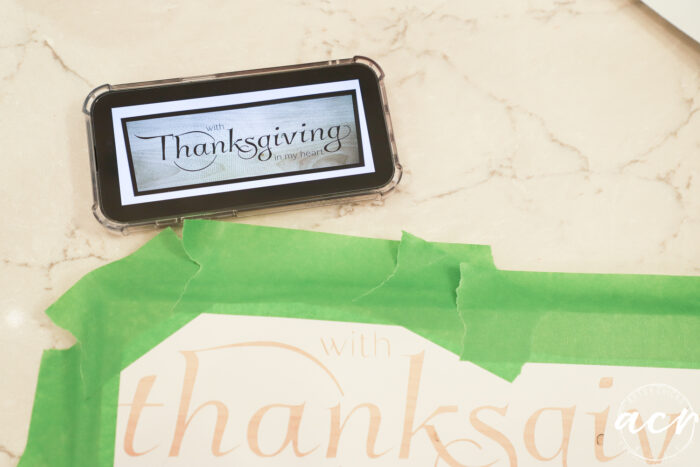
Then I removed the transfer tape and added my fave FrogTape around the edges to protect when I roll the black paint on.
Simple!
Except…I wasn’t sure if I wanted to paint the letters white or black. Or if I wanted the edge to be white or black. Or if I wanted the word “thanksgiving” to be one color and the small words a different color.
So you know what I did??
I hopped back on my computer and made mockups with the wood in the photo to see which I liked best.
Below is a white frame with black lettering.
And this one is a black frame with black lettering.
And this one with small white lettering.

Which I didn’t think would show up well enough on the light wood.
If you noticed, I also couldn’t decide whether to do a capital “T” or lowercase “t” for the word thanksgiving. I even forgot that I had switched it to lowercase when I went back to do these mockups. Oops!
I actually like the way that looks better, I think, but I wasn’t really saying “Thanksgiving” as in the holiday, but more of a sentence with the word “thanksgiving”, so did the lowercase instead. Does that make sense??
And…the all-black lettering and black frame won out!
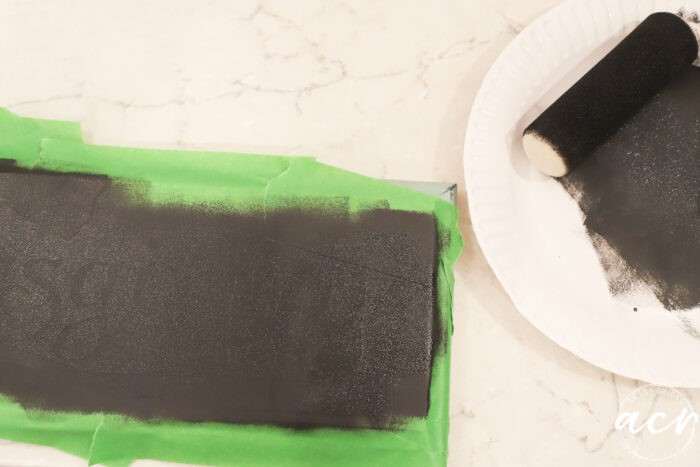
So I rolled it on. Two coats, drying in between.
So good! But those darn black-edged circles where the hardware was is showing.
Boo…but no worries, I’ll fix that. Keep scrolling. :)
Next, I taped up the top, covering the freshly painted lettering with the backing of the vinyl to protect it.
Then taped the edges tightly and straight so I could paint the frame black too.
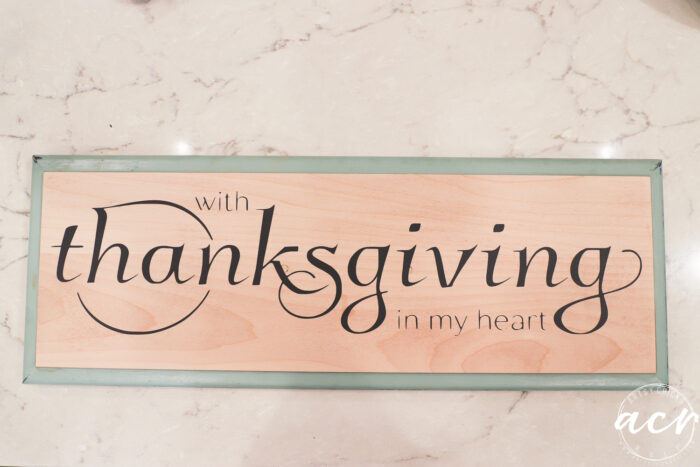
And done!
I haven’t sealed the wood yet and not sure I will. I kind of like the natural look.
Can you see the holes (and the black-edged circle) where the hardware was next to the “k” and the “i”??
Not so much, huh?
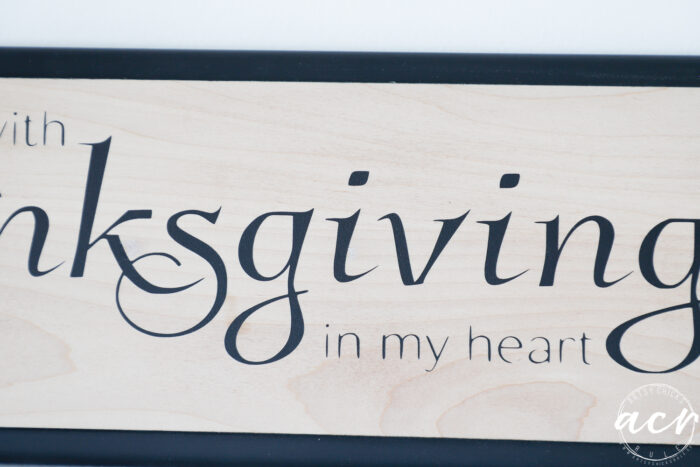
I used Cobblestone and Rose Water and a tiny, fine-tipped artist’s paintbrush to camouflage them.
The wood had a pinkish hue so I used both of those colors which worked pretty well!
Virtually indistinguishable from the rest of the wood now, yippee!
So happy I could use and showcase the pretty wood without having those two holes ruin it for me!
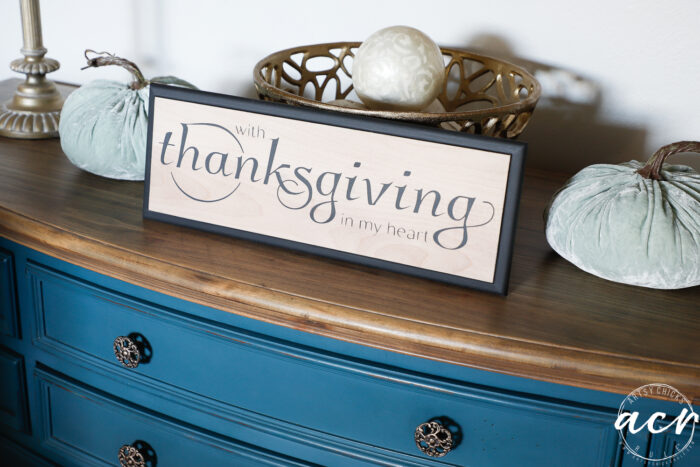
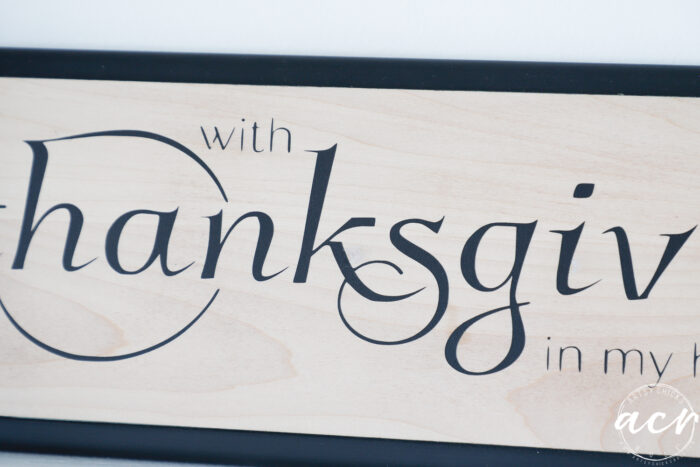
I love how you first just see the word “thanksgiving”…and then you see the rest.
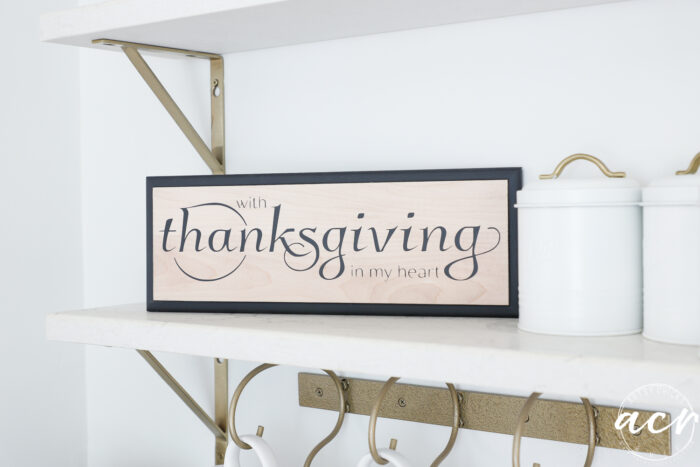
I hope you like this fun update and repurpose using an old drawer front!
With thanksgiving in my heart…yes.
PIN it to save it!
Have a blessed weekend, friends!
xoxo

Related Posts:


")

")
")

")


I love this gorgeous sign, it looks gorgeous and I so love the natural wood look too.x
Thank you, Janette!! xo
Beautiful ! ❤️❤️❤️
Thank you, Debbie!!xo
Your draw front makeover came on very nice. I love the combination of natural wood and paint. I have always loved the combination and have used on furniture I have repurposed many times. I truly love your style and the makeovers you do.
Thank you so much, Pam!! I really love that look too. :)
I voted for black/black, I think you made the right choice, Nancy! That font is beautiful and I love the scrolly bits. Fun way to save a piece of wood.
Yay!! Thanks, Marcie!! Have a great weekend!! xo
This is beautiful!
Thank you, Debra!! xo
Such a nice sign. Love the natural and black…classy!
Thanks, Cecilia! That combo is kinda classy, isn’t it?! xo
Nancy,
What a transformation! It is a beautiful and inspirational message for Thanksgiving. Thank you.
Thank you, Marian!! :)
Awww. I love the script. :)
Very nicely done. The wood looks beautiful.
p
Isn’t that script fun? Thank you,p! :)
Looks fantastic…great job!
Thank you so much!!