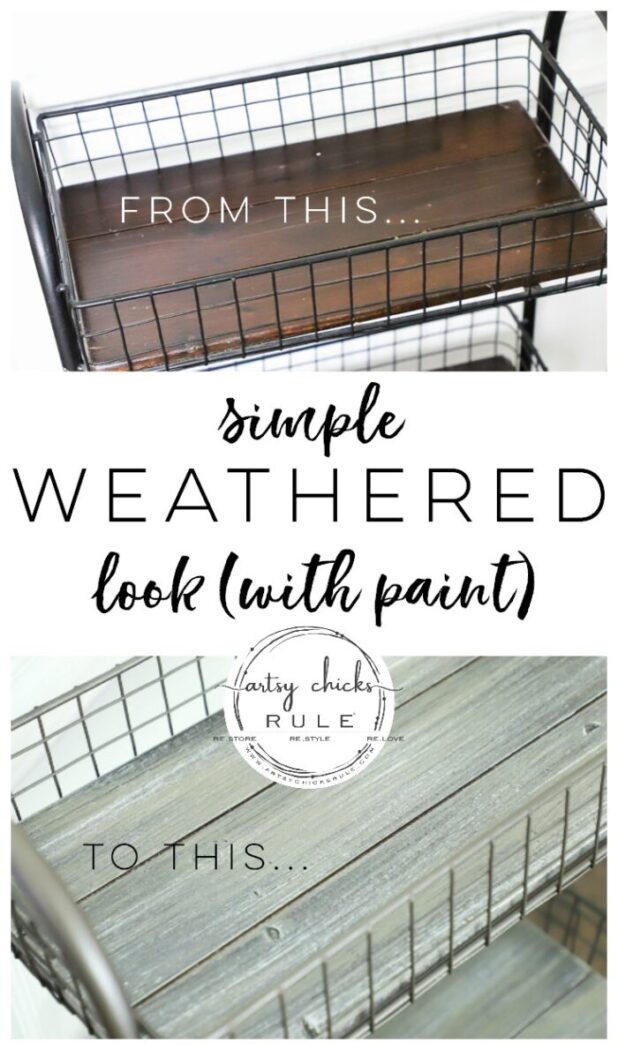
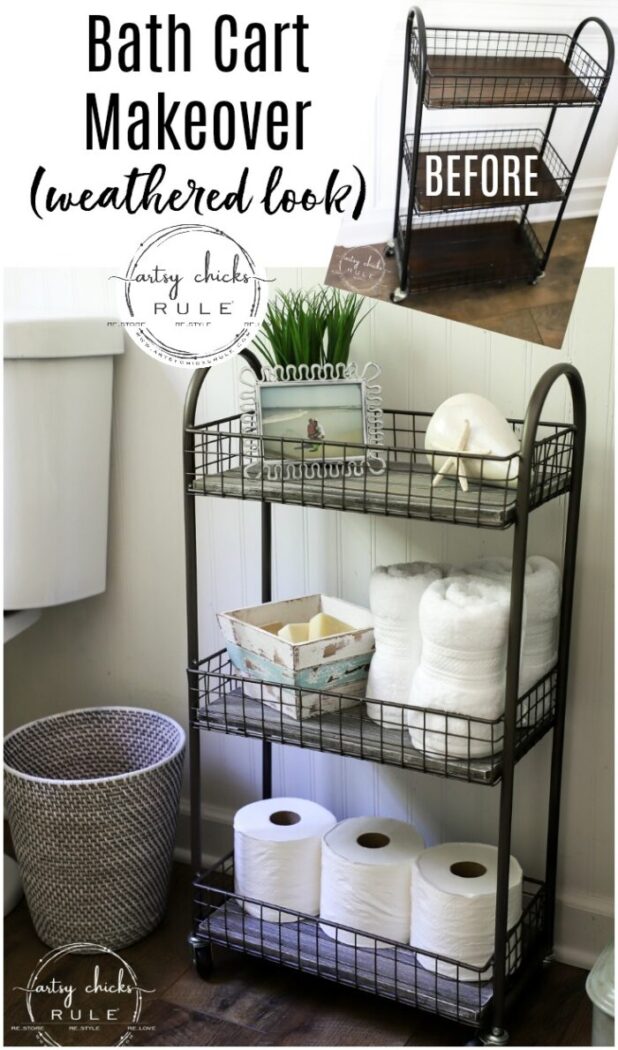
Bath Cart Refresh (simple way to make old, new!)
Tired old home decor? Or maybe you are just tired of it?? Give it a brand new look with a little refreshing just as I did with our bath cart!
Hello beautiful friends! Today I thought I’d share another “old home decor” -ish makeover.
It’s a good thing I love giving my old stuff makeovers to freshen them up because it sure is the cheap way to get a new look! ;)
I gave our guest bath a makeover (another makeover, lol, here’s >>> the first…well, actually that is the second, you’ll see) a couple of years ago.
You can see the latest one >>> here. It was done with a “coastal farmhouse” look in mind.
I’ve since moved more away from the farmhouse look and going more pale, neutral, coastal in my decor.
So I wanted to lighten things up in there.
I loved this little cart the way it looked before. But it was just so dark and didn’t really go with the feel of the bathroom and my decor.
I’m also wanting to lighten and brighten the laundry room t00. I haven’t had a chance to get to in there just yet but it’s next.
Bath Cart Refresh
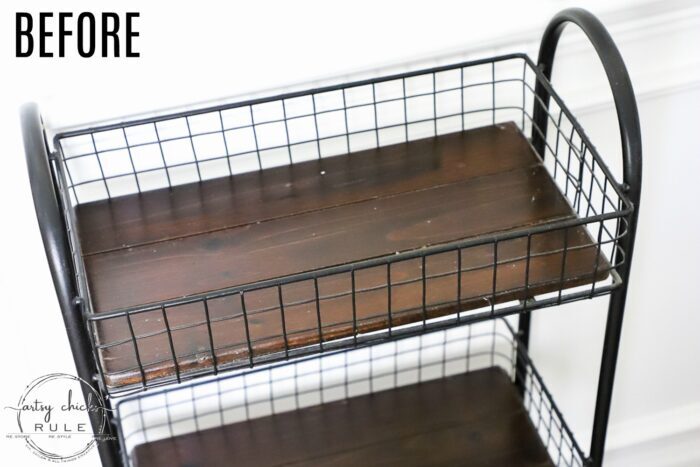
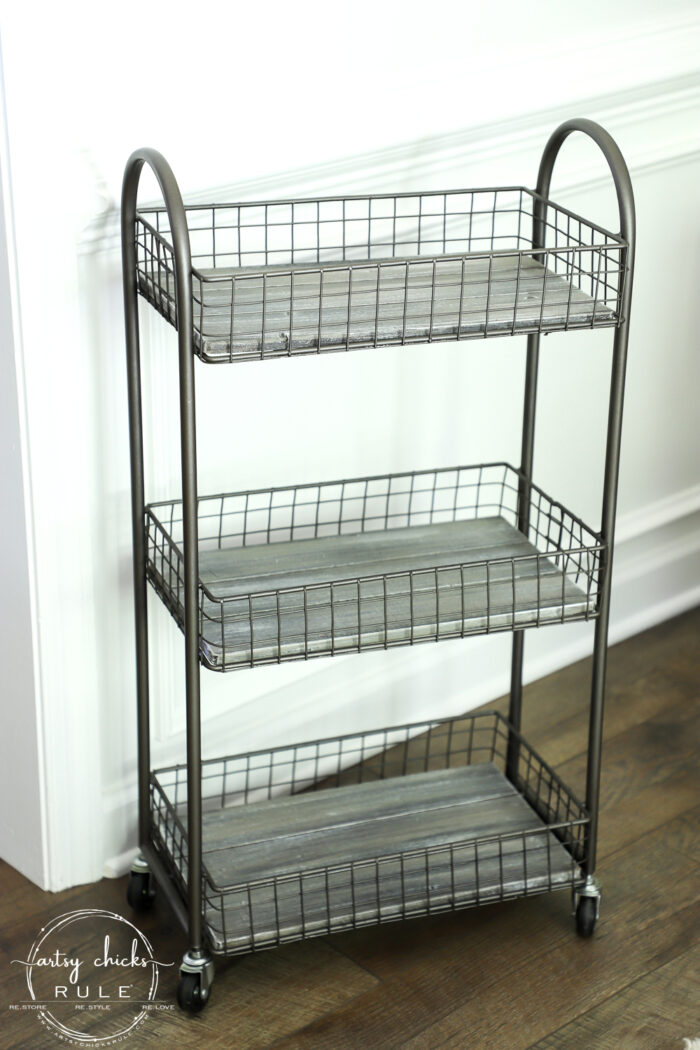
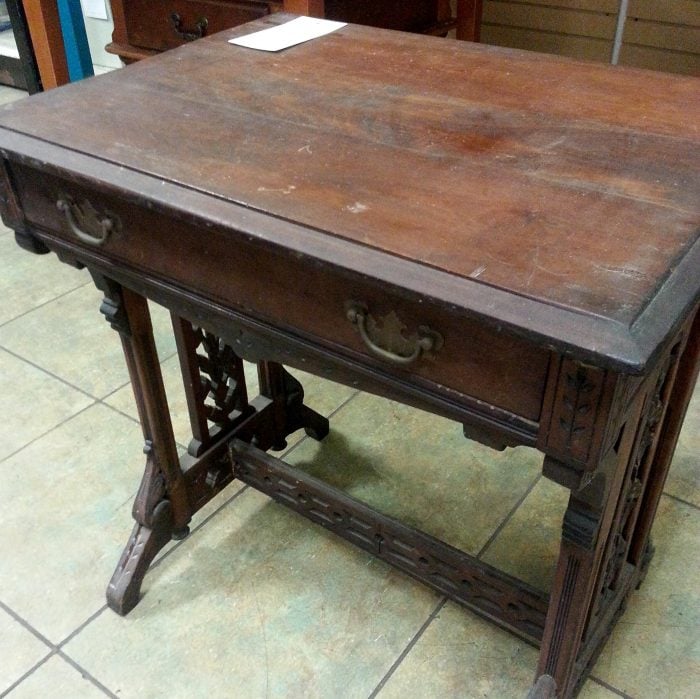
Here’s how it started…
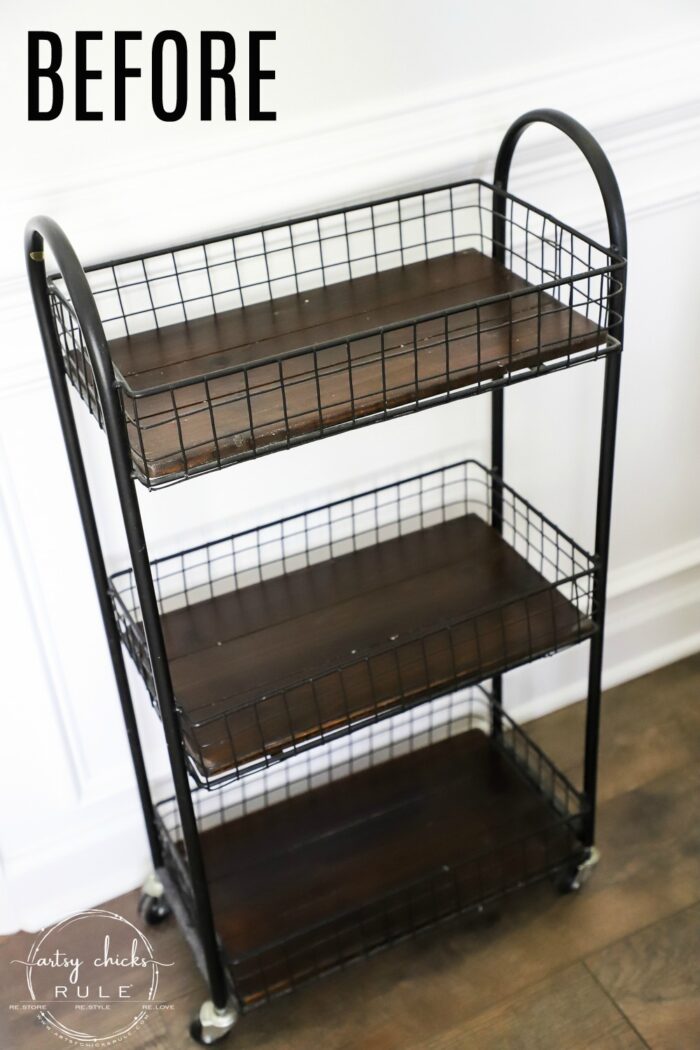
It originally came from TJ Maxx. I loved it but that black metal and dark walnut shelves really needed to lighten up.
So I took the wood shelves out, taped up the wheels and sprayed the metal in a lighter bronze color.
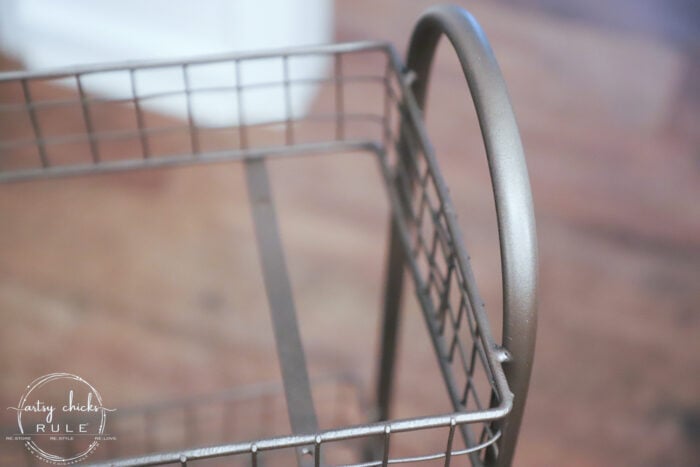
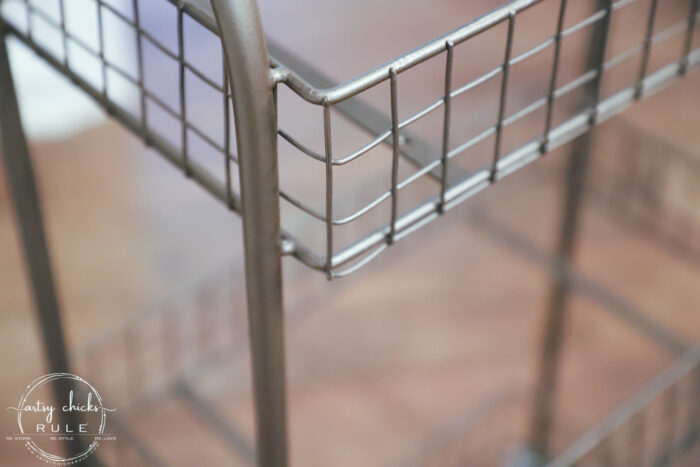
So pretty and so much lighter and softer.
MATERIALS LIST
- Metallic Bronze Spray Paint
- Coco Chalk Paint (or tan colored paint like this one or this one would do)
- White Paint
- Matte Spray Top Coat
- Chip Brush
(Want to see even more of my favorite furniture makeover supplies??? Take a look in my very own curated shop, here!)
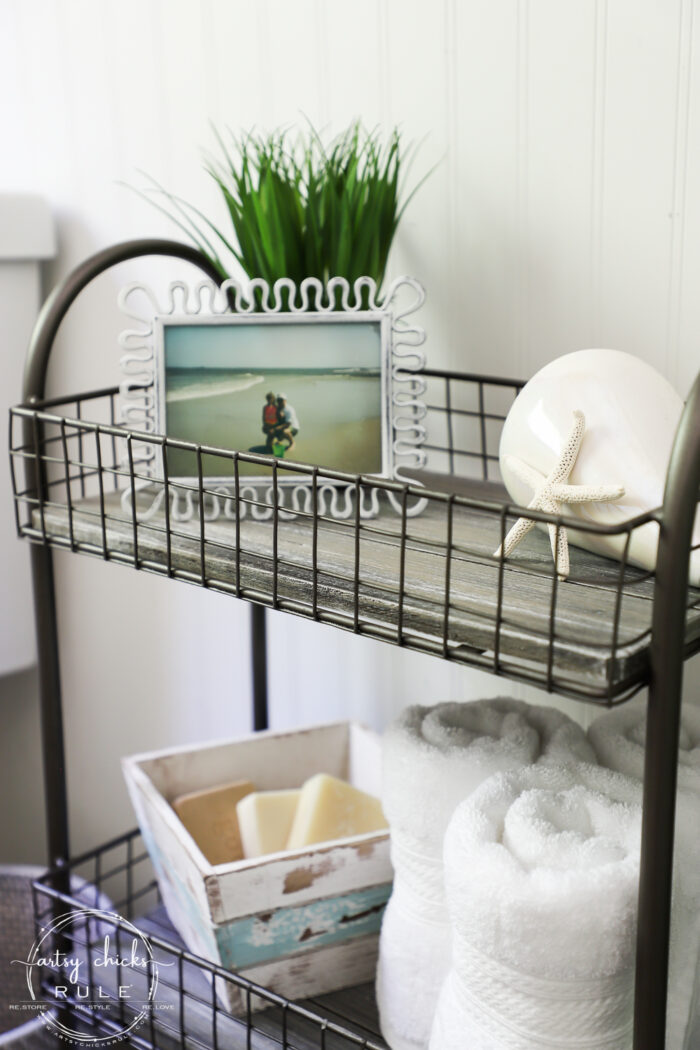
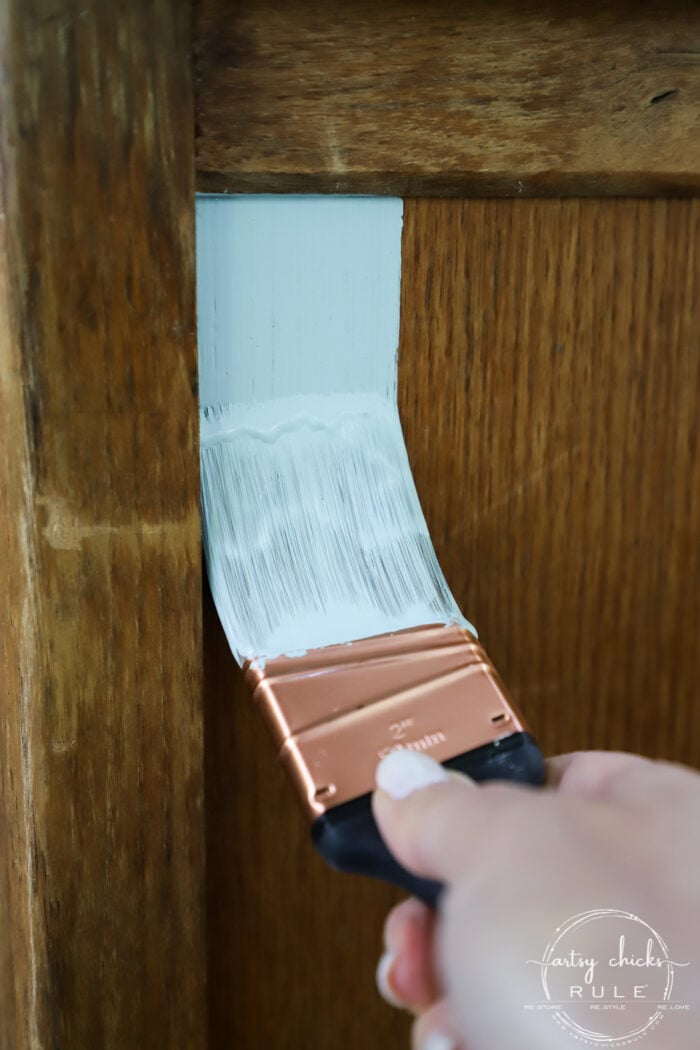
For the weathered wood look on the shelves I used Coco Chalk Paint but I linked a couple of other ones in the “materials list” above that will work just the same.
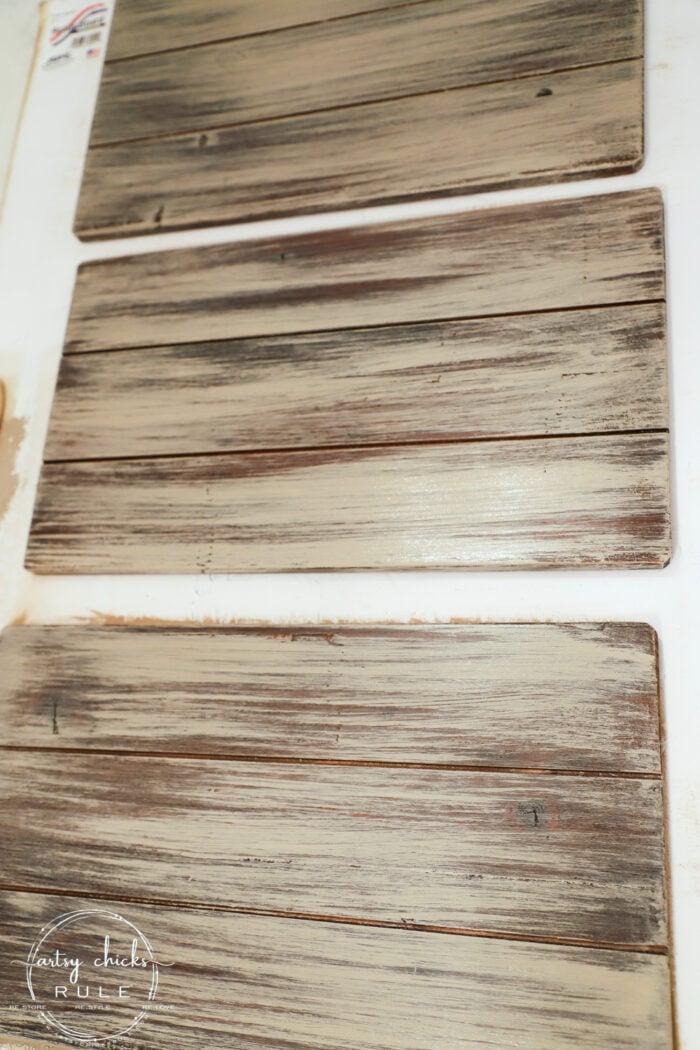
I love using a chip brush for this technique. It just works so well.
I dipped the edges of the bristles in the paint and just did a bit of dry brushing over the dark walnut.
Not familiar with dry brushing?? You can find out how to do it here >>> How To Dry Brush (video tutorial too)
You want some of that walnut (dark color) peeking through so be sure not to cover it up completely.
Once that is dry, go back over it with the same exact technique with the white paint.
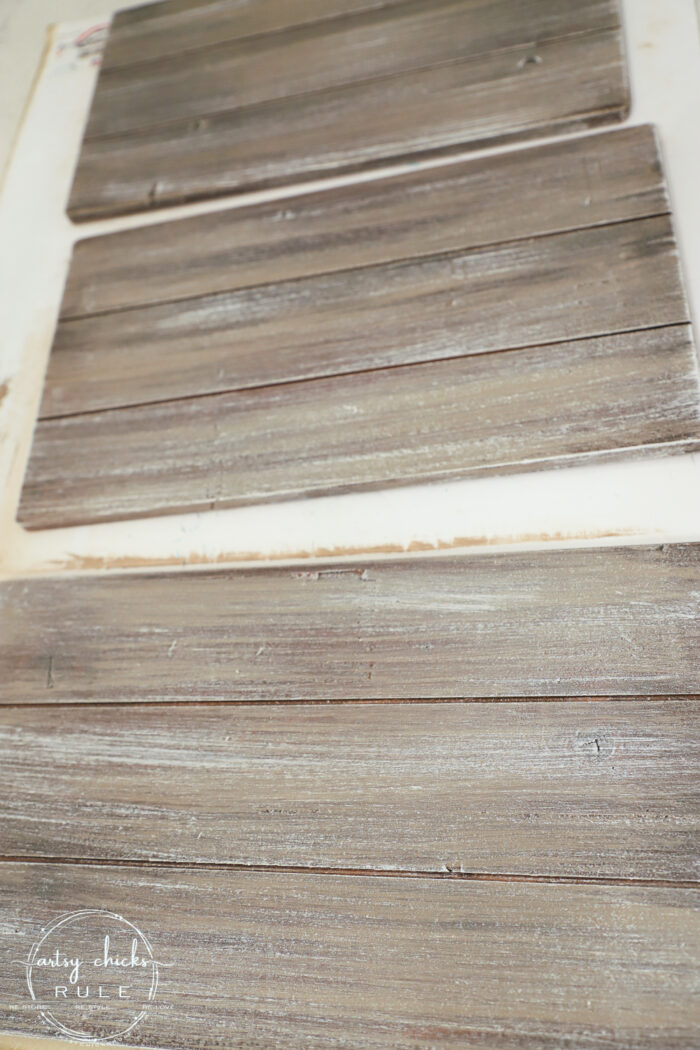
Just keep adding the paint until you have the look you want.
I finished up by using this matte sealer to seal it. (so quick and easy since it’s a spray)
Love creating this finish.
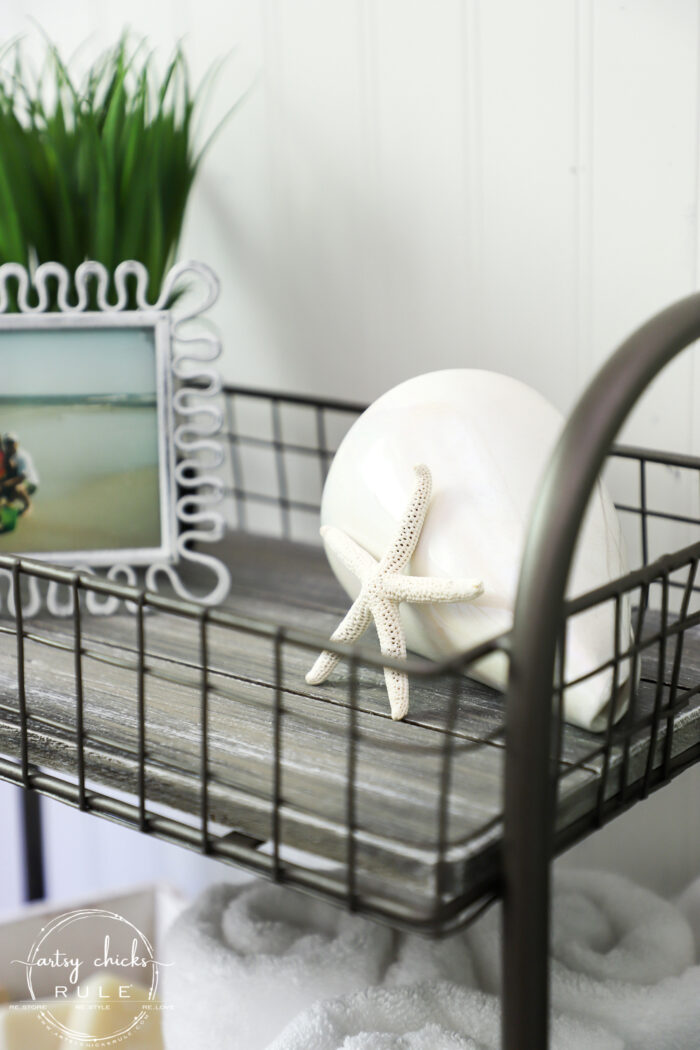
Up close…

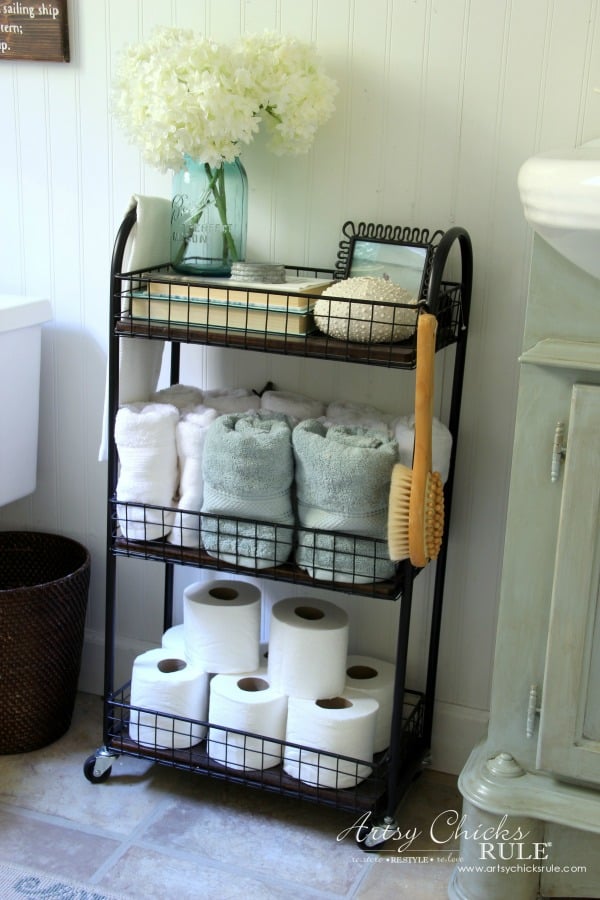
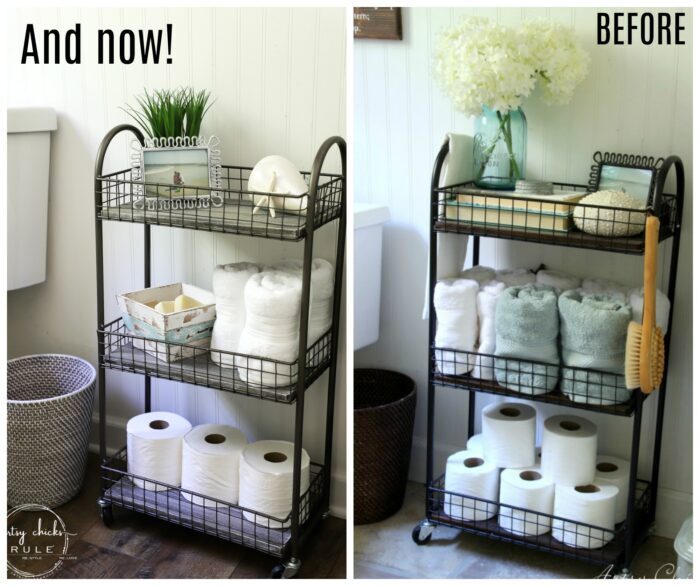
So again, it went from this …
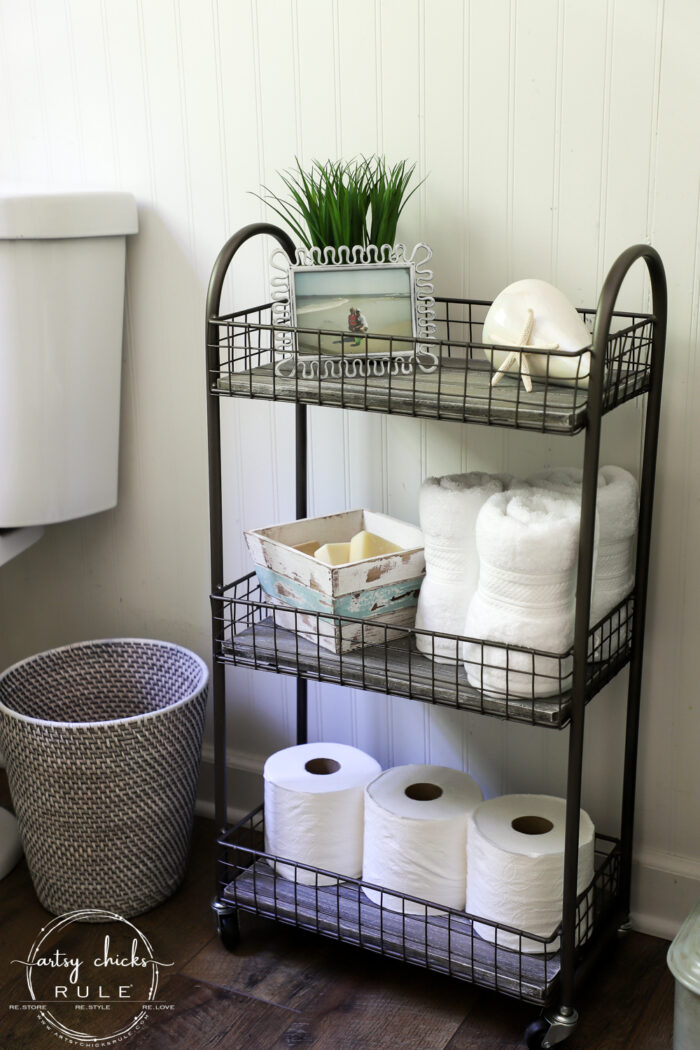
To this…
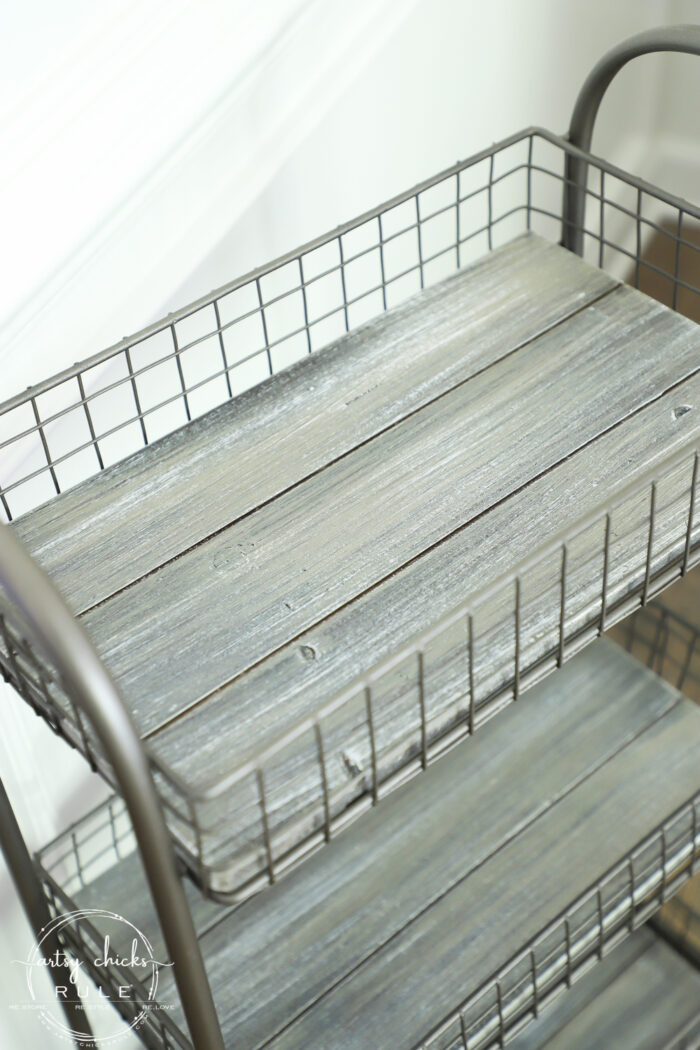
What a difference, right??
So much softer and more “coastal-like”.
Want to see some of these projects in “live” time? Hop on over and follow along with me on INSTAGRAM. I’m always sharing in my stories as I’m doing projects, finding new furniture, fun finds….just all the day to day behind the scenes.
I sprayed our old brown wastebasket too. But only one very light coat so the dark still shows through.
I always tell y’all, nothing is safe from paint, from me, around here!! haha
How it was before…
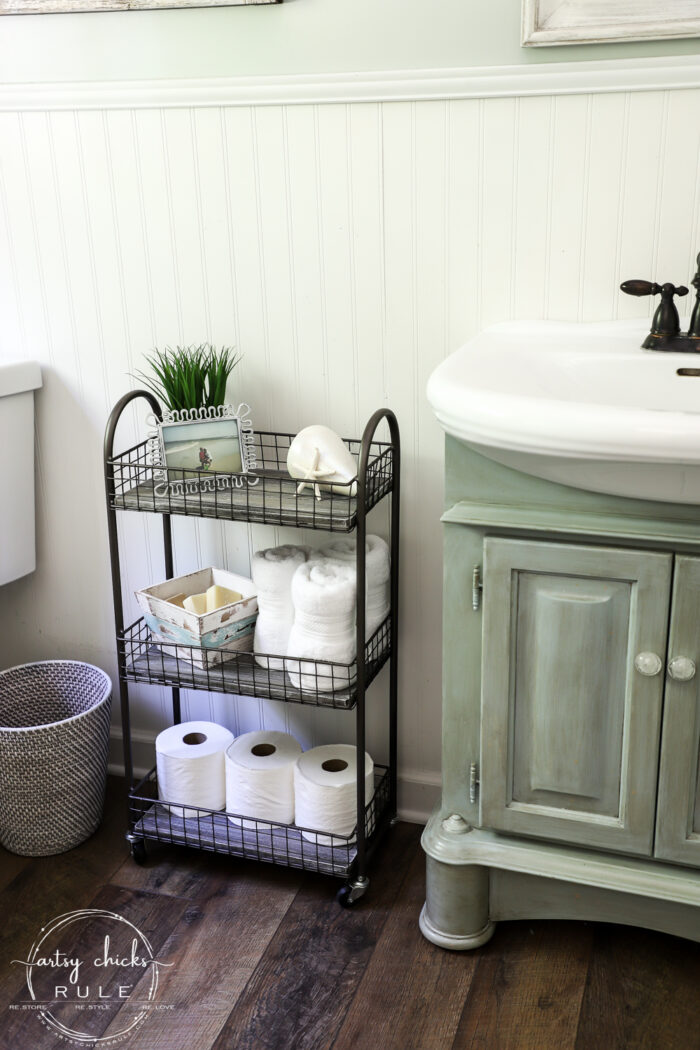
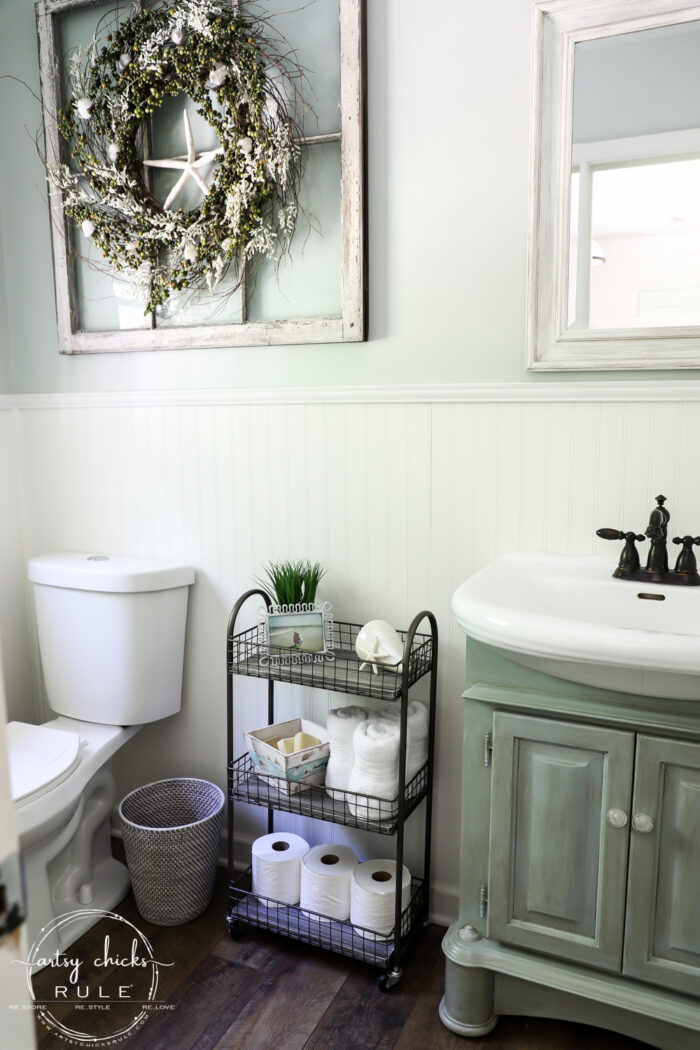
I’m so loving the new look (and the new floor in here! …which you can read all about >>> here)
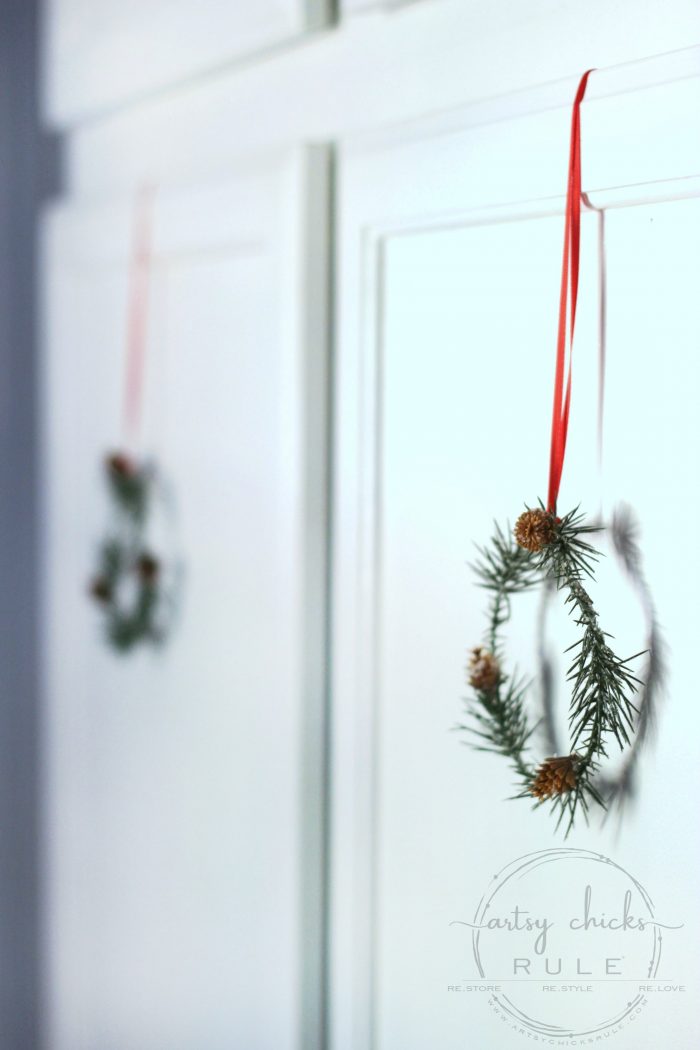
I did end up putting my >>> green berry wreath in here too over our old, antique window.
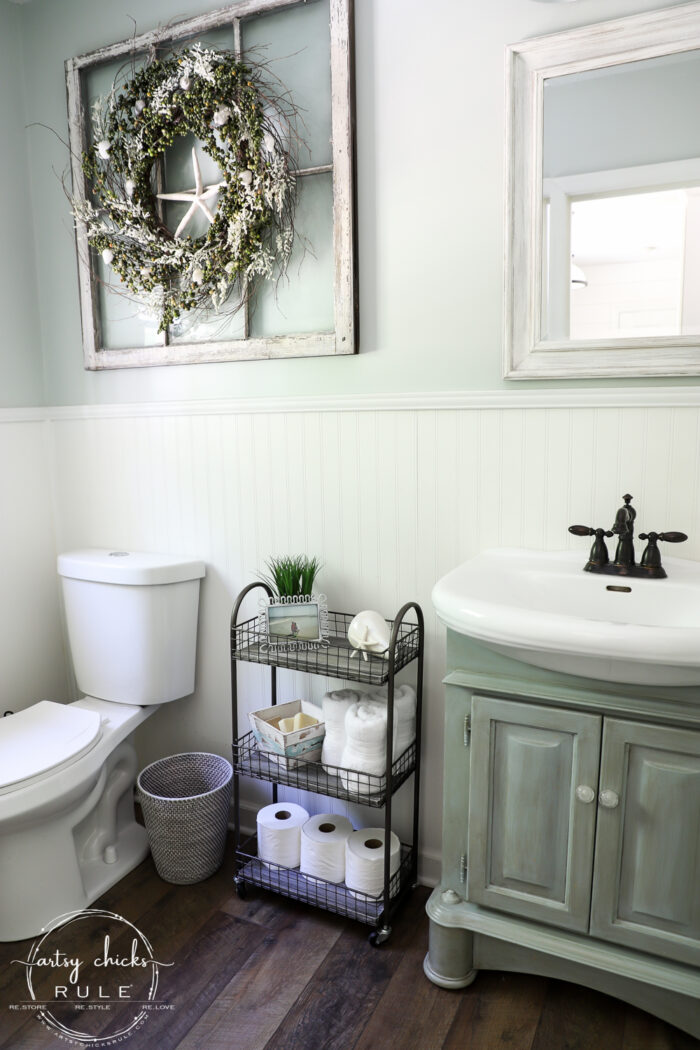
Want the details on the painted bath sink cabinet?? You can find it >>> here.
I love how fresh everything looks now.
It’s amazing what a little paint can do!
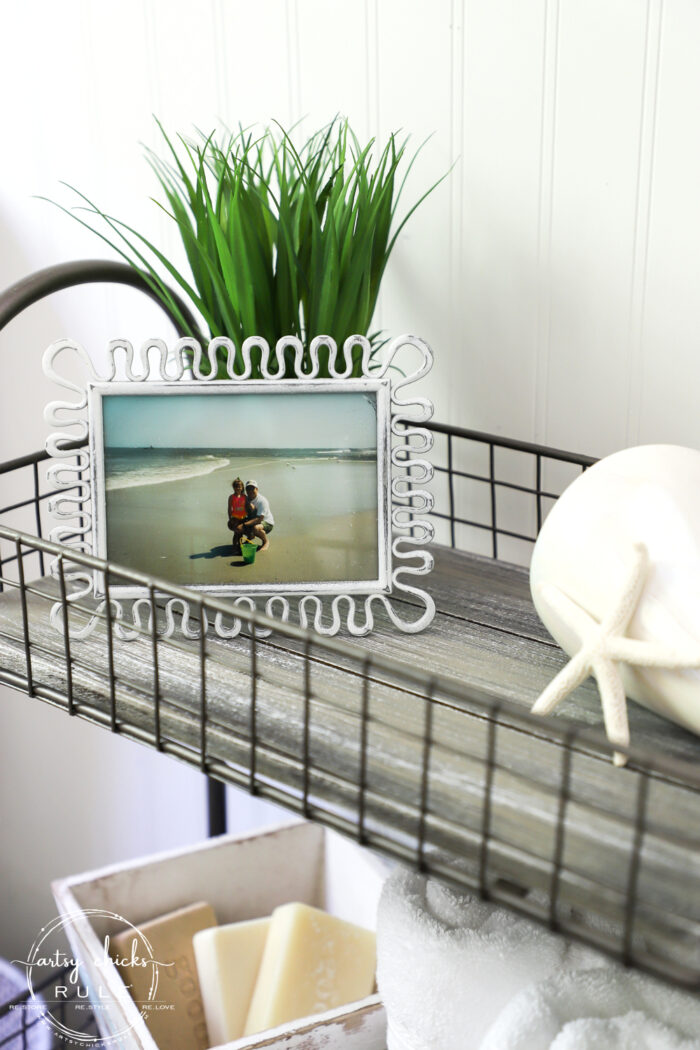
My “little” girl and her uncle many years ago.
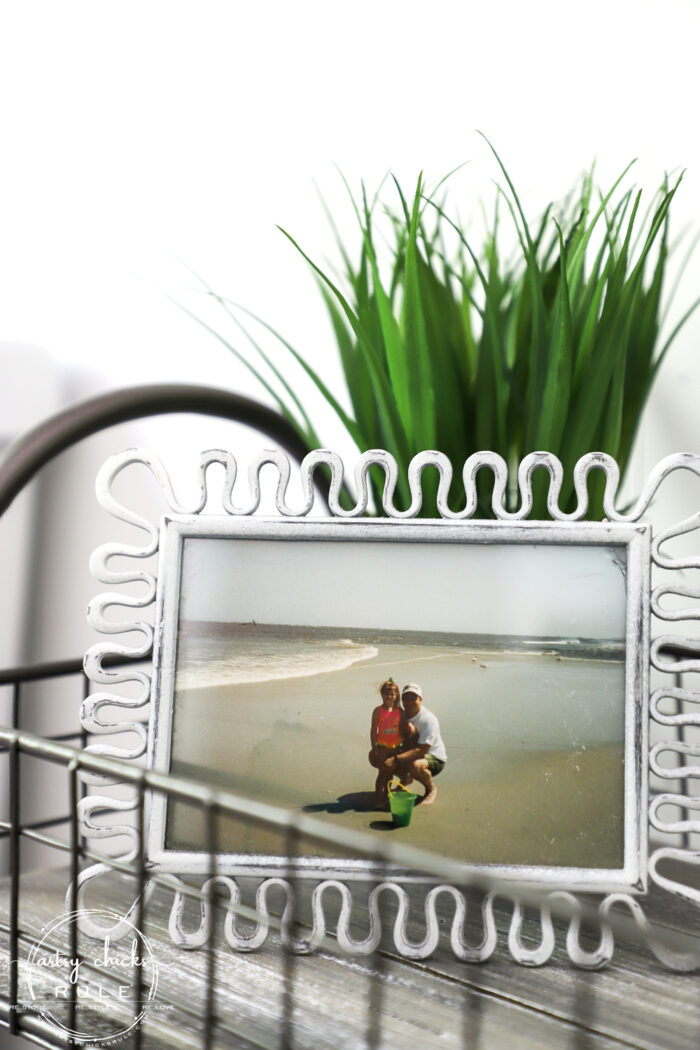
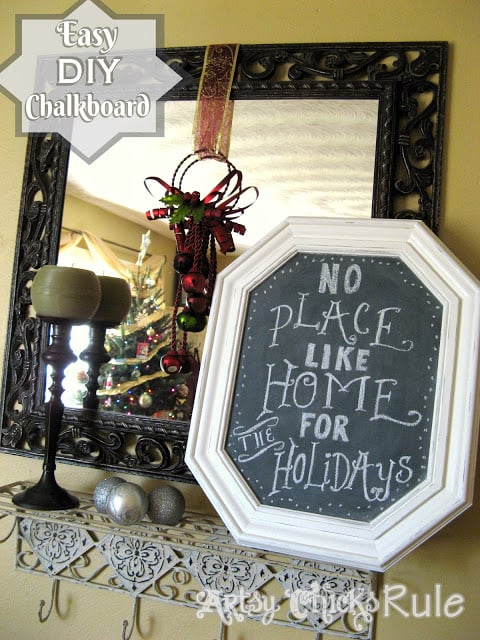
And speaking of nothing being safe from paint, you might’ve noticed I also painted this frame white too. It got a quick spray of white spray paint.
I just lightly sanded to bring some of the brown back through for a softer look.
This bathroom is a really small guest bath so it’s hard to get good shots…and not many different ones at that! ;)
But let me tell you guys, if you are bored with the look of something you have in your home, furniture, small decor, whatever, grab the paint and give it a new look!
This is just another example of how I freshened up my bathroom (namely, the bath cart) with some spray paint and a few strokes of paint with a brush.
SO easy. So, so easy!
To recap, I painted the wastebasket, the frame, and the bath cart. All of those took me no time at all.
But it really gave it a fresh new look.
PIN it to save it!
Check back later this week when I share this old thrifty makeover!
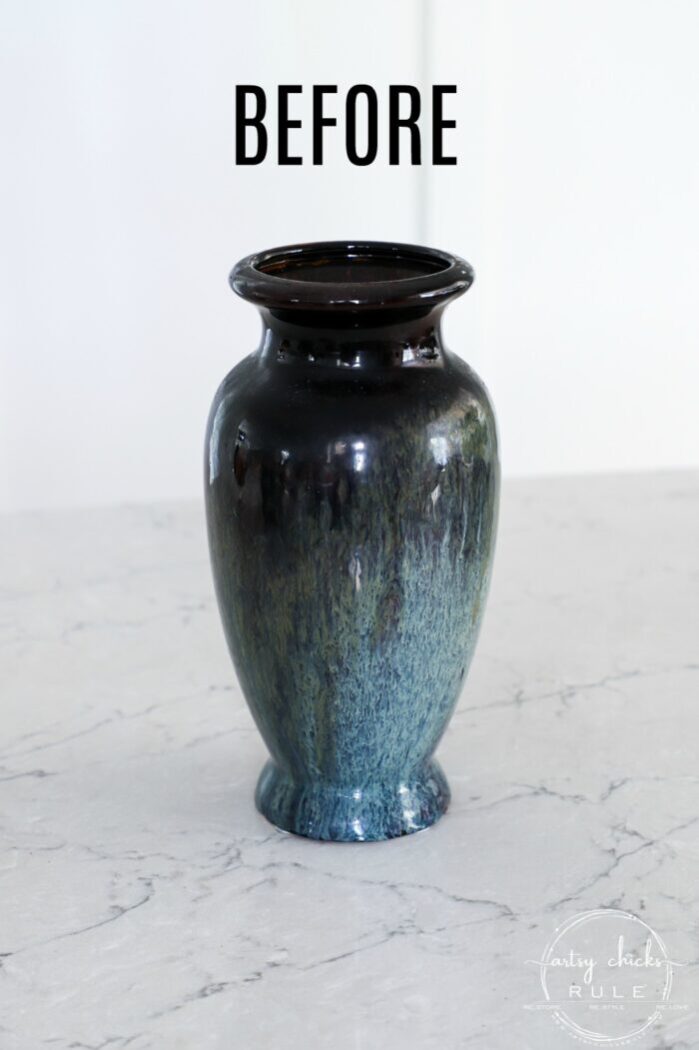
EDITED TO ADD!! See it now, here!
I hope you have a wonderful weekend!
xoxo


")

")
")


Nancy, the new cart is lovely! I like the new finish on the frame and the boards look great. wonderful makeover!
Thank you, Christina! I love when something old feels new again! :) xo
Love that driftwood technique, Nancy! You’ve inspired me to try it on a beat-up table. We’ll see how it goes….
Awesome!! So happy to hear that Marcie! It’ll go great! Have fun! :) xoxo
I love the new lighter and brighter look, Nancy!
Thanks, Kaycee!! Me too!! So fun when we can make old things fresh and new again! :) xo
Hi Nancy! Don’t you just love updating or repainting something of your own and you just feel proud of it! You should be. I love it! I also love your sink vanity. did you paint that? Thank you for the idea to just make something old new again.
Hi Cheryl! Yes, I absolutely do! I think it might be my favorite thing! Thank you! And yes, I did paint the sink cabinet too. (I paint it all! lol) There’s a link about 3/4 the way down the post to it…but here it is too if you want to go check it out now. :) >> bath cabinet makeover
Hope you have a wonderful weekend! xoxo
Your makeovers are so smart and you give such good detailed instructions. I like the way you weathered the wood and you make it look so easy!! I dont know how you keep up with everything and take care of your family too. You are amazing! Have a wonderful Mother’s Day! XOXO
Aw, thank you so much, Cecilia! And I tell you what, it looks easy because it truly is! :) It’s like a whirlwind of crazy around here most days! But I guess I wouldn’t have it any other way…for now! ;) Thank you, sweet friend and the same to you! xoxo
Crap I had one of these and got rid of it. This is so cute. I wish I had kept it now! LOL! Love all the coastal re-do’s. You inspire me!
On no!! I have been there though! And probably why I hold onto everything now!! lol And thank you for that, I am so happy you are inspired by the projects I share!! Have a wonderful weekend, Donna! xoxo
Hi Nancy, That is magical! Taking a dark finish and absolutely transforming it. I also watched your video on dry brushing, which is very helpful. Thank you! The chip brush is very clever. I suppose you make it, by giving a normal brush~ a bad haircut?
Anyway, thank you for your magic wand tip🤗
Thanks, Willie! And nope, I sure don’t, they come that way. Perfect for dry brushing. :)
Nancy, I still love this makeover! :) It really adds a lighter feel and charm. This was a great reminder of one of your wonderful transformations!
Have a great weekend yourself!!
Aw, thanks, Christina! Yes, definitely lighter feel, for sure. Hope you are having a wonderful start to your week! xoxo
I must’ve missed this one the first time around! Super simple, but fantastic update! XOXO
Thanks!! You know we love simple!! lol xoxo
What a great job! It looks so in style and fresh. I Love it!!
Thanks, Caye! xo
I love the new look! That is so nice!
Thanks, Rose!! It’s always fun to change things up! xo
I love this makeover! I can’t get the first link for the “Coco Chalk paint” to work though. What brand/color?
Thanks!
Hi Andrea, oh sorry, that item is no longer available. This one is very close. :)
Thank you! :)