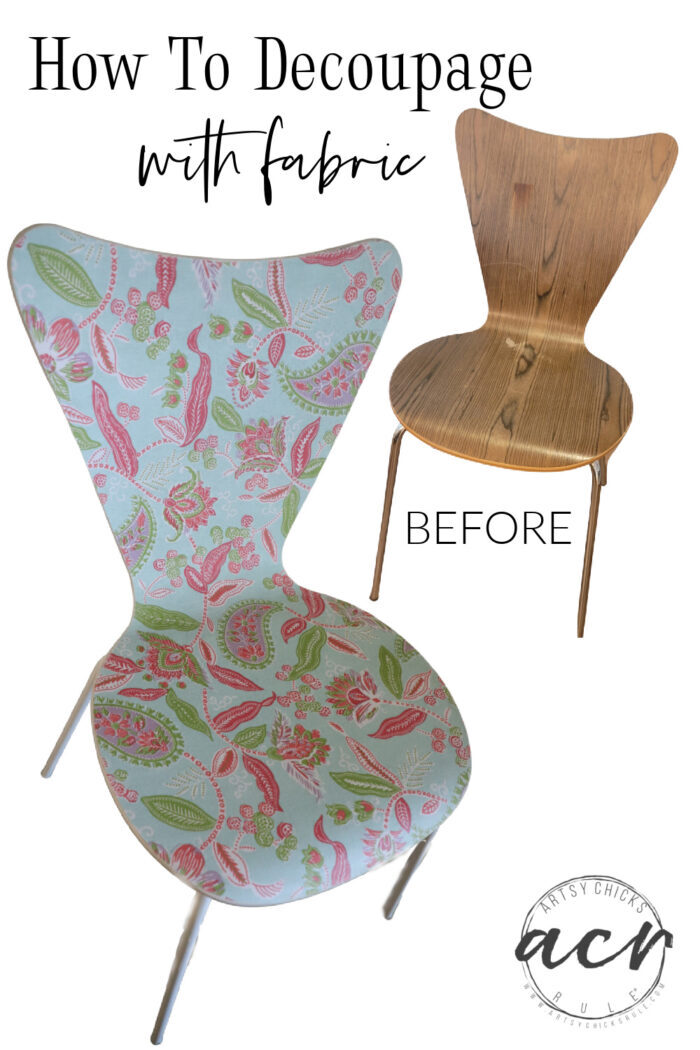
How To Decoupage Chair With Fabric
How to decoupage chair with fabric…it’s so simple to do! Great way to update old furniture!
Hello, my friends!
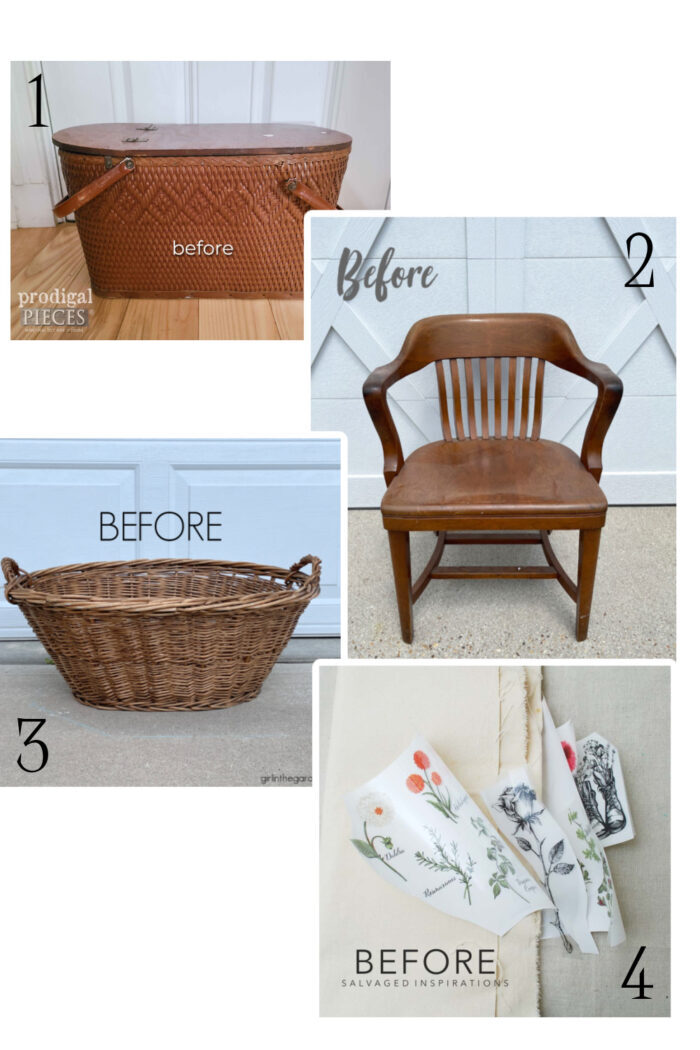
I hope you had a fantastic weekend and are ready for a few new makeovers. Grab a cup of coffee (or tea, like me!) because today is Trash to Treasure Transformation Tuesday with my sweet friends. Be sure to scroll all the way down to see what they’ve been up to this month!
I’ve been up to a little decoupage…with fabric.
If you follow along with me over on Instagram, you might have seen a snippet or two of this project already. ;)
If not, here you go!
How To Decoupage Chair with Fabric
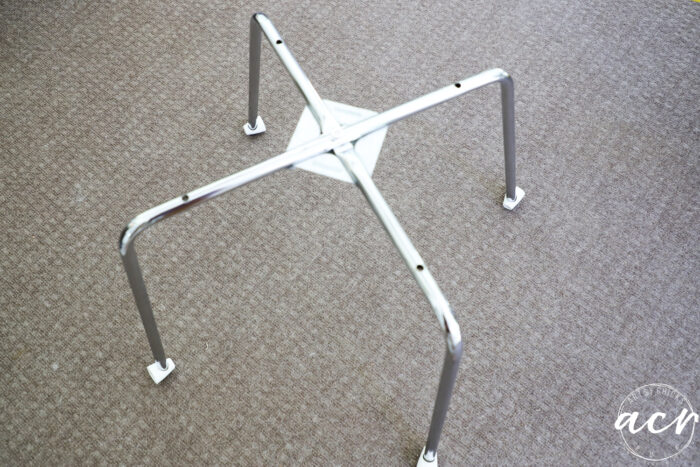
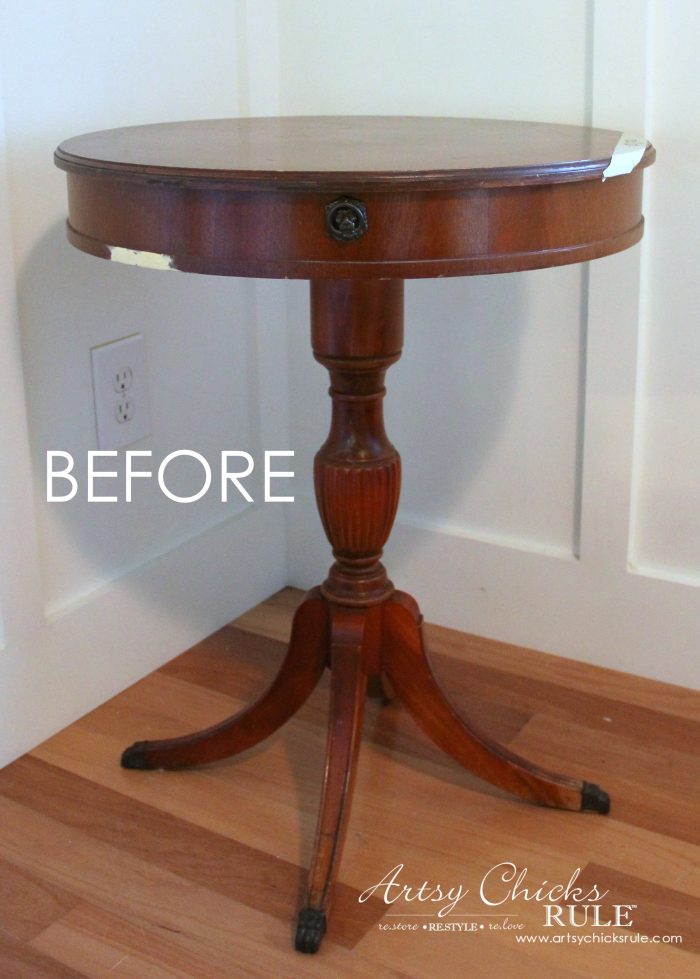
Here is how this one started…

Pretty basic but not bad for $8.
I knew immediately what I wanted to do with it. AND I knew immediately how darn adorable it would (and could) be.
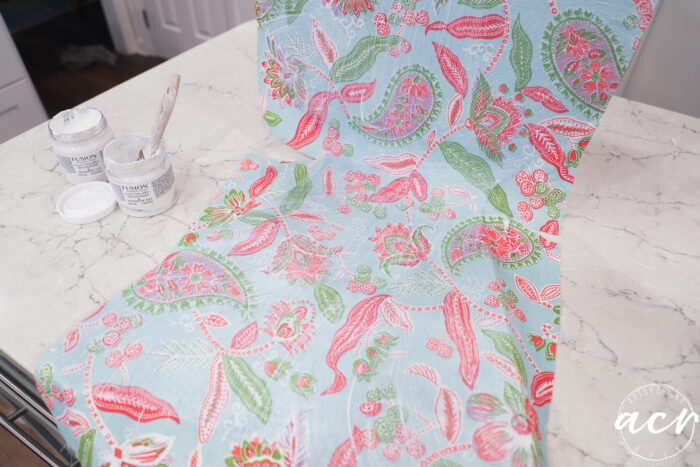
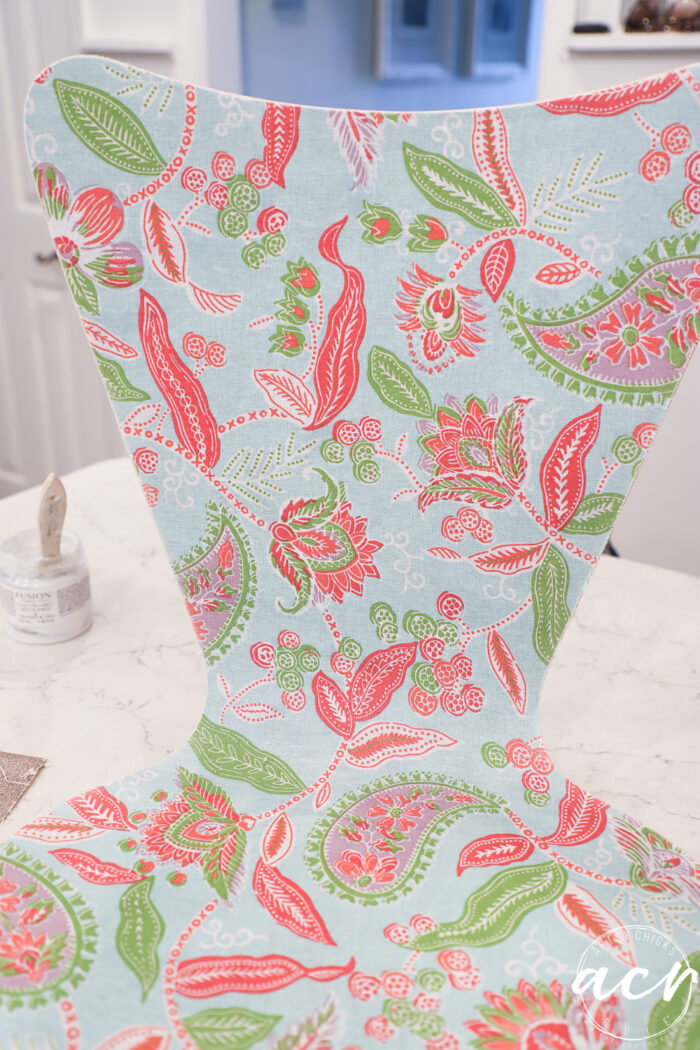
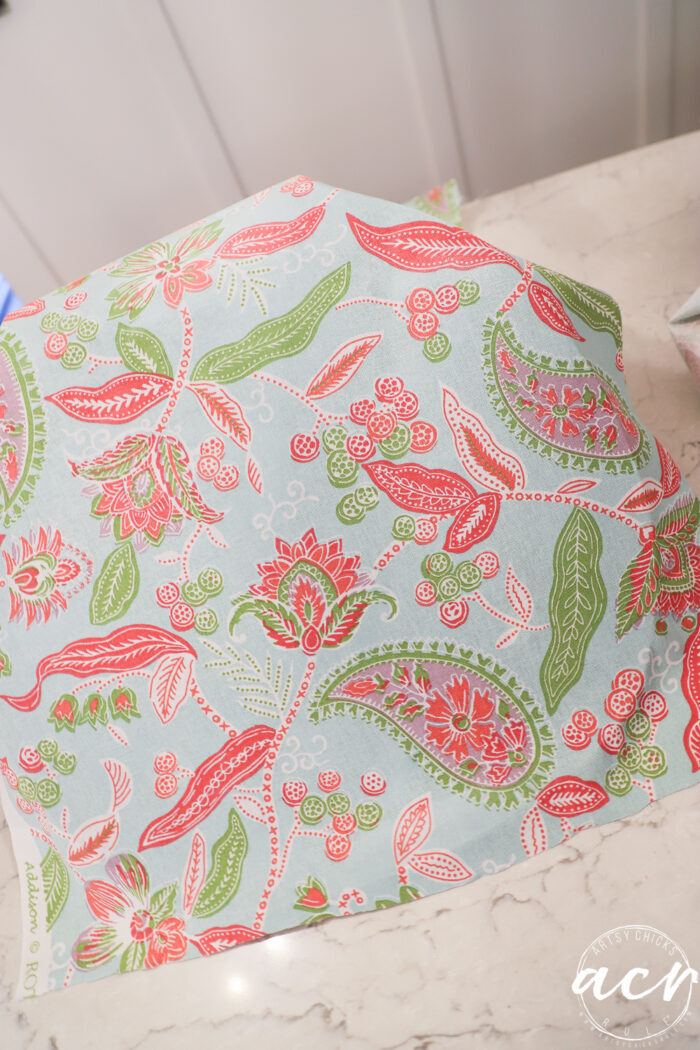
I hopped right on over to the fabric store and found this fun, colorful and happy fabric.
Can you just see it already?? Yep, bet ya can!
MATERIALS SOURCE LIST
- Decoupage and Transfer Gel
- Chip Brush
- Primer
- Satin White Spray Paint
- Fabric of your choice
- Sandpaper
- White Paint
- Tough Coat Matte Topcoat
- X-Acto Knife
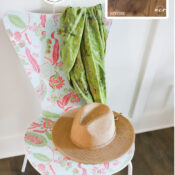
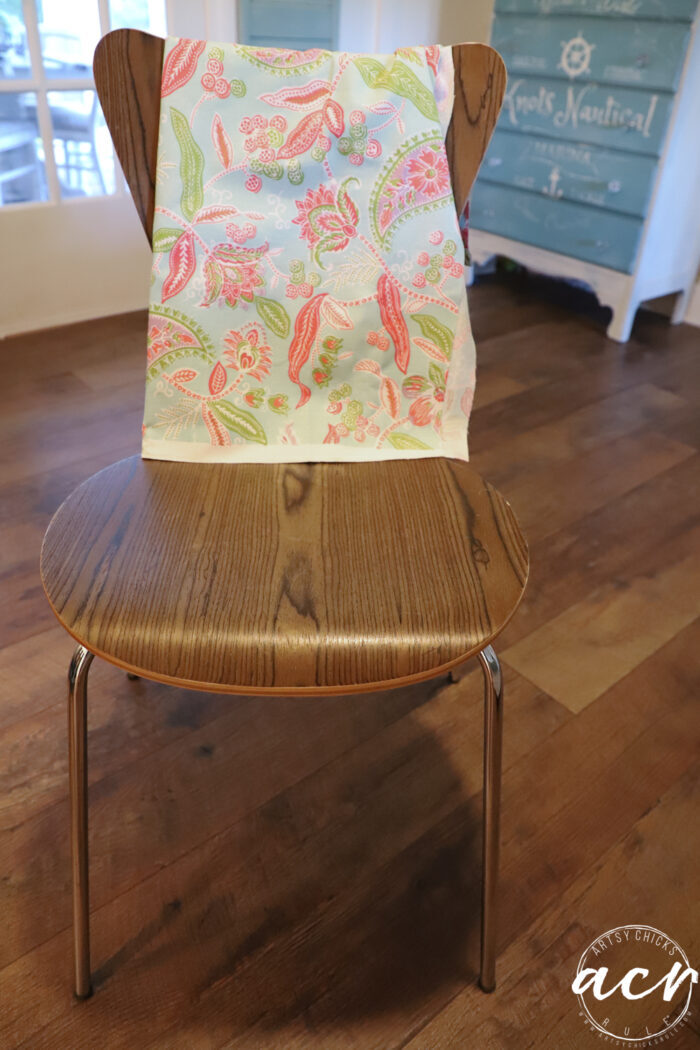
I began by cutting the fabric just slightly larger than I needed to cover the front of the chair.
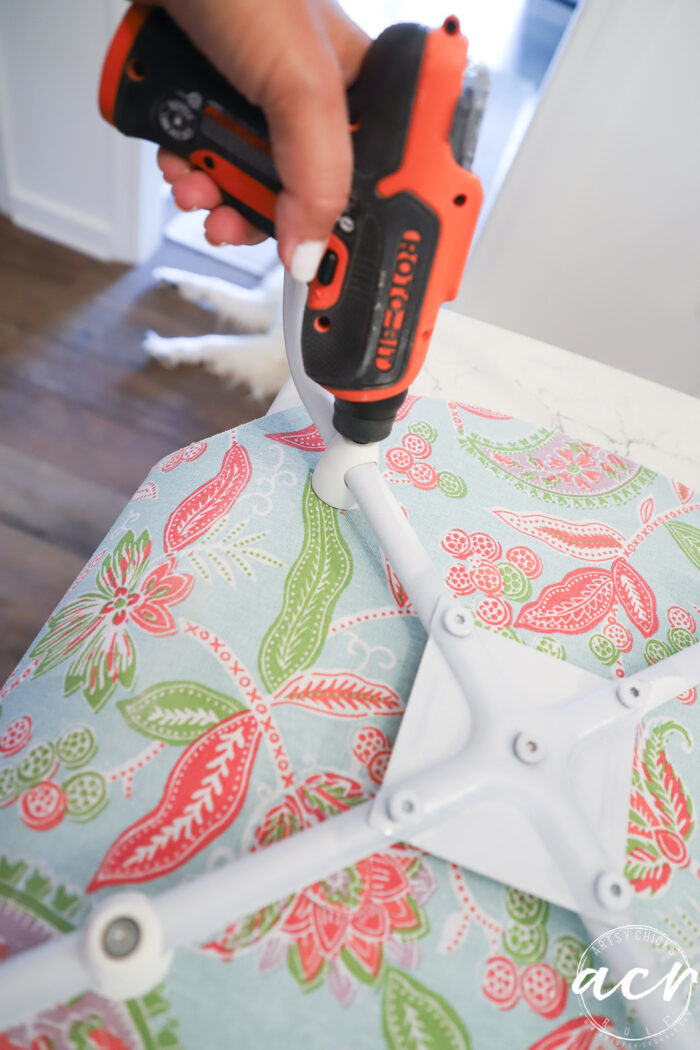
Then I unscrewed and removed the base.
I lightly sanded the metal and sprayed it with Primer. After that was dry, I sprayed it with Satin White Spray paint.
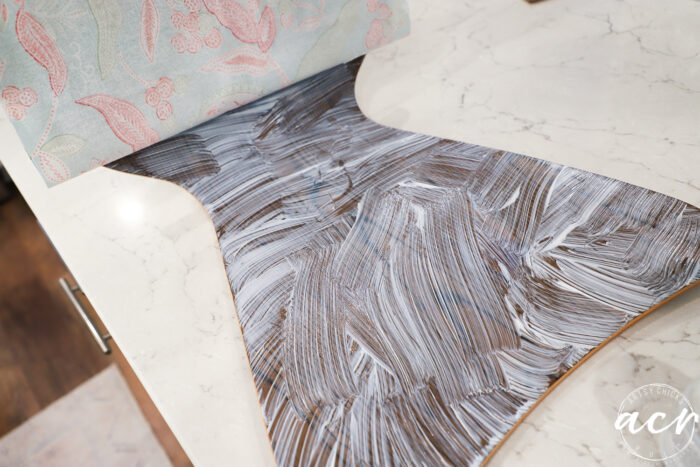
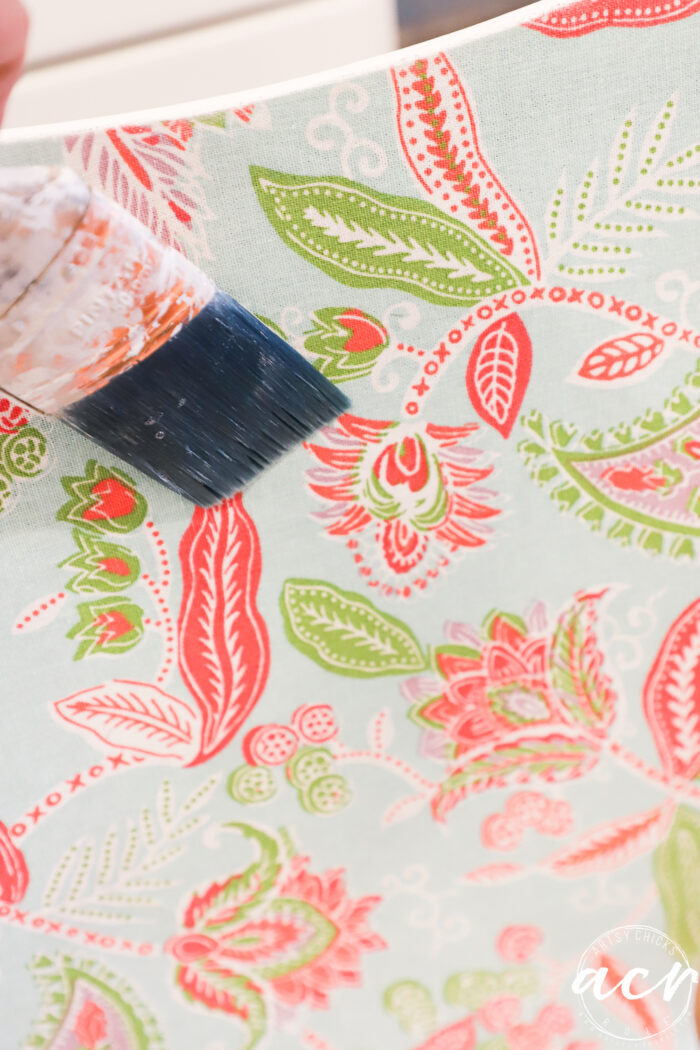
I applied our Decoupage and Transfer Gel to the front of the chair with a chip brush…
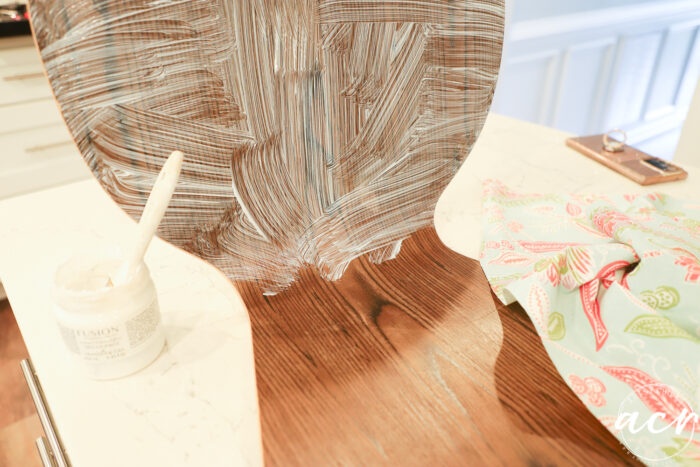
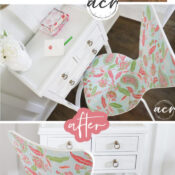
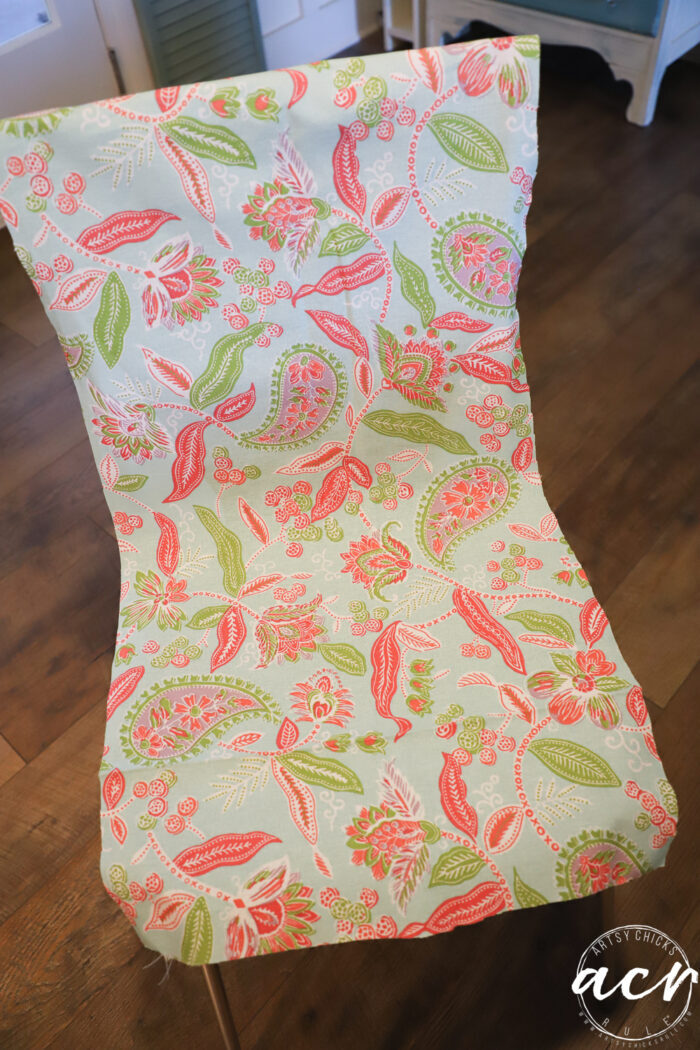
Then laid the fabric over top pressing firmly all over.
In hindsight, I wish I had sprayed the edge area there white before doing this step but I didn’t!
Oh well.
That would have been a big timesaver and provided a little better coverage at the edges.
I applied more of the Decoupage Gel to the front, pressing very firmly, especially around the edges.
Let that dry.
Oh hey, there’s my sidekick…always literally by my side. :)
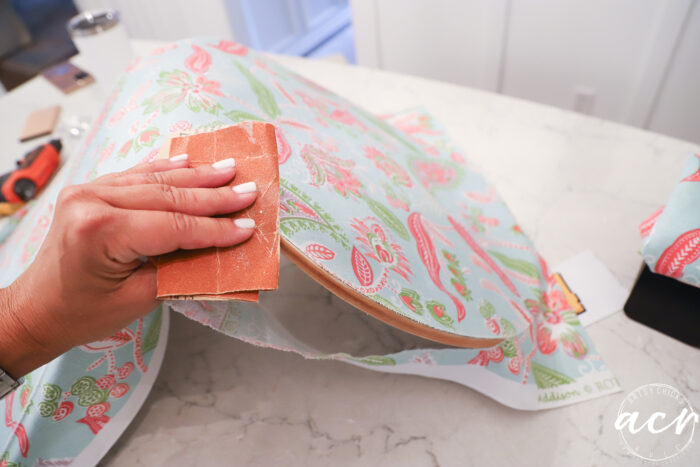
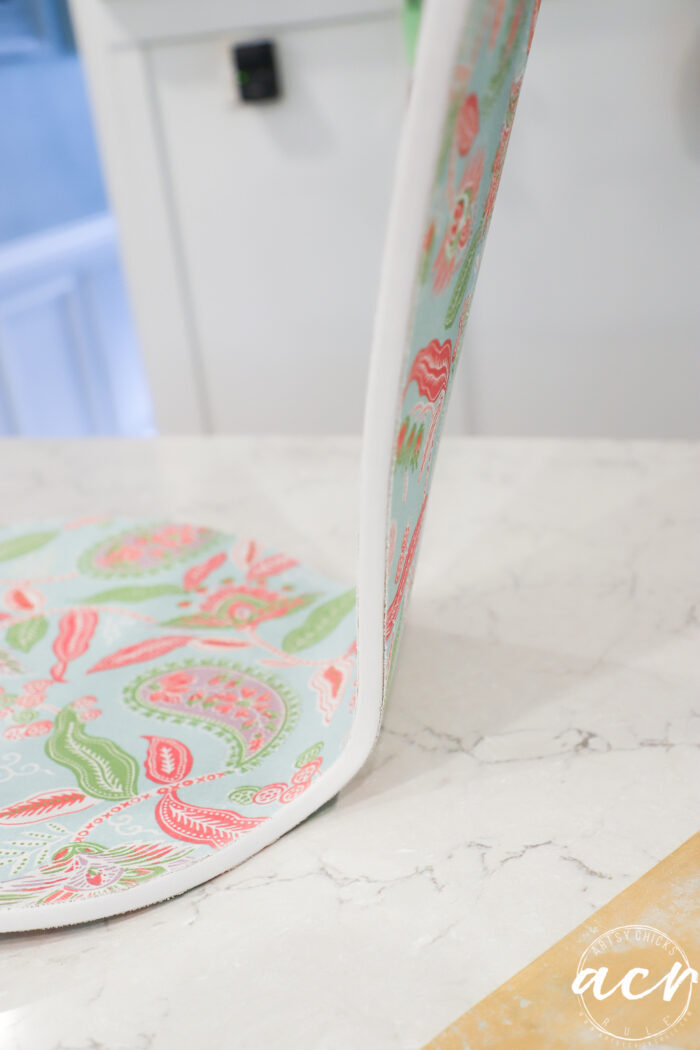
Okay, once it is all good and dry, I sanded the edge with sandpaper to separate it from the chair.
This gives a very good edge, much better than one I could cut.
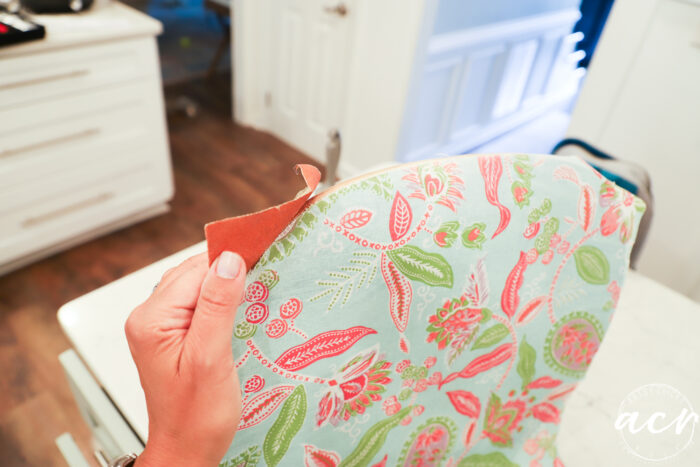
See?? Just looky there. All done and nice and neat.
Yes, it is a little time-consuming but it works great.
Don’t want to do it this way?
Here’s another way I did it that didn’t involve sanding the fabric away but I also didn’t cut it to the exact size on this one either.
Check it out here >>> French Fabric Decoupage Tutorial
Before beginning on the back/underside, I removed the rest of this hardware. I could’ve just gone over it with the fabric, then try to cut around them but I figured it would be less work to just remove them first.
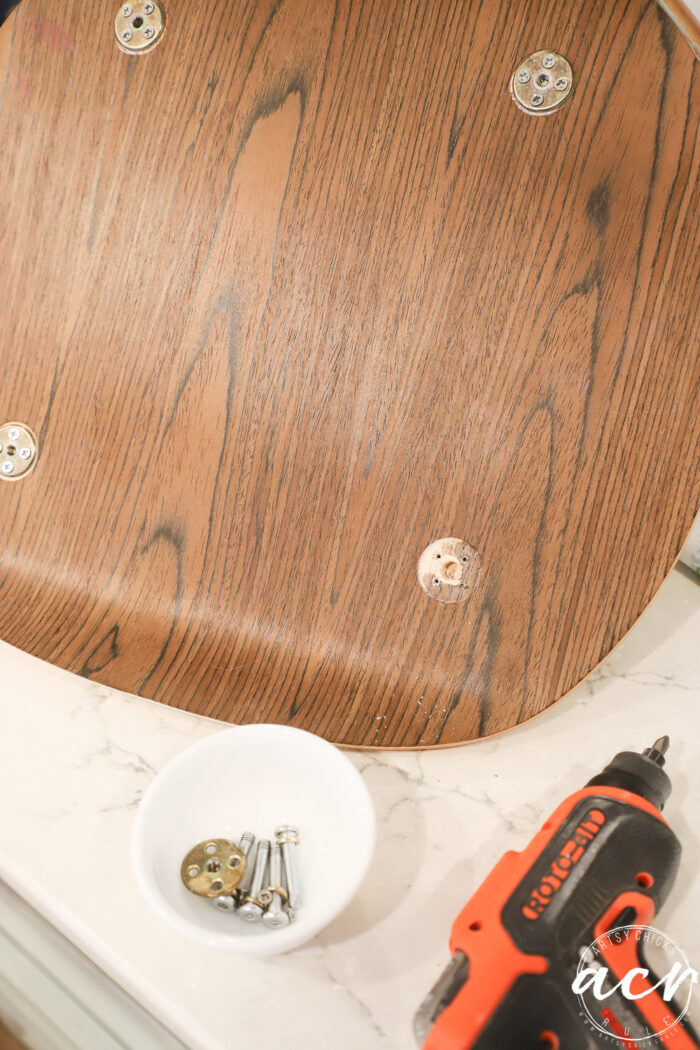
A little tip… keep all your screws, etc, while working on a project, in a small dish like this.
So much easier to keep up with.
I applied the back/underside just like I did the front.
The only difference is I didn’t apply the top coat of Decoupage Gel until I sanded the fabric away.
Once that was all off, I applied the top coat of Decoupage Gel.
By the way, it may have been overkill to apply that top coat as I was planning to put a poly coat to finish it off. But I did it anyway as I wanted the fabric as secure as I could get it.
Once that was dry, I used an x-acto knife to cut out the circles to put the hardware back on.

Simple!
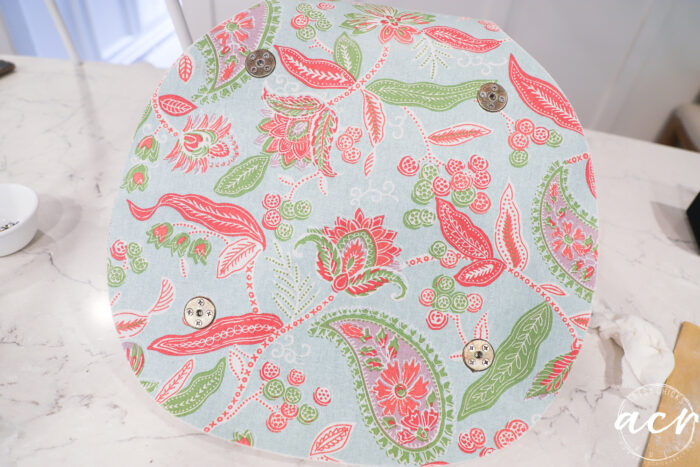
And looks so nice and neat.
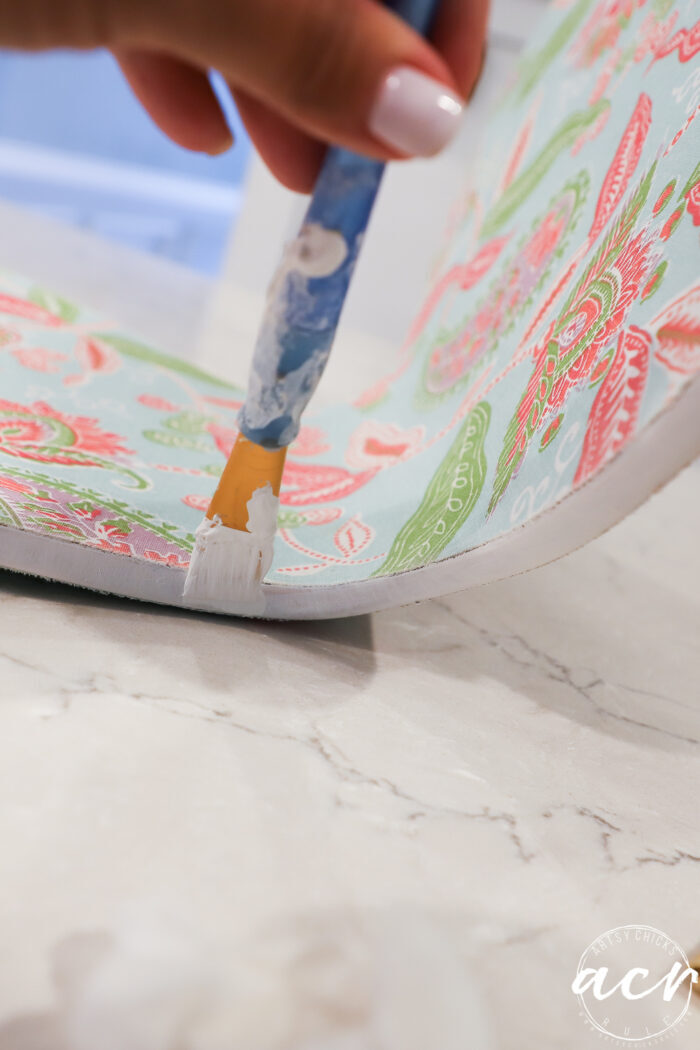
After that last coat of Decoupage Gel was dry, I began painting the edge with white paint.
See how it might have been better to spray those edges white first?? See where the fabric meets the wood?? It’s dark because the underneath area is still dark instead of white.
I did a few coats to cover well.
Once that was dry, I applied a top finish coat to the whole thing. I used Tough Coat Matte.
And finally, the base gets back on with 4 screws.
See my friend over there, always sleeping? haha
But oh so darn cute.
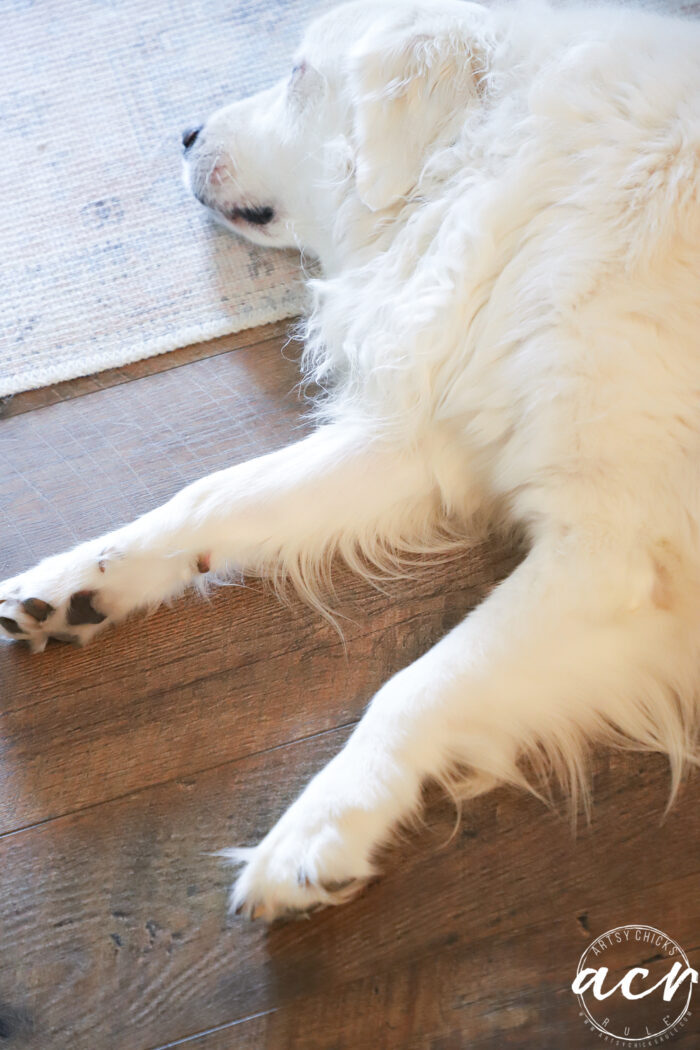
He’s the best.
Okay, once the poly coat is dry, I actually took a very fine piece of sandpaper and went back over the whole thing very lightly. The poly tends to raise the “grain” (just like on wood) of the fabric so I like to smooth it out a bit. The edges, seat, etc. Now it’s nice and smooth all over. That also gets any little frays that might have been there on the edge. The poly stops the fraying, etc.
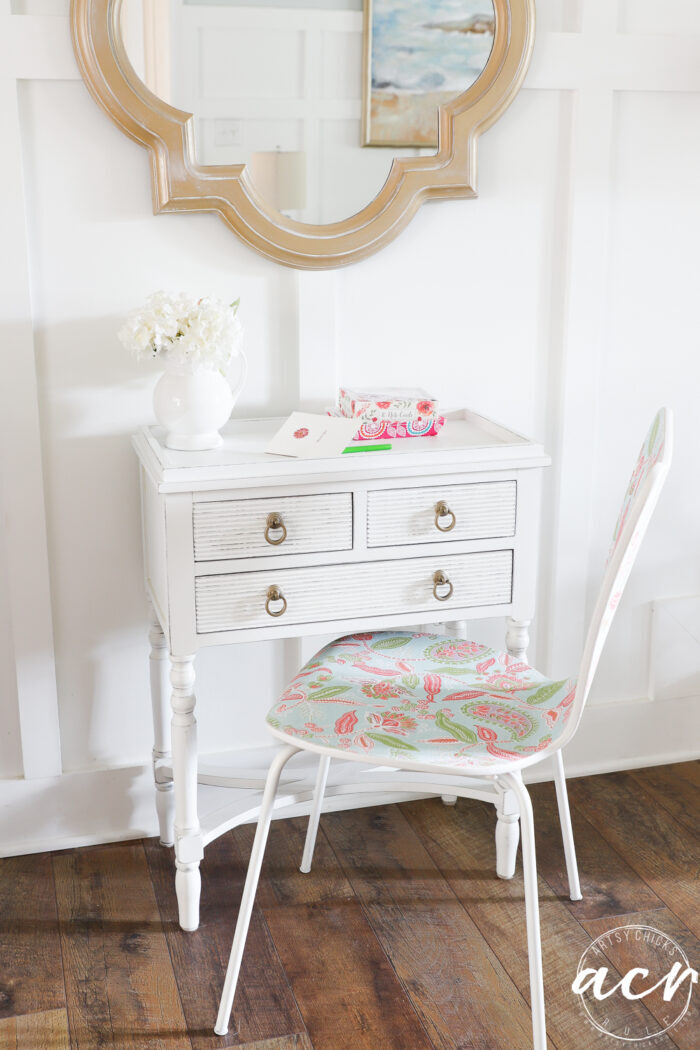
Voila! Here’s how to decoupage a chair with fabric…so simple, really!
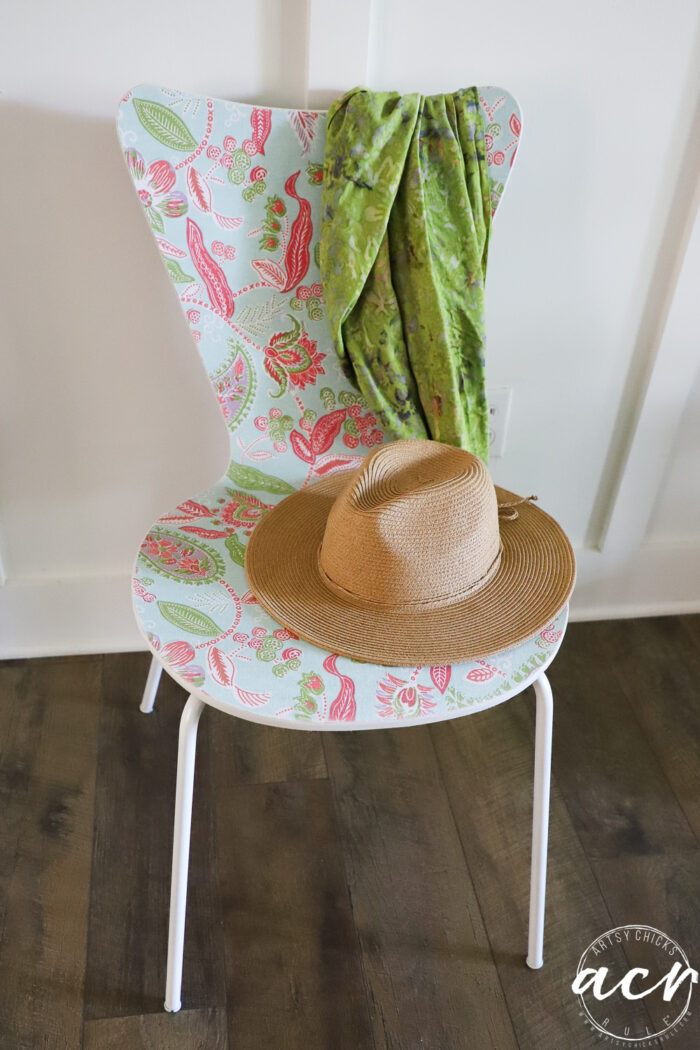
Isn’t she a cutie now?? That is such happy fabric, I love it.
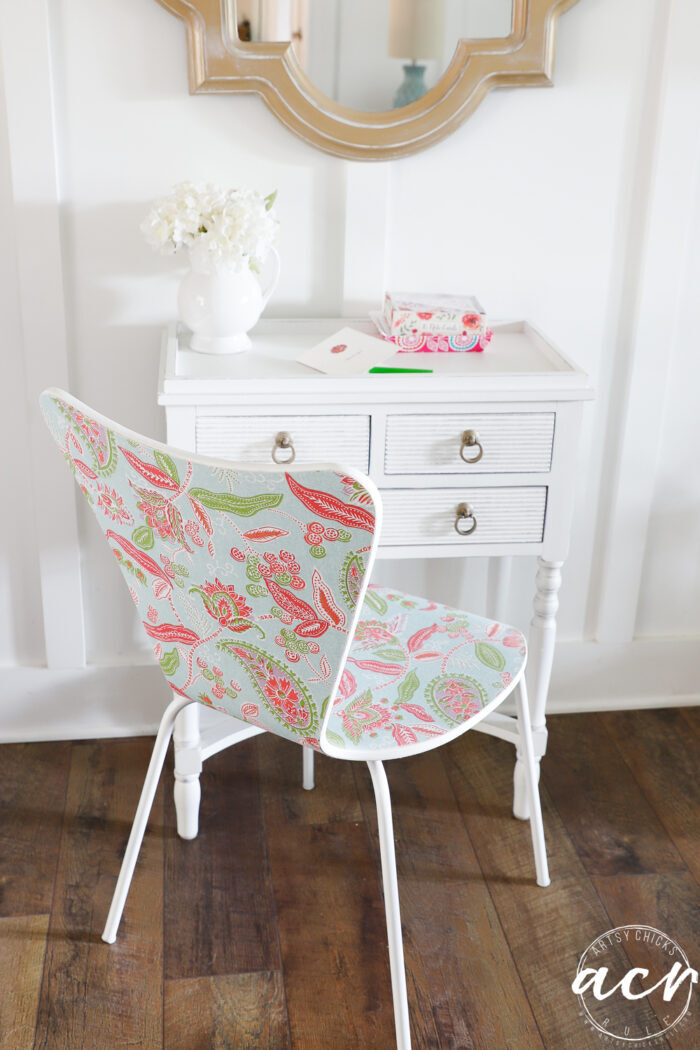
I can see this behind a white desk, or dressing table in a young girl’s room, can’t you?
That’ll have to do, lol…close enough. You get the idea, right?
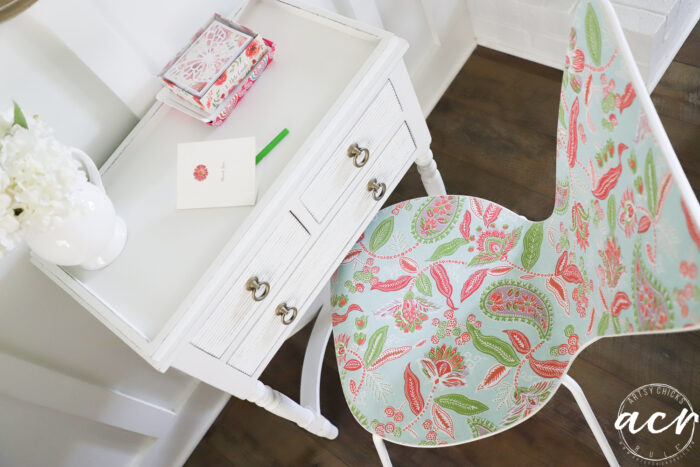
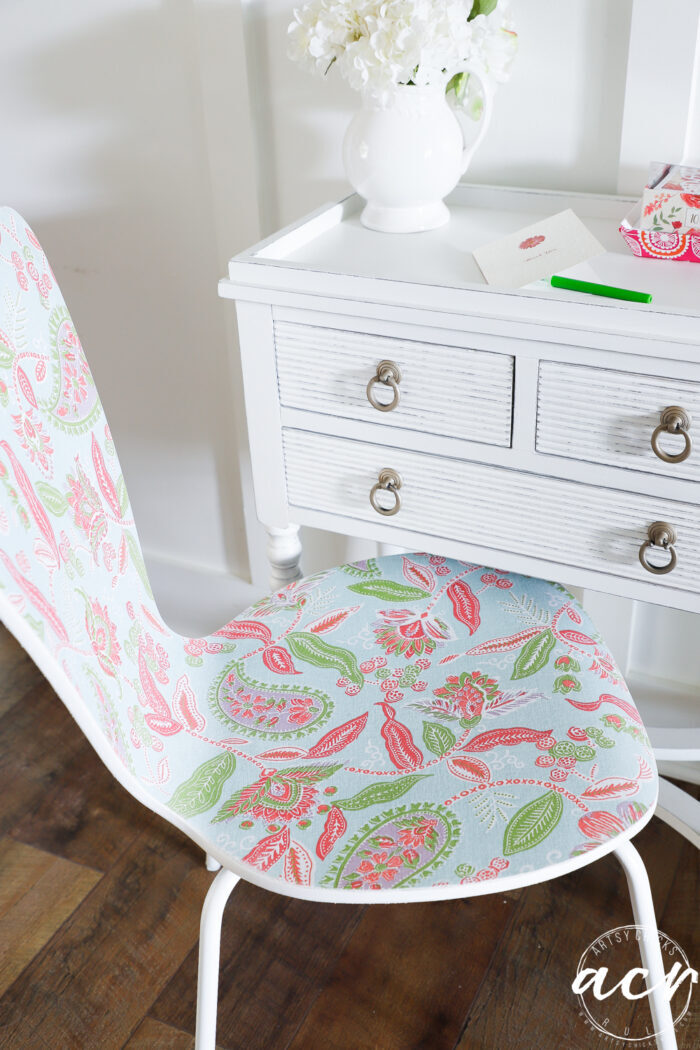
Up close.
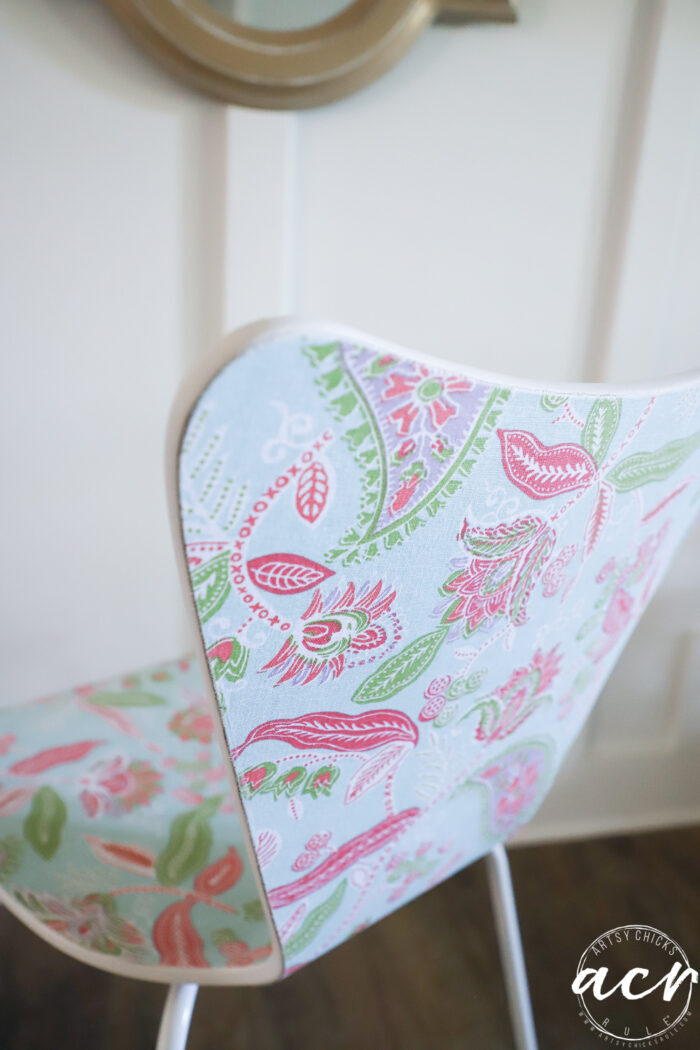
And the underside is just as pretty as the top.

Pink and green…and aqua. Love these colors all together.

So next time you are at the thrift store, don’t pass one of these up! You can easily transform them into something beautiful.
I hope I can find another chair similar to this. I have another idea for a fun (different) makeover!
PIN it to save it!!
Don’t forget to hop on over and visit my friends!
I’ll be back later this week with another “Throwback Thursday”!! See you then! Have an amazing week. :)
xoxo


")


That is truly beautiful.
Wowzers!! That is one gorgeous chair now, Nancy. You rocked it!
Thanks, Larissa! xo
Thank you so much! :)
I honestly held my breath for a moment when I saw this iconic chair about to be transformed :)) I LOVE what you did, it looks amazing and so much prettier.
Aw, thank you so much Janette! :) xo
Your chair project turned out so well. Thanks for the inspiration :)
Thank you so very much! :) xo
That chair was the perfect shape for this technique and turned out great, Nancy! I never would have thought to do that, but now I’m looking for things to decoupage with fabric.
Thanks, Marcie! It was fun and I hope I find another one like it soon. Have a wonderful weekend! xo
Very cute Nancy! I would have just painted the back and underside but seeing it covered has changed my mind! Great colors in the fabric and it matches the vibe of the chair! Love it!
Thanks, Gwen! :) Yes! It was really not too bad, just a few screws to take out and that made it SO easy! xoxo
Nancy, can I literally us “any” fabric or does it need to be thicker upholstery fabric?
Great step by step, ty!
Yes! In my opinion, the thinner fabric would work best. I wouldn’t use upholstery fabric when decoupaging it:) xo
Beautiful! Love the way this looks! Whew, I was tired just reading how you did it! That chair is the perfect style for this project!
Aw haha, it was not too bad at all! Pretty simple really! (you know I like easy!! lol) Thanks, Cecilia, have a wonderful weekend! xoxo
This chair IS HAPPY now! Love the fabric and how you finished off the edges Nancy! XOXO
Yes, isn’t it?! I agree! Thanks so much, Denise! xo
So cute Nancy! My gran girl would love it. The burst of color just great. I never thought to decoupage fabric, but I’ll have to give it a try.
Aw, I bet she would, Niki! Yes, do, it’s a great way to update things! xoxo
Your finished chair looks amazing, Nancy! What a beauty! I love everything about! Great job!
Thank you so much, Gail! xo
SO cute!! I never thought to decoupage a chair, and it looks so good! XOXO
Thanks, Christy! Muah! xo
This is super cute, Nancy! I love those fun colors too. xo
Thanks so much, Jen! :)
LOVE IT!!! Great makeover! You think of everything…..talented.
Aw, thank you, my sweet friend! Wishing you a wonderful weekend! xo
Just beautiful, Nancy! And that fabric is perfect. Amazing job as always!
Thank you so much, Jamie! :) xo
Wow. I didn’t know one could decoupage with fabric !!
That is sooo cute. :)
p
Oh yes, it works great! Thanks, p! :)
Oh my goodness, look at that transformation! WOW! That ugly ole chair is made purdy!
Is that Lilly Pulitzer fabric? Sure looks like it.
My nieces would absolutely adore that chair. Well done, Nancy.
Thank you so much, Michele! And hmmm, I’m not sure but it sure looks like it could be, doesn’t it?! Happy weekend to you! xoxo
Hi Nancy! The chair looks fabulous! Great job!
Thanks so much, Cheryl! have an amazing weekend! xoxo
Beautiful!
Thank you, Susan! xo