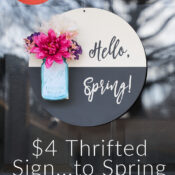
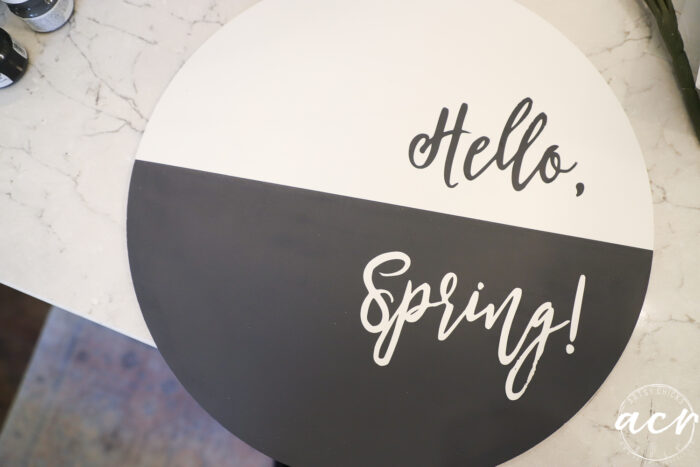
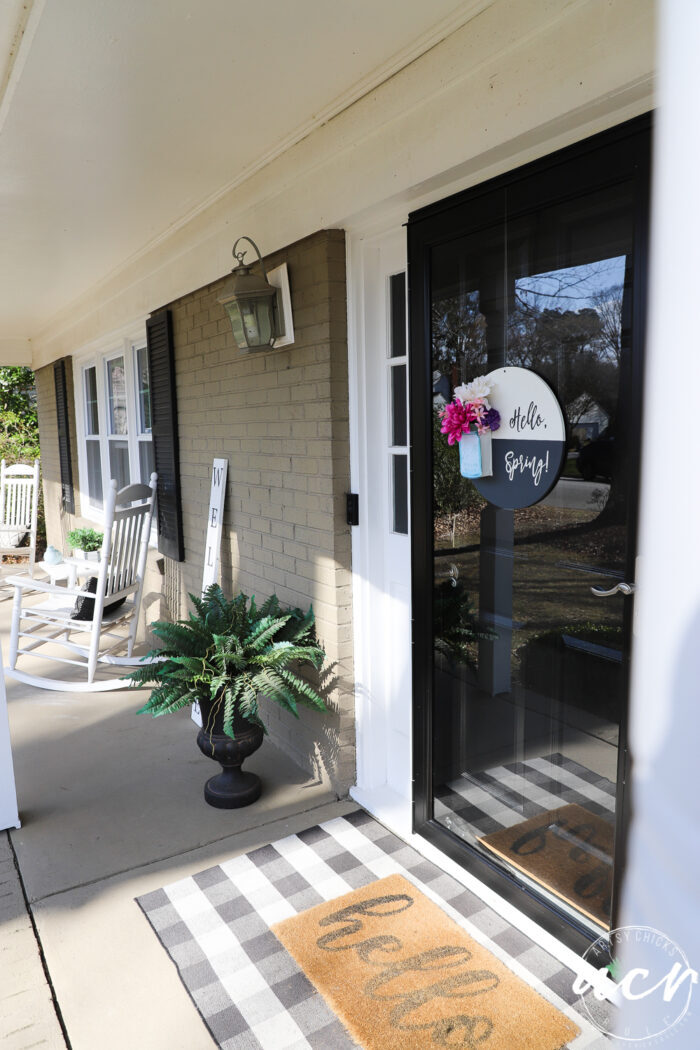
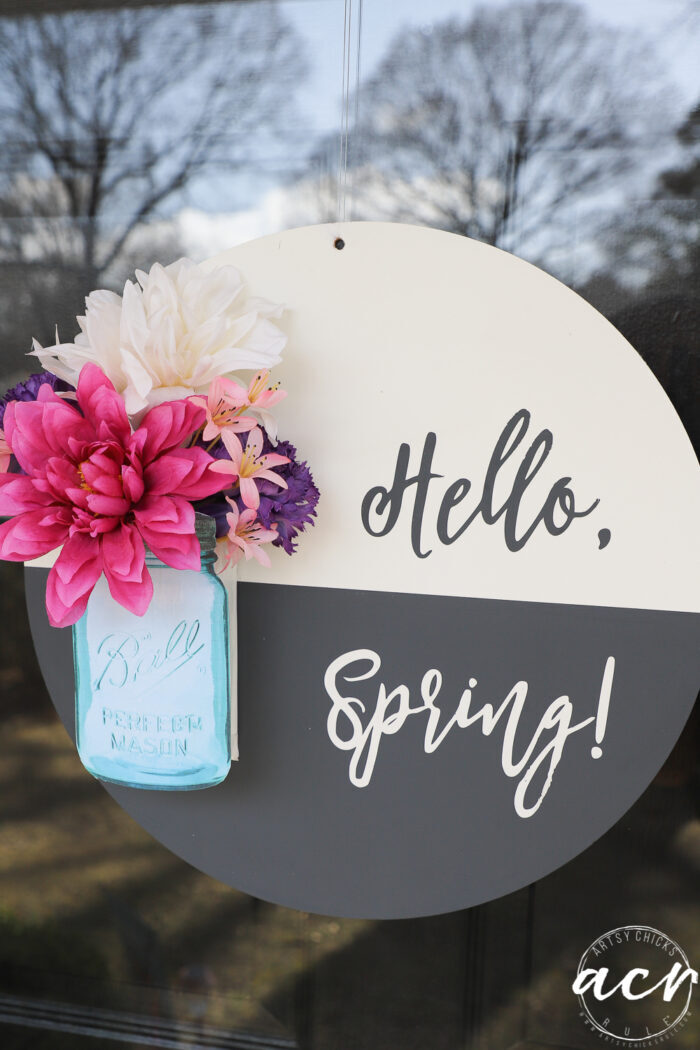
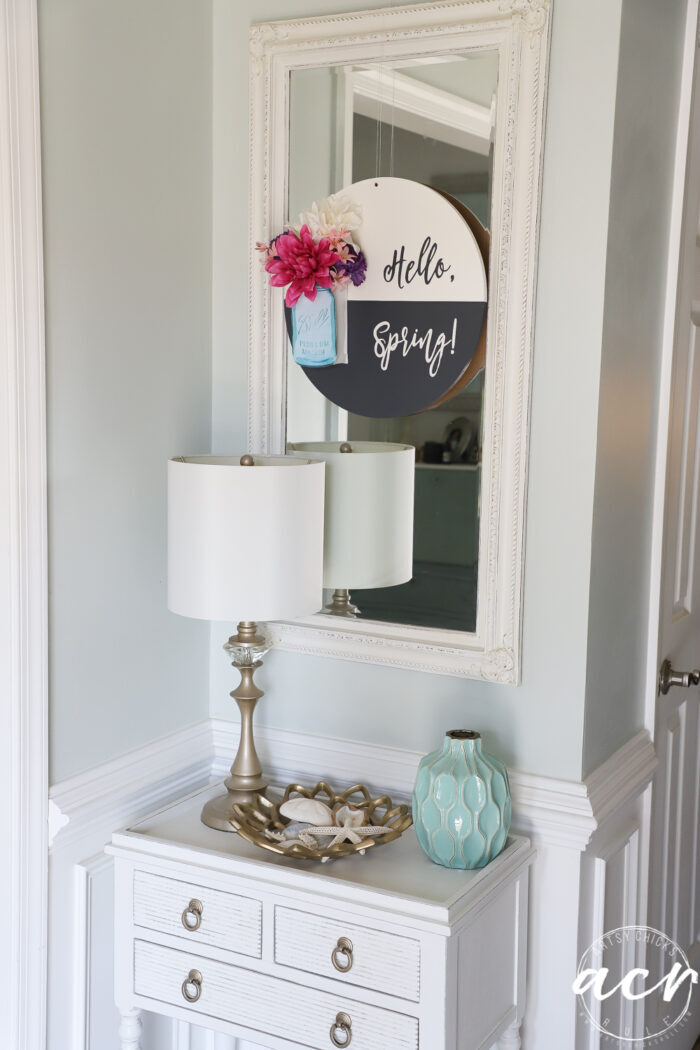
Black and white with a pop of hot pink, perfect touch for this thrifted $4 “Hello Spring Door Hanger”!
Hello beautiful friends!
I am sitting here writing this on a sunny, gorgeous “winter” day with the windows open and a balmy 74 degrees! Yippee!
Love it SO much and SO ready for it to stay but not quite yet. That’s okay, I’ll take all these unseasonable warm days mixed in with cooler anytime!
How is the weather where you are? Are you getting peeks of spring yet?
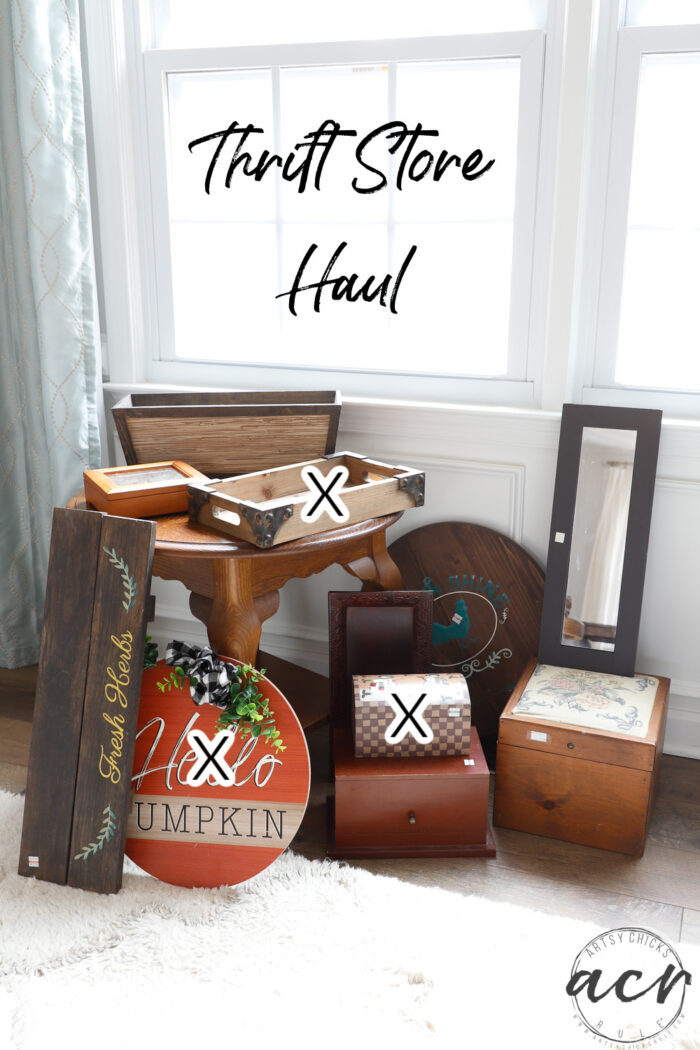
I’m so ready, I created a spring decor project for our Trash To Treasure Transformation group today.
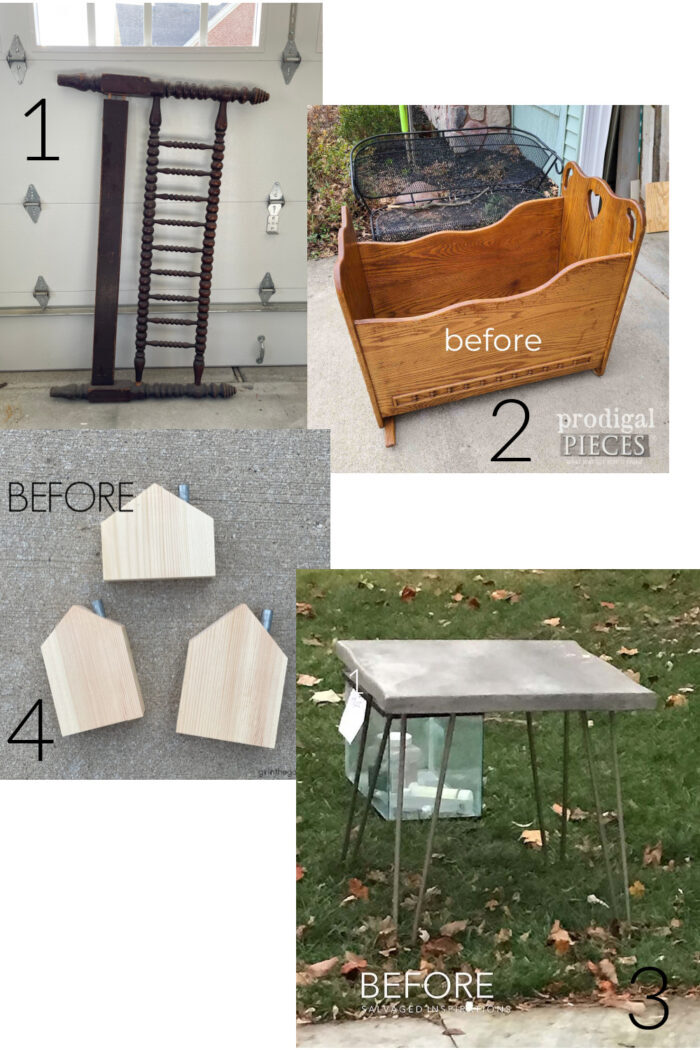
New around here? Some friends and I get together the second Tuesday of every month and share our “trash” turned “treasure. So be sure to scroll all the way to the bottom to see theirs.
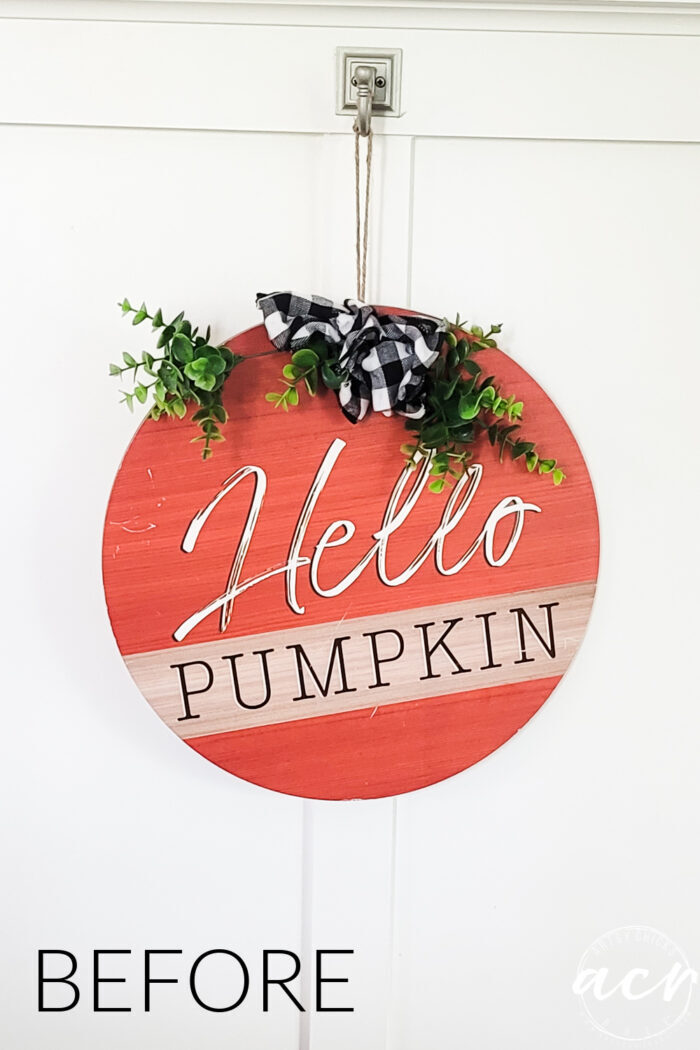
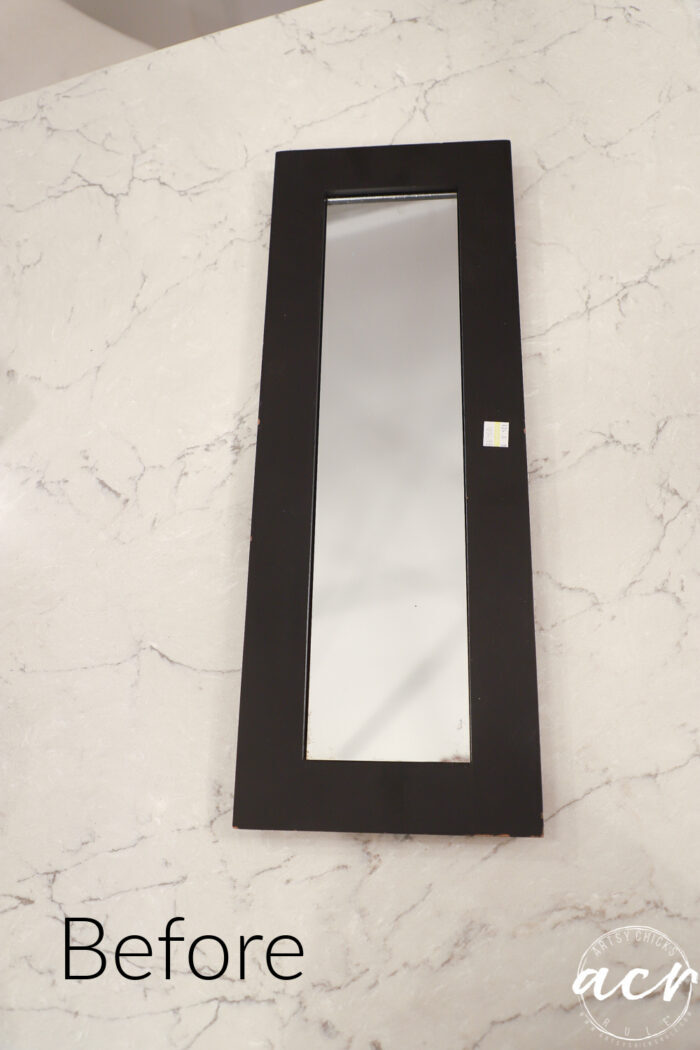
I picked it up for $4 and my first thought was I’d love to stick a jar on the front for flowers.
But hey, that’s not very practical and wouldn’t work well. lol
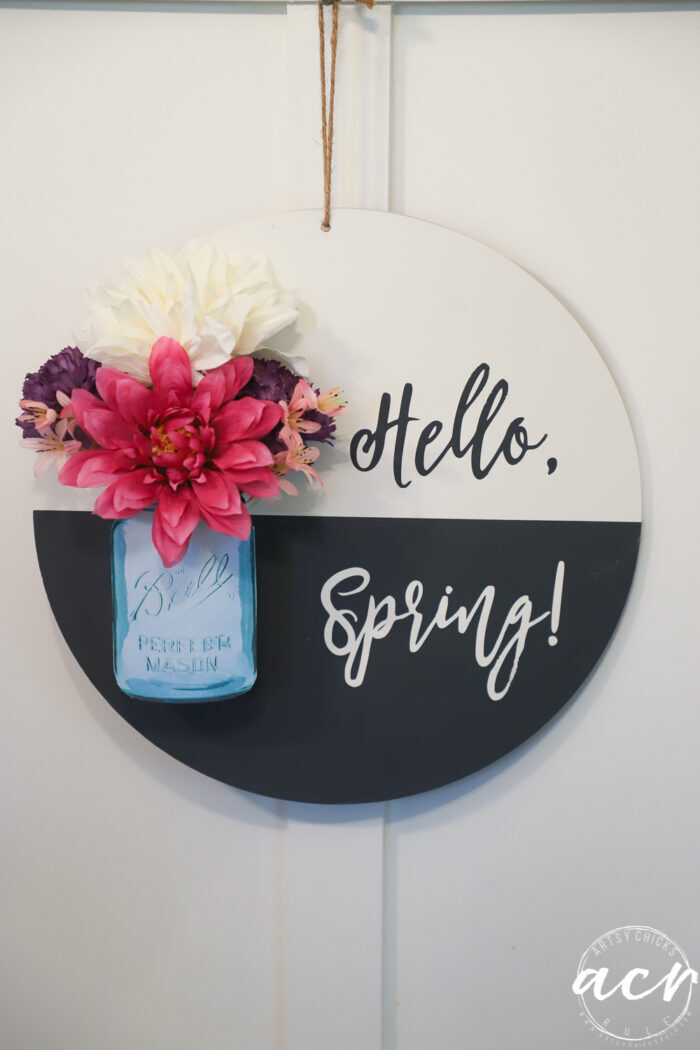
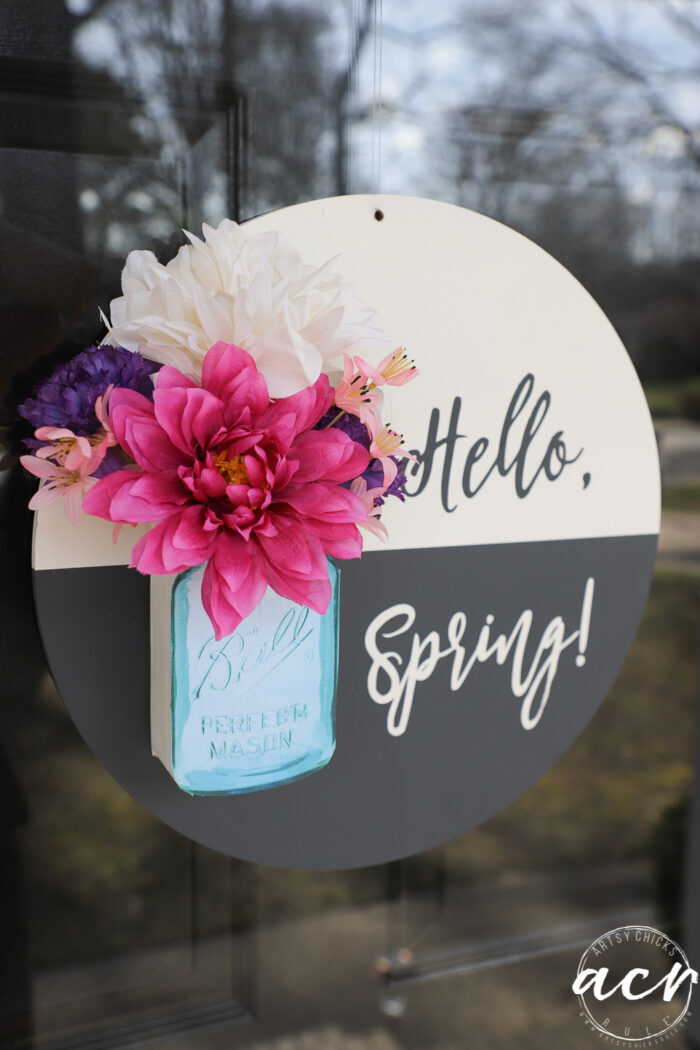
So, I did the next best thing, I decided to print out a blue Ball Mason jar instead.
But I had to figure out how to make it so I could put flowers (faux) “in” the jar.
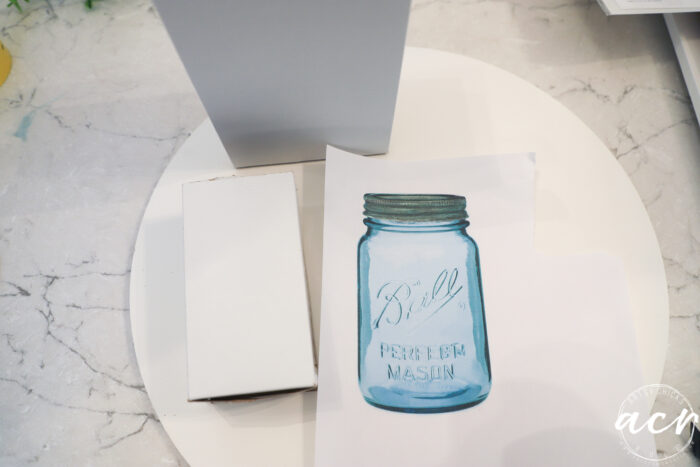
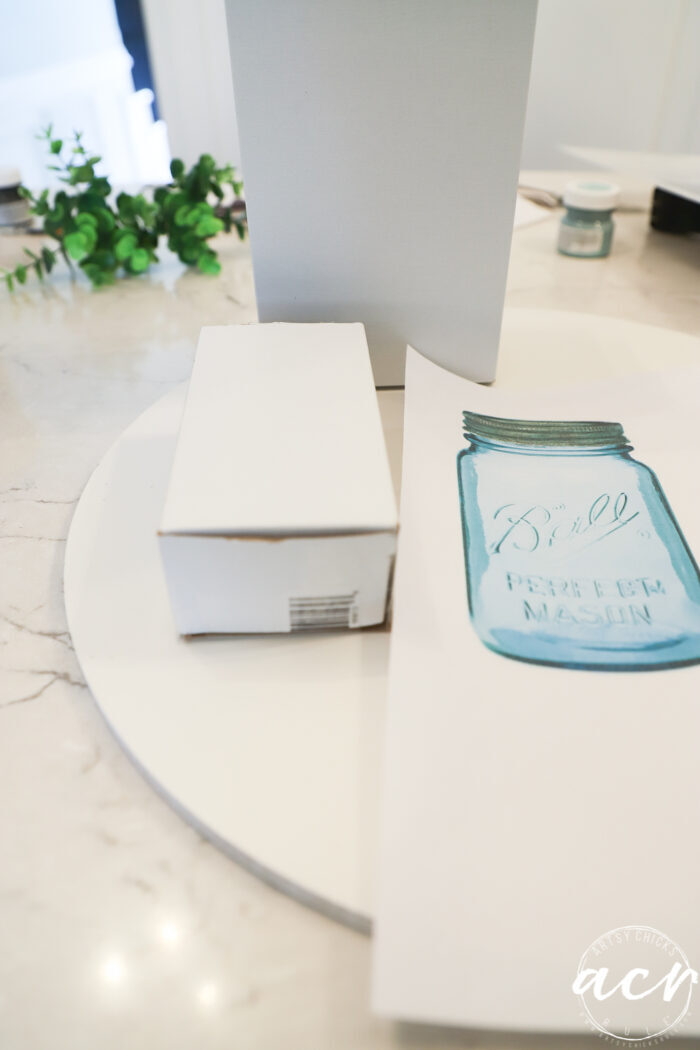
I thought of several ideas and then finally made my way to a simple (and thin) cardboard box. It was already white so it was perfect. And I had several so win-win again.
I cut one down and taped it back together so I could hot glue it to the board. (that I had began by spray painting white as you can see below)
The above (and below) photo shows the white cardboard box I had, the one I cut down to fit the sign, and the mason jar I found and printed online.
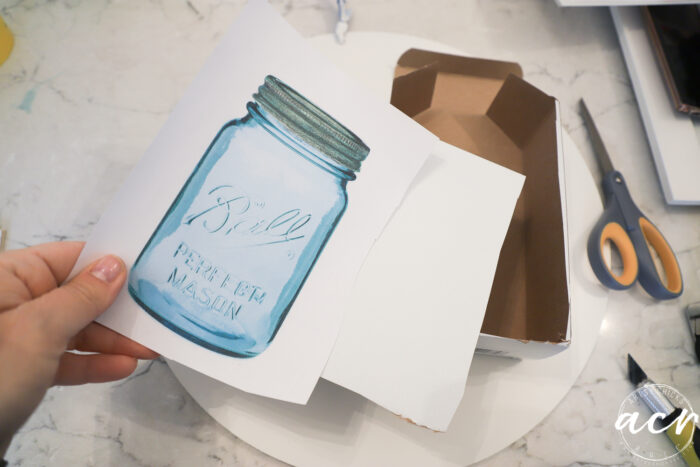
I sprayed my printed version of the jar with poly so the ink wouldn’t run when I decoupaged it to the cardboard.
I used my Decoupage and Transfer Gel to attach it to a piece of the cardboard and then once it was dry, I cut it out below.
Isn’t it so cute?
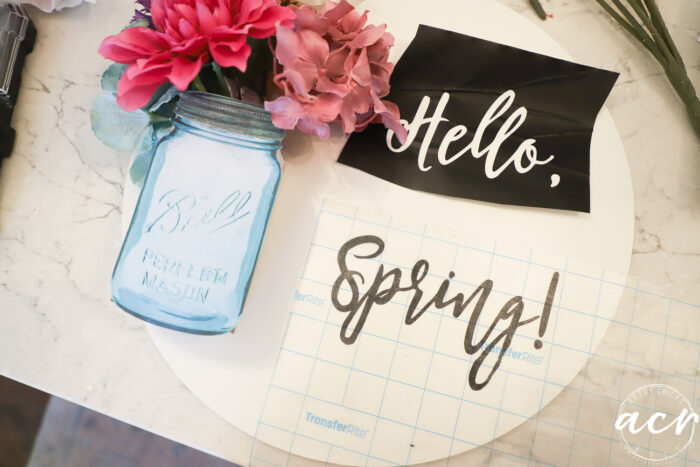
I laid everything out for placement before I attached the letters to the board.
Oh…let me back up a bit!
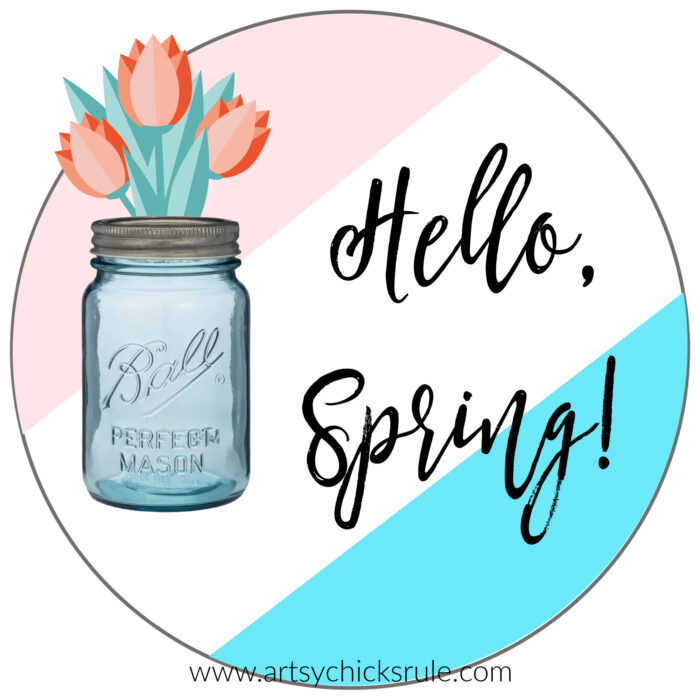
I worked in a program called Picmonkey to come up with the design and lettering.
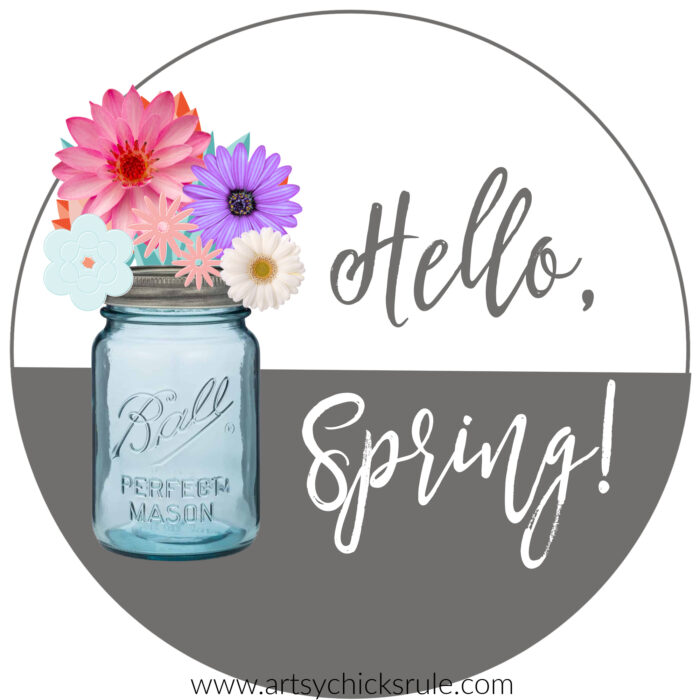
Here is what I came up with first…
I didn’t love something about it so kept going…here is what I came up with second…
Yes, yes, that’s it!!
Want the “Hello Spring” graphic?
>>>All of my graphics are free to my subscribers. Not a subscriber yet? No worries, you can become one right here. >>> Welcome!
As you can see above, I created one to be a “stencil” and one to be a …well, can’t think of what to call it but basically, I lay down the word spring and then paint the board. Then I remove the vinyl letters to leave the white underneath. You’ll see below.
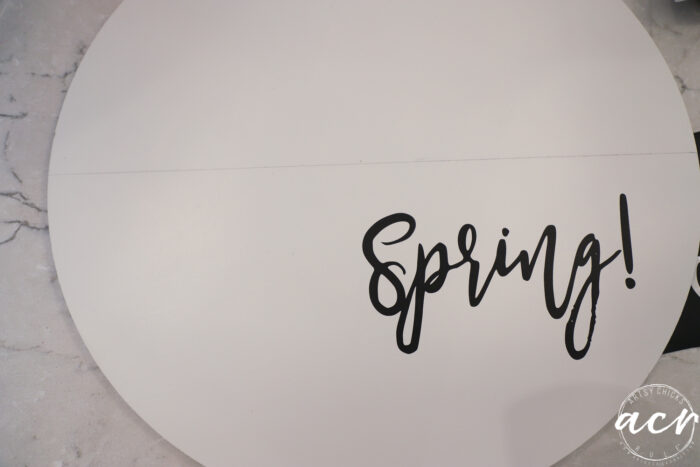
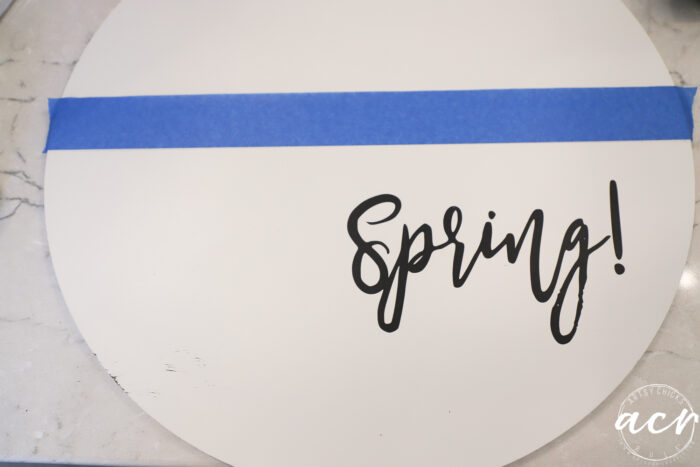
I measured and taped the board to paint. (and transferred the vinyl letters to the board)
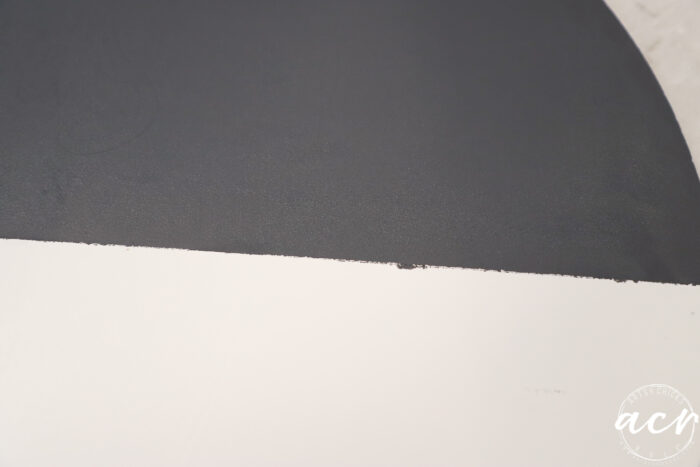
Then I used tape to create a nice, crisp line.
I used these two paint colors (Ash and Soapstone) mixed together to come up with this pretty, muted black shade.
Except…a nice, crisp line I did not get. Boo.
That’s what I get for not using my favorite tape!!
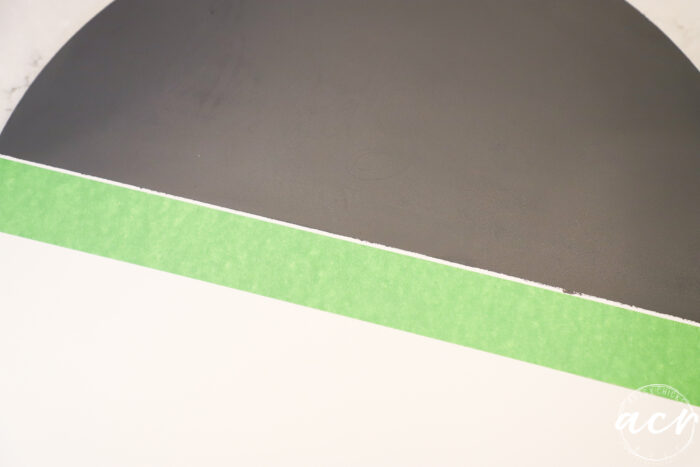
So I did it again with my favorite tape.
FrogTape for the win! Look how crisp and straight it is. So good.
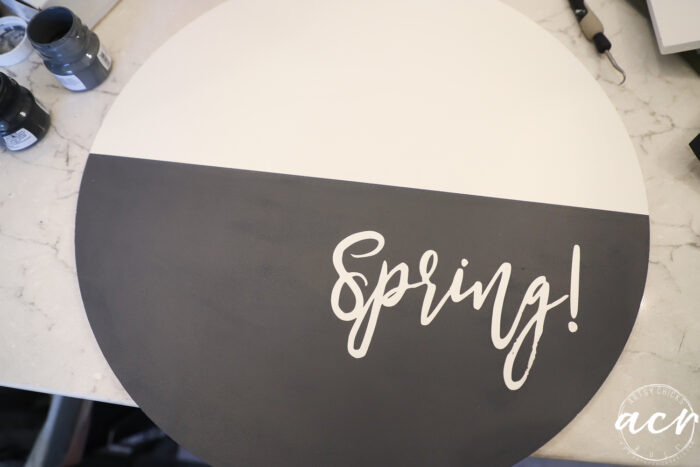
See how I’ve pulled the black vinyl letters revealing the white underneath??
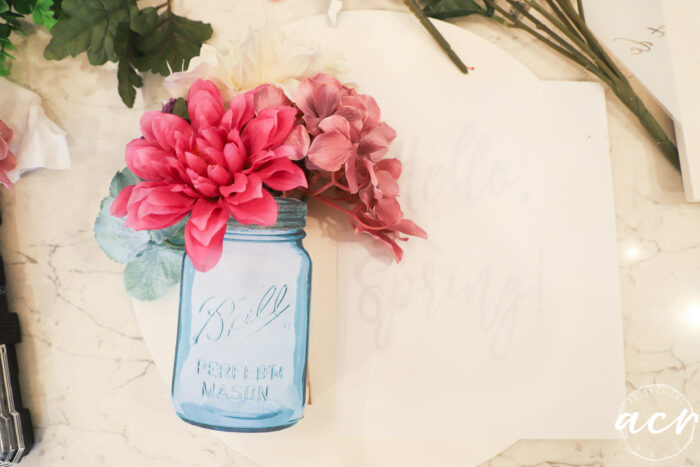
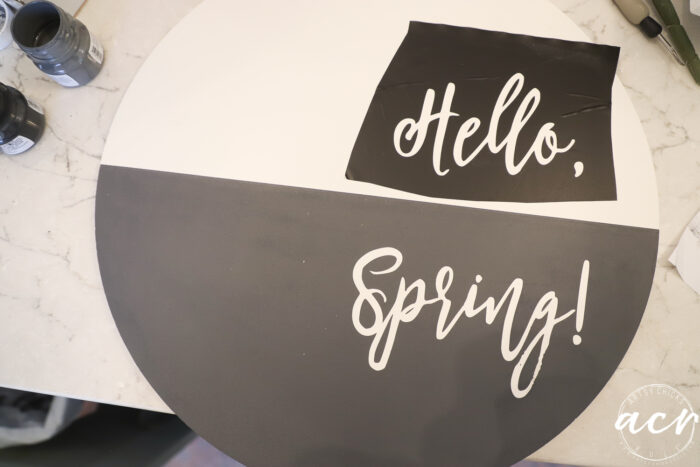
Now I’m going to use the “hello” portion like a stencil to create the gray/black letters.
Voila!
Easy peasy!!
Hot glue the box to the board, add flowers and done!
Thank you, Jan! On the other side right in the middle, thankfully, is a little “knob-ish” piece that is part of the hydraulic of the door. I just hook it there and let it hang over the door. :)
Don't Miss a Thing! Plus,Get My FREE ebook,"Creating Fabulous Finishes"!
Get My FREE ebook Now!
Want to be inspired, learn new skills, discover all the tricks to furniture makeovers, creating new out of the old and more?
You'll also receive my FREE ebook "Creating Fabulous Finishes" PLUS access to my private Printables Resource Library, too!
Sign up to get the Weekly Newsletter! Our emails include an unsubscribe link and you may opt-out at any time. Your information will *never* be shared or sold to a 3rd party.
Don't Miss a Thing! Plus,Get My FREE ebook,"Creating Fabulous Finishes"!
Don't Miss a Thing!! Plus Get My FREE eBook "Creating Fabulous Finishes"!


")

")


")
")

How super cute, fun, and easy! I’m loving this weather too.
Thanks, Larissa! xo
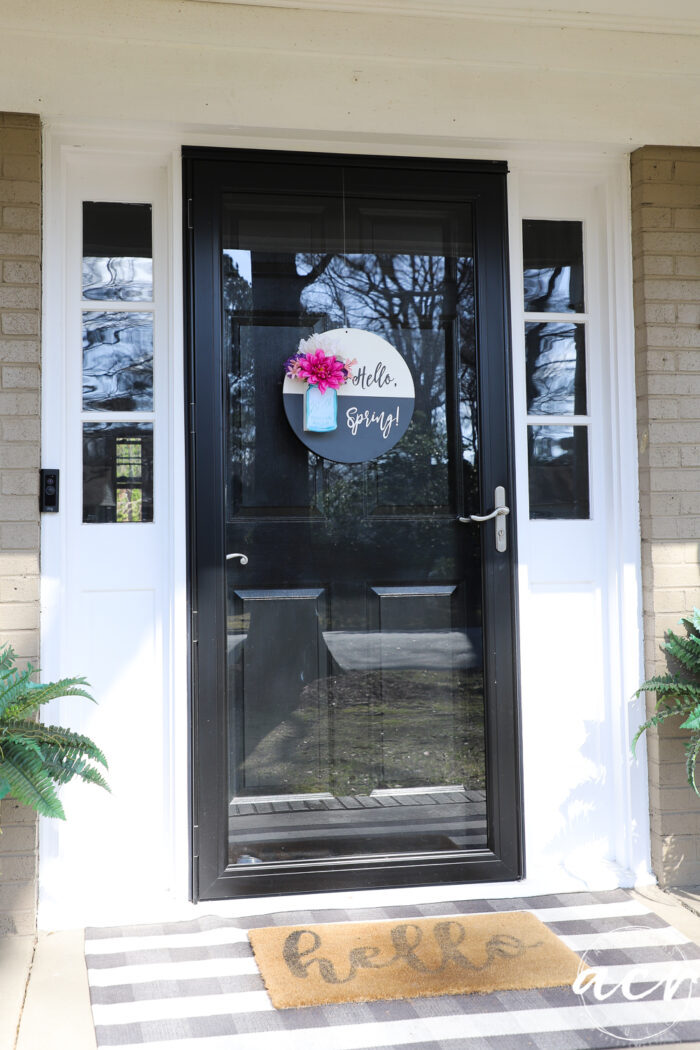
How creative and pretty! I hear you about Frog tape. I love how you created the Ball jar vase! Way to go and it look great on your door!!!
Thank you, Christina! So fun!! :) xoxo
Very pretty Nancy! I love it! xoxo Aunt Jo!
Thank you, Aunt Jo, love you! xoxo
Great transformation and so easy! Thanks for your inspiration!
Thank you, Carol! xo
That turned out so cute! What a great idea!
Thank you, Susan! xo
That was an ingenious solution, Nancy. It really does look like the flowers are in the jar!
Thanks so much, Marcie! So fun! xoxo
I gotta admit I wasn’t real sure how the ball jar was going to turn out. This is really a fun piece Nancy!
Haha, you and me both! ;) Thanks, Niki! xoxo
Super cute, Nancy! I really enjoyed the warm days and am so ready for spring now too! XOXO
Thanks, Christy! SO beyond ready! xoxo
Oh I love this Nancy! It turned out adorable and so spring-eee! I need one of those Silouette CAmeos!
Thank you, Denise! Yes! They make things so easy! xo
You are so creative. This is so cute.
Aw, thanks, Debra!! It was fun to get my creativity going on this one! xo
Super cute, Nancy!!!! Love the clever use of the cardboard box!
Thank you, Audra! xo
So creative!
Thanks, Constance! xo
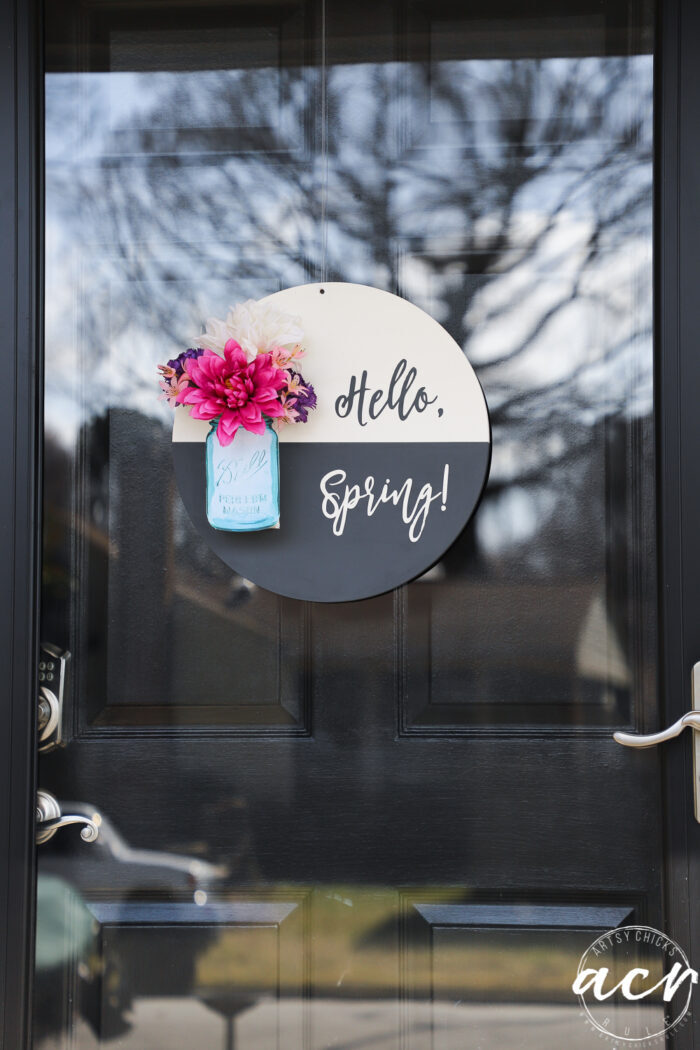
Great idea😊. How did you attach the fishing line to your storm door?
Thank you, Jan! On the other side right in the middle, thankfully, is a little “knob-ish” piece that is part of the hydraulic of the door. I just hook it there and let it hang over the door. :)
Super cute idea, Nancy! Bring on all the spring projects!! :)
Thanks, Jen! xo