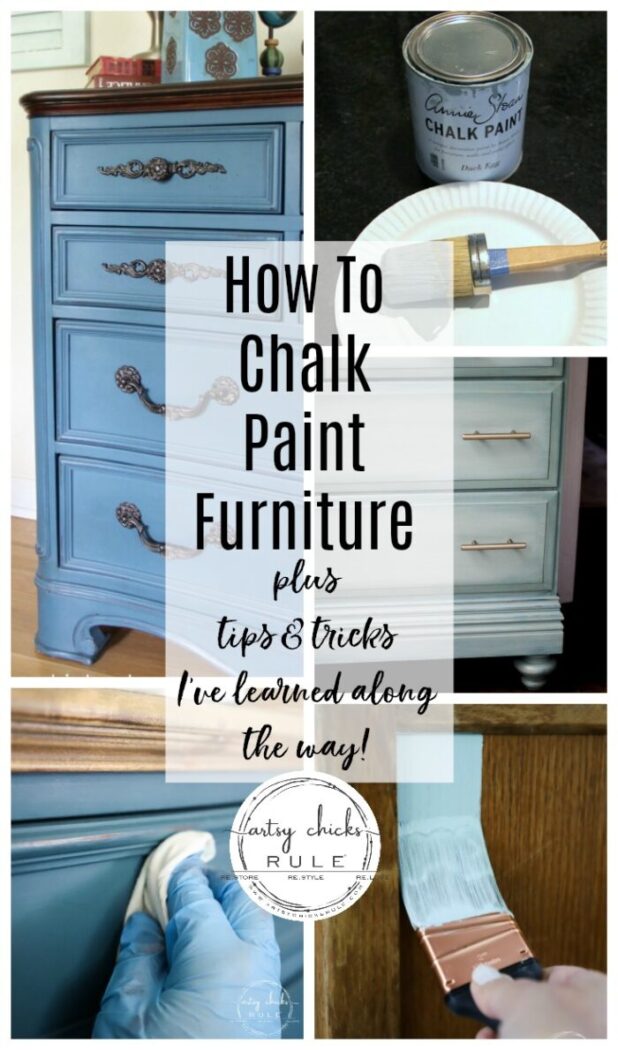
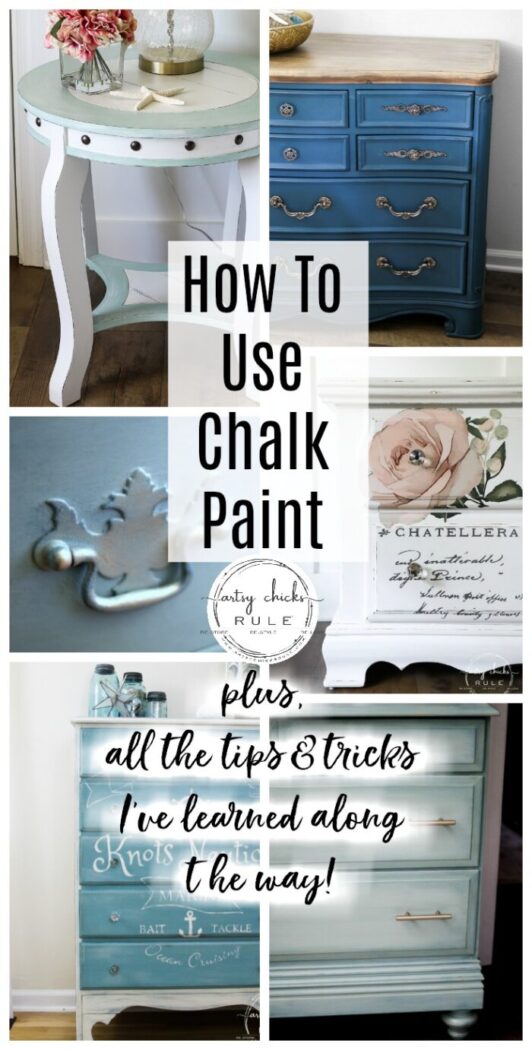
Learn how to chalk paint furniture (and more because it’s not just for furniture!) with all my best tips & tricks I’ve learned over the last 8 years!
This post is long overdue and a long time coming. I actually started writing it several years ago and planned to post it when I started my “back to basics” series here on the blog. I am hoping these posts are helpful to you in all your painting, making over, and transforming adventures!
If you missed any of that series, be sure to scroll all the way down to see them all. They are linked at the bottom of this post.
………………………………………………………………………………………….
When I first learned how to chalk paint furniture (oh, back in early 2012) I knew I was hooked. It was fairly “new” back then although it’s been around for many years before that.
I’ve had a love affair with it ever since!
Yes, there is a small learning curve but I wouldn’t say a difficult one. It is different than other style paints. With that, I would say it’s easier to use in some ways and a little more finicky in others. But oh so worth it. This will be a great beginner’s guide for all of those just starting out.
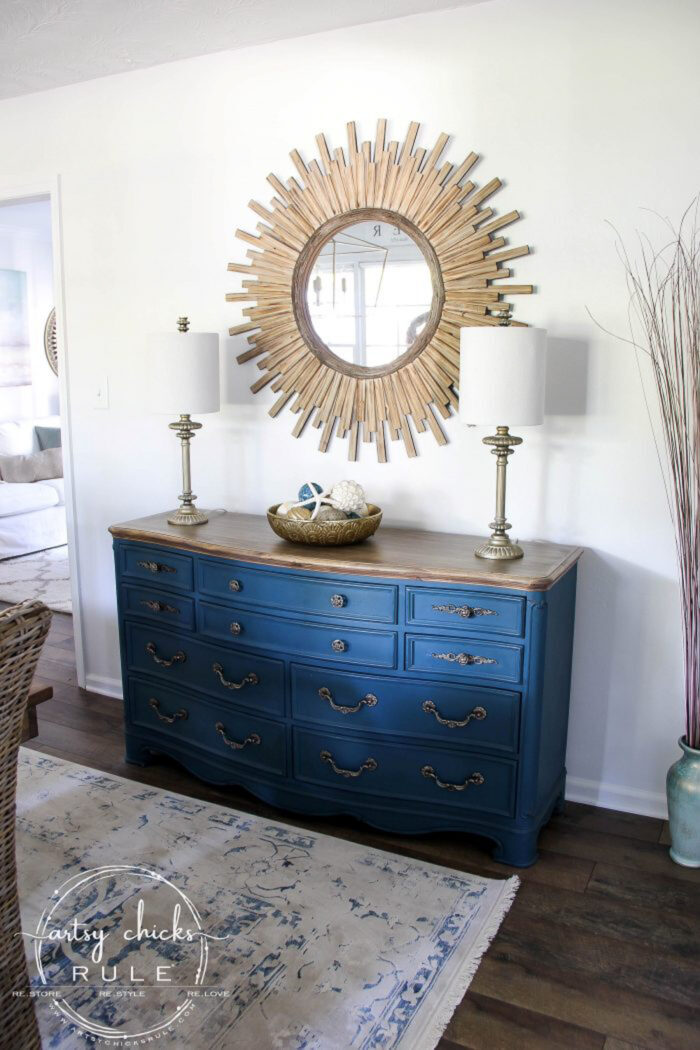
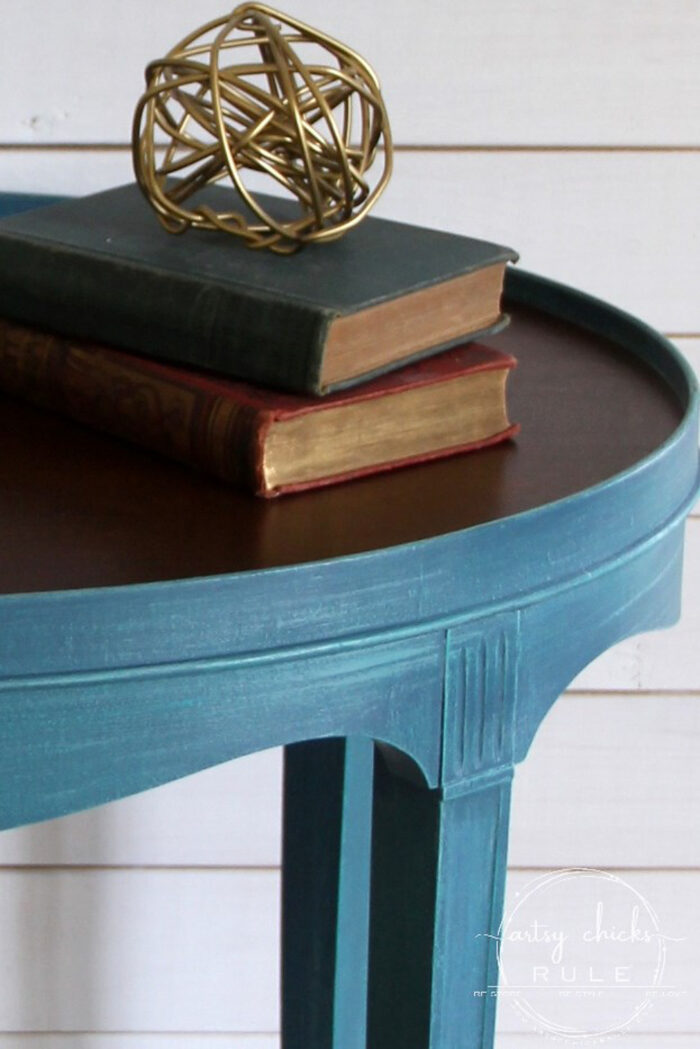
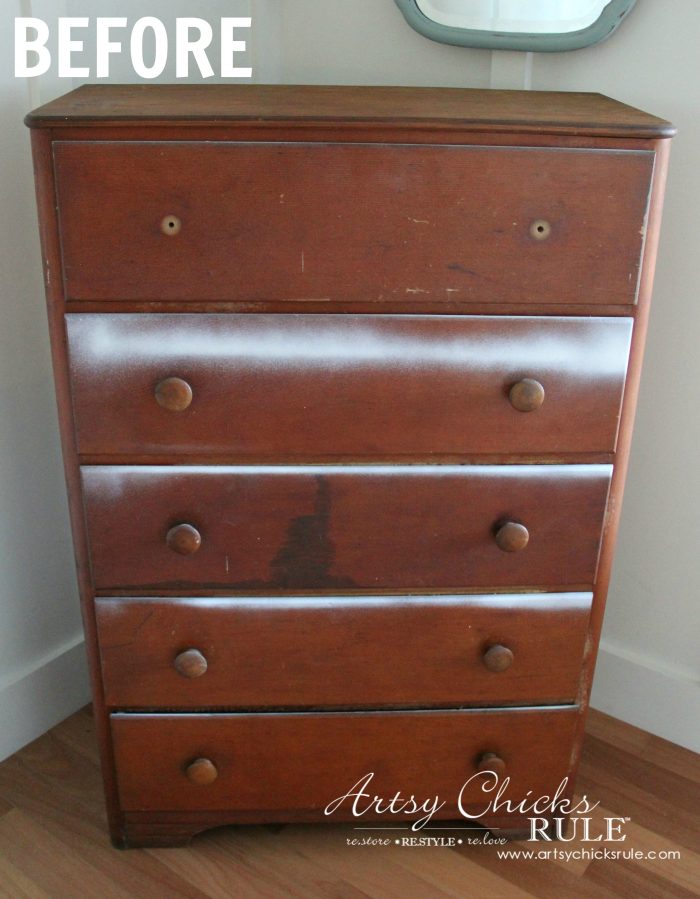
This is one of my favorite pieces I’ve painted and one of the very first. I still own this one and it’s still very loved to this day…
A $35 thrift store dresser that I’ve refinished the top on twice in 8 years (you can see more on this latest, here)
But I haven’t touched that blue finish once. I love this one so much and it has really stood the test of time.
And there are many more where that one came from but let’s get onto the how-to.
How To Chalk Paint Furniture (and more…you can use it on so many things)
What is chalk paint or chalk-style paint?
Chalk paint was originally created by Annie Sloan and was the first brand of chalk-style paint I used. (and I still use and love) I have, however, branched out and use several others on a regular basis.
Annie describes her Annie Sloan Chalk Paint as having “a velvety, ultra matte finish” and it is a “versatile paint that would work beautifully on furniture without priming or sanding; that would be easy to use and quick to dry, and that could be used for a number of different paint techniques.”
Dixie Belle, another favorite of mine, is described as “High-quality mineral chalk paint is perfect for painting on furniture and can be used on wood, metal, glass, ceramic, fabric and more.”
Another favorite is by Rustoleum, “Rust-Oleum Chalked Ultra Matte Paint, offers a velvety smooth, vintage look” and “creates an ultra-matte finish with superior adhesion and coverage.”
If you are here to learn about the application and tips and tricks for chalk painting furniture, then you are in the right place.
If you are not yet sure you want to use chalk paint on your next furniture makeover, then you might want to hop on over to this post first >>> Pros and Cons of Chalk Paint For Furniture
So, if you are still reading, then you know what you want to use and you are ready to get painting. Let’s go!
Step 1
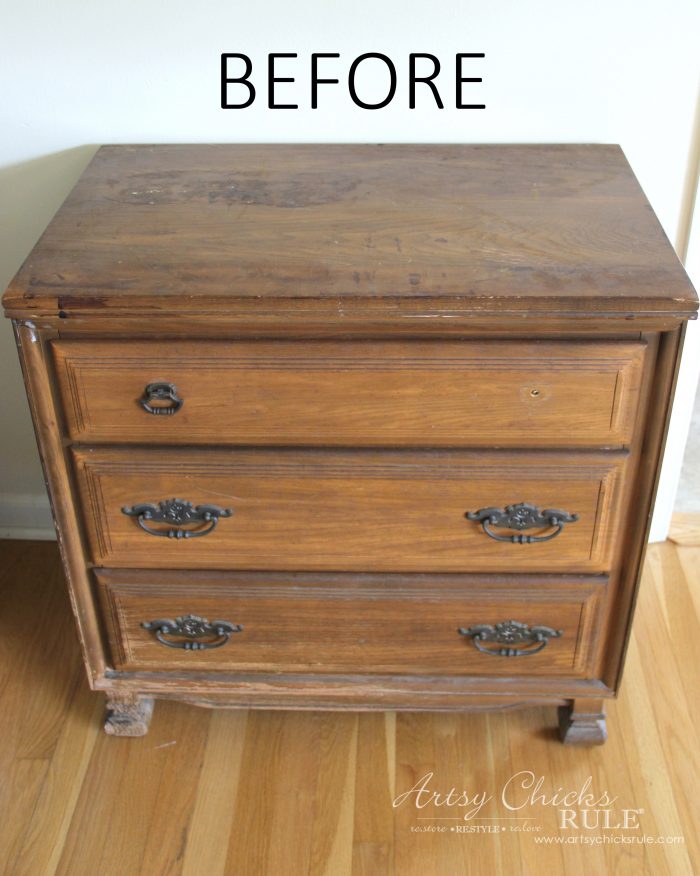
Choose your piece you want to give a makeover to.
When first learning how to chalk paint, I always suggest practicing on a small piece before using it on a large piece. If you are used to using latex or acrylic types of paints, then there is a slight learning curve with chalk-style paint. The properties are a little different and it’s always good to get a feel for a product before using it on something important…or large.
Then choose your piece to transform.
Step 2
Gather all of your supplies needed for the project.
It’s a good idea to get everything together beforehand so you are prepared for anything that may come up while painting.
The great thing about chalk paint is that there are really no fumes to speak of so the painting can be done inside the house if there is room.
I enjoy being able to paint in my home when needed. This is definitely a “win” for chalk paint in the whole painting furniture category.
If you do decide to do it in your home, be sure to get yourself a good drop cloth for spills and such.
TIP: I like to use old blocks of wood to sit my furniture on to paint. This way I can get all the way around the bottom and feet of a piece well.
Brushes, you have several options. There are paintbrushes that are specially created to work with chalk-style paint. I have some but don’t really use them often. You can find a few >>> here.
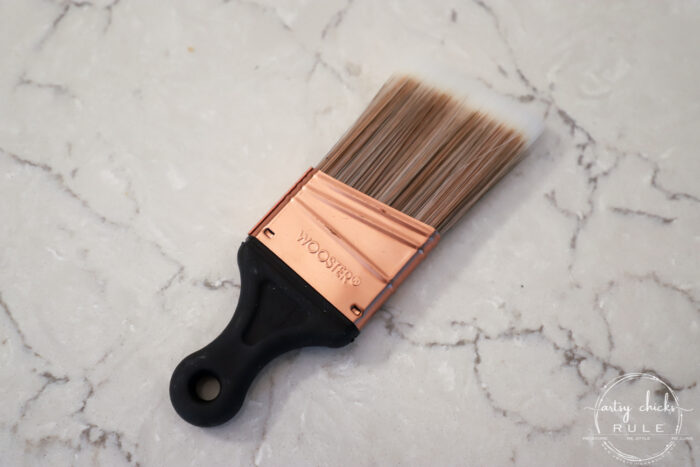
I’m more old school and like to use a regular paintbrush most of the time. My favorite is an angled brush like >>> this. But this is a personal preference.
Here is a similar Wooster brand I also like.
You can also use a foam roller (like those for cabinets, etc). I will occasionally use a foam roller but most of the time use only a brush.
The one exception is if I’m painting kitchen or bath cabinetry or something very large. The roller will be your friend in these instances.
TIP: When painting cabinets doors with large flat areas, sides, and areas with raised trim, I will use a brush to apply the paint all over, in the crevices, etc, first. Then go back over the entire area with a cabinet roller to smooth everything out.
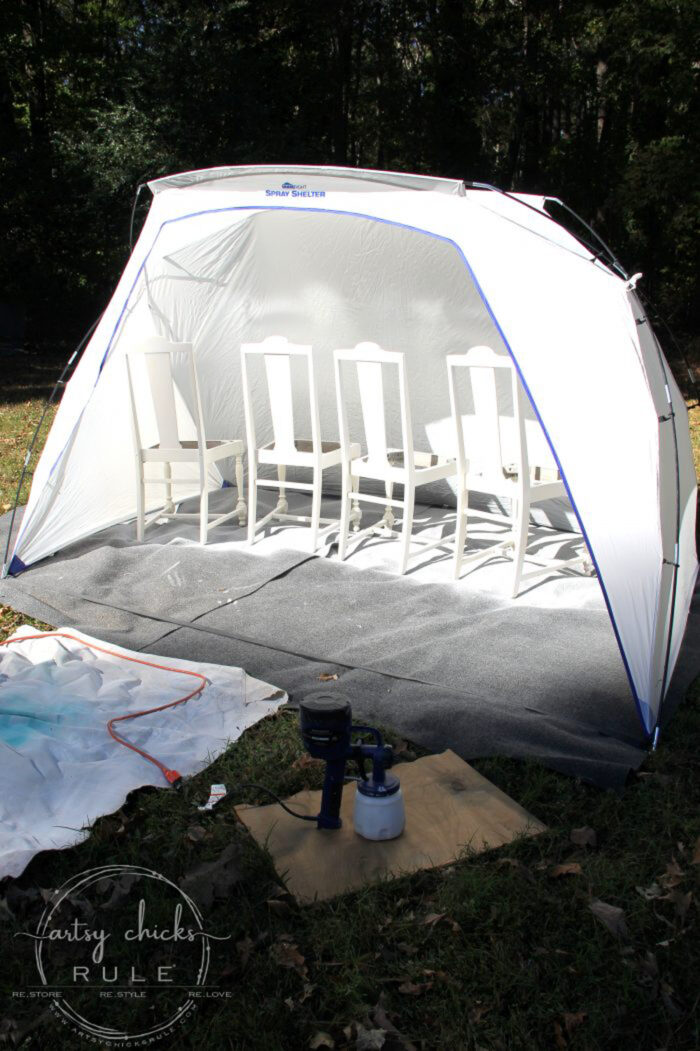
Paint sprayer – Yes, chalk paint can be used in a paint sprayer. You will have to thin it out somewhat but I have done it many times.
Here is the paint sprayer I use and love…oh and the tent too! (a must-have!)
Step 3
Clean & prep your piece.
It’s very important to clean your furniture piece very well. You don’t want any dirt or grime showing through your paint or keeping your paint from adhering correctly.
You can use Windex, soap and water, all-purpose cleaner, TSP, or denatured alcohol, depending on the amount of cleaning you need to do.
After it’s cleaned, you need to do some prep work. Not all pieces will need the same amount of prep as others.
Fill any holes, gaps, chips, etc, with wood filler and sand smooth.
If you have any other rough areas, you will need to sand them to smooth those also.
I know everyone says chalk paint is “no-prep” but that’s not entirely true. You will sometimes need to do a little sanding.
For example, if you have a super shiny surface (like the laminate below), you’d better sand it a bit to remove some of that shine. (or you will not be so happy with the outcome)
Now, when I say sanding, I’m not talking full-on sanding and removing every bit of the finish, etc. I’m just speaking to removing the shine somewhat OR to smooth out an uneven finish. Most times you can do this by hand or you can use a sander like this one I have.
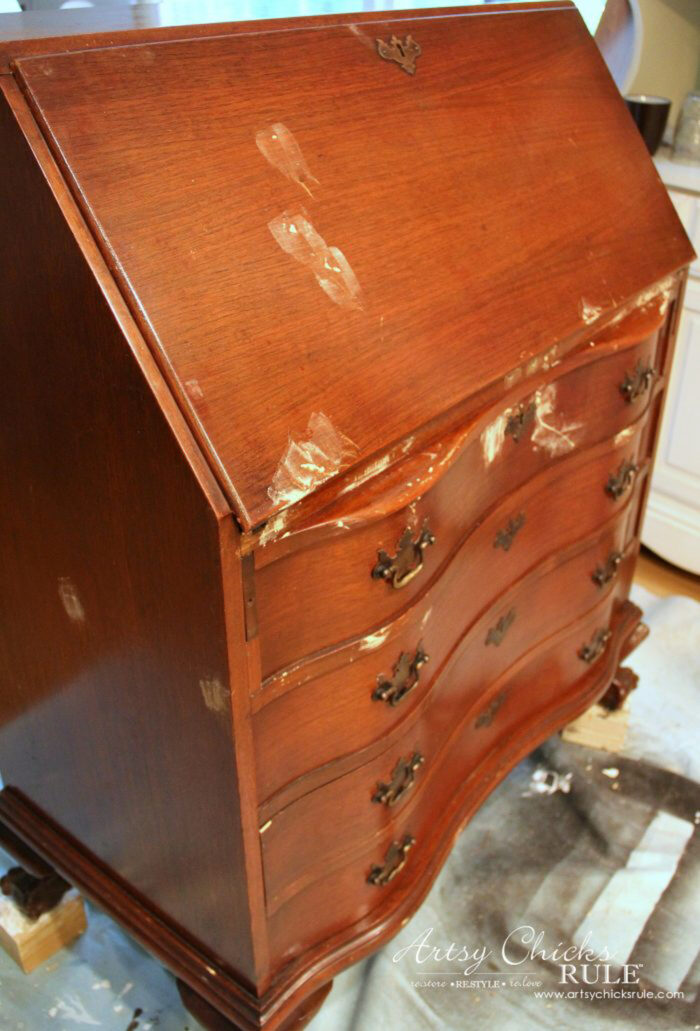
TIP: Another thing to keep in mind is the color of the wood you are painting. Some dark woods can “bleed” through your paint. You can paint 15 coats, and it will still bleed through. So, if what you are painting is very dark wood or a red wood like mahogany, you will want to prep by applying a sealer, specifically one that is Shellac based for best results. I am sure there are others out there but I have not had good luck with most “regular” primers in this case. A shellac-based product works best here.
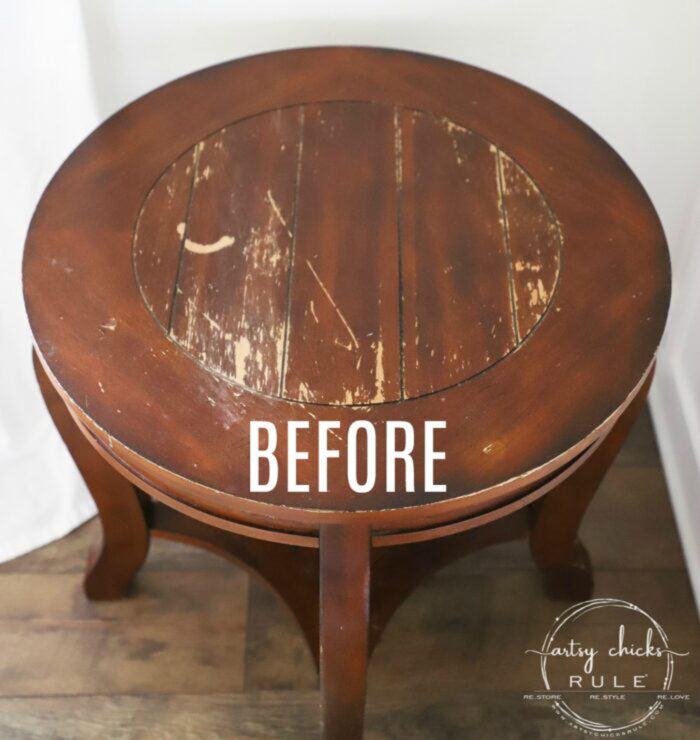
Here is a small example of “bleed-thru” on this tiled table makeover.
See the red? It will just keep coming through until I seal it up with Shellac.
Shellac comes in a spray, liquid and as a white primer, and white primer spray. I most often use one of the sprays I linked but have used the liquid variety at times too.
Step 4
Start painting.
Yep, let’s get this party started. Now to the fun part!
But first, make sure you’ve wiped away all the dust from any sanding you may have done.
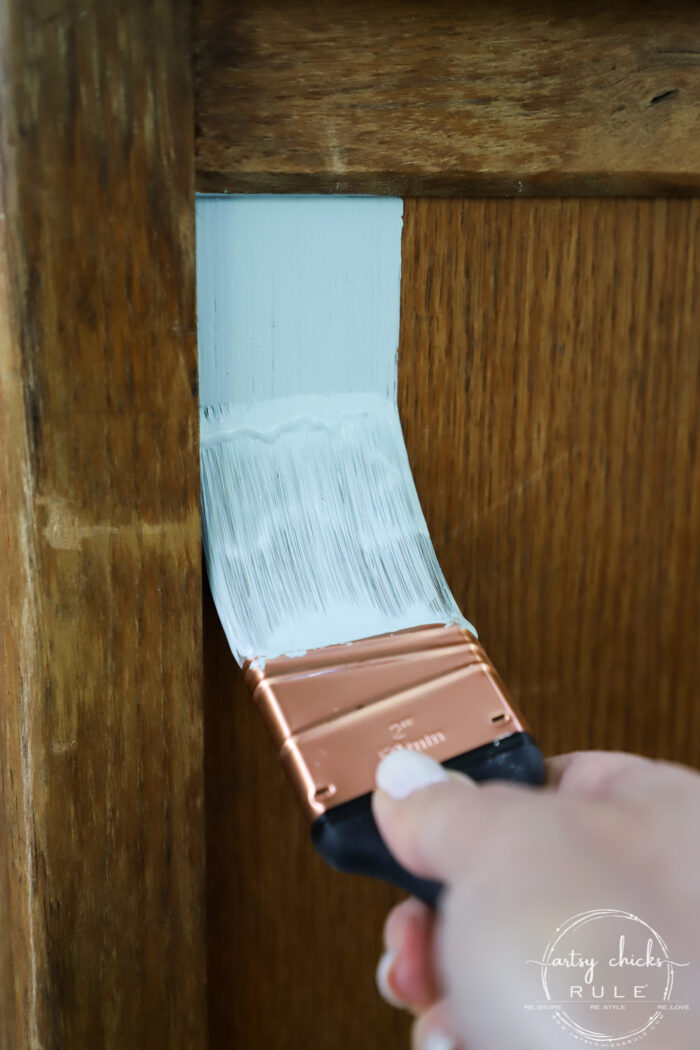
I like to run my paint brush underwater quickly (don’t saturate it, squeeze it out so it’s just damp) to get it wet before painting. This way the paint will flow more smoothly.
Next, be sure to carefully stir the paint in the can. If it is too thick, add a few tbsp of water and stir again. Chalk paint has a tendency to thicken over time and some colors are just naturally thicker than others. You can add a small amount of water if it has gotten too thick. This is a good idea to reduce brush marks.
Try to paint with the wood grain, if possible.
There are times when you will not want to depending on the look you are going for. You can also do a cross-hatch style of painting for more of an old-world, distressed, or farmhouse look.
TIP: If you want a super smooth finish, you can use a foam cabinet roller and/or sand lightly between coats and on the final coat before applying the topcoat.
Also, you can thin the last coat of paint out a bit more than the previous coats with water for a smoother finish. (just pour a bit of paint into a plastic cup, add a little water and stir)
This type of paint dries pretty quickly which is a huge plus for us impatient painters. But really, it’s a nice bonus because it enables you to get the job done faster. Plus if you have to do a second coat, you don’t have to wait for hours and hours in between coats, which is nice.
The first coat can sometimes look thin and/or splotchy…
…just keep going, it will even out on subsequent coats.
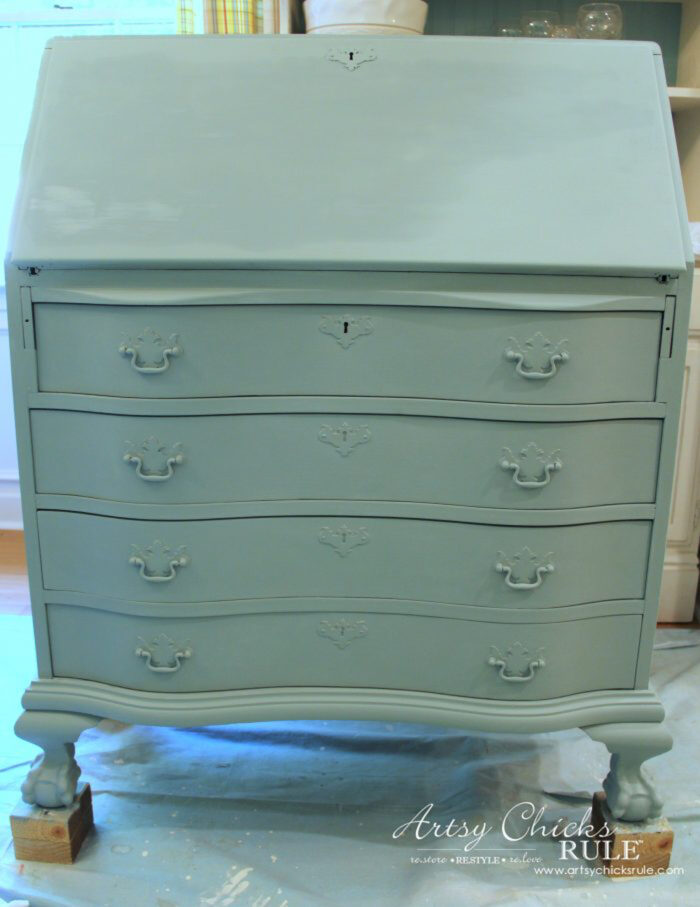
And some brands and/or colors in those lines will cover well with one coat… (it just depends)
This secretary desk is done in Duck Egg Blue by Annie Sloan. And this is one coat.
TIP: To achieve a super smooth finish, you can lightly sand in between coats with 220 or 320-grit sandpaper. And on your final coat before you apply sealer or wax.
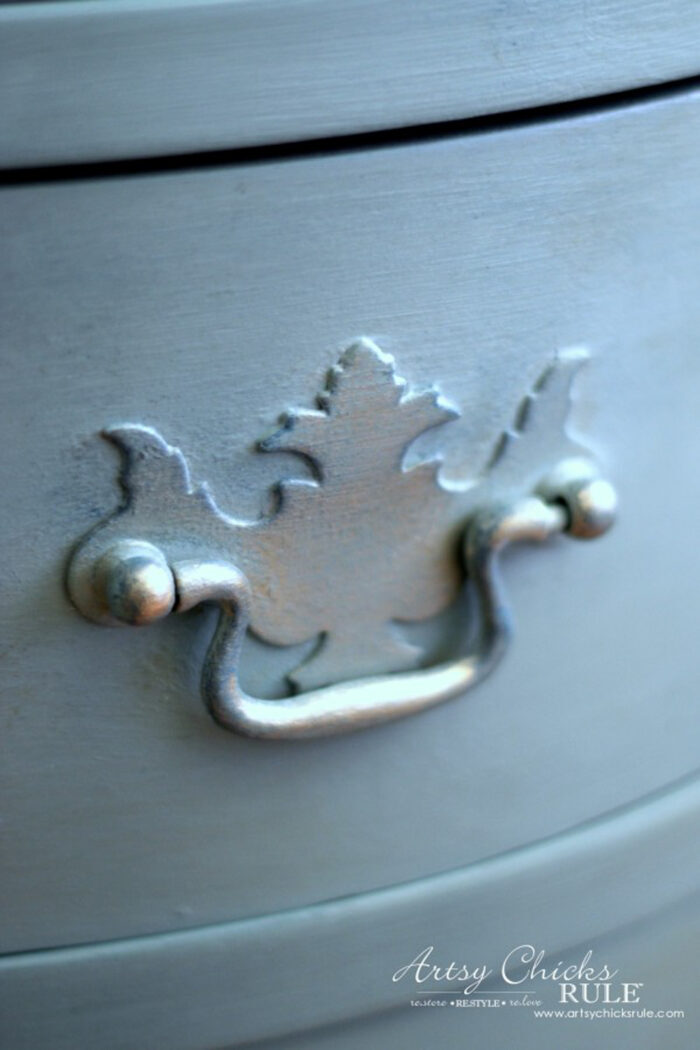
Can you paint metal hardware and knobs with chalk paint? Yep! You sure can and I have many, many times.
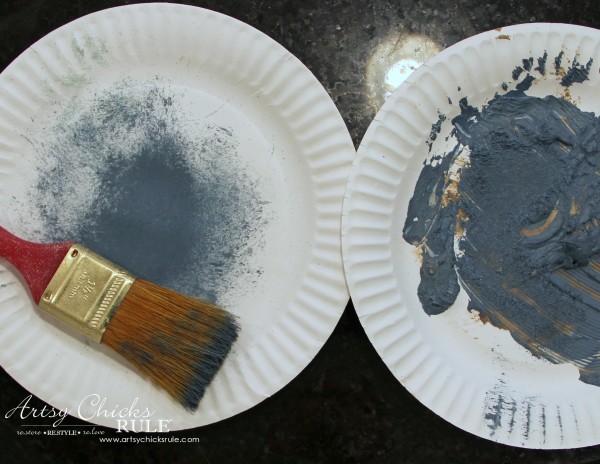
I created a video to show how I do this. It’s great for so many looks like the “weathered” finish I created above. It’s a great way to add “texture” to a piece.
You can see the post and video on dry brushing here >>> How To Dry Brush
And more on this table project here and how I did it >>> Coastal Style Half Moon Table
Once you learn how to chalk paint and get more comfortable with it, you can play around with fancy finishes like this.
Step 5
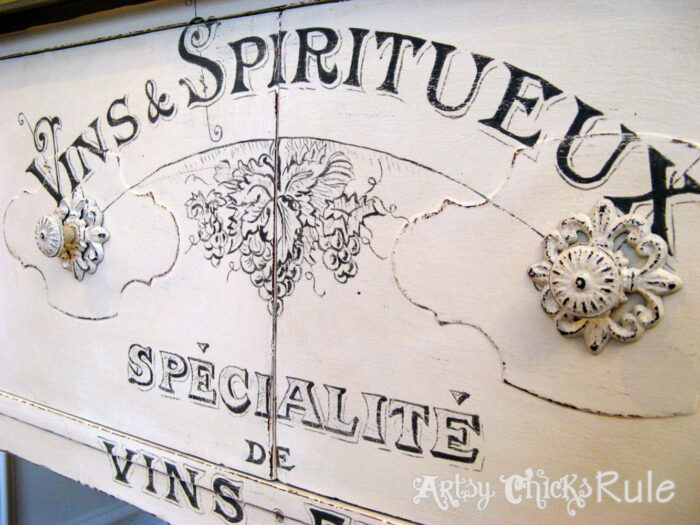
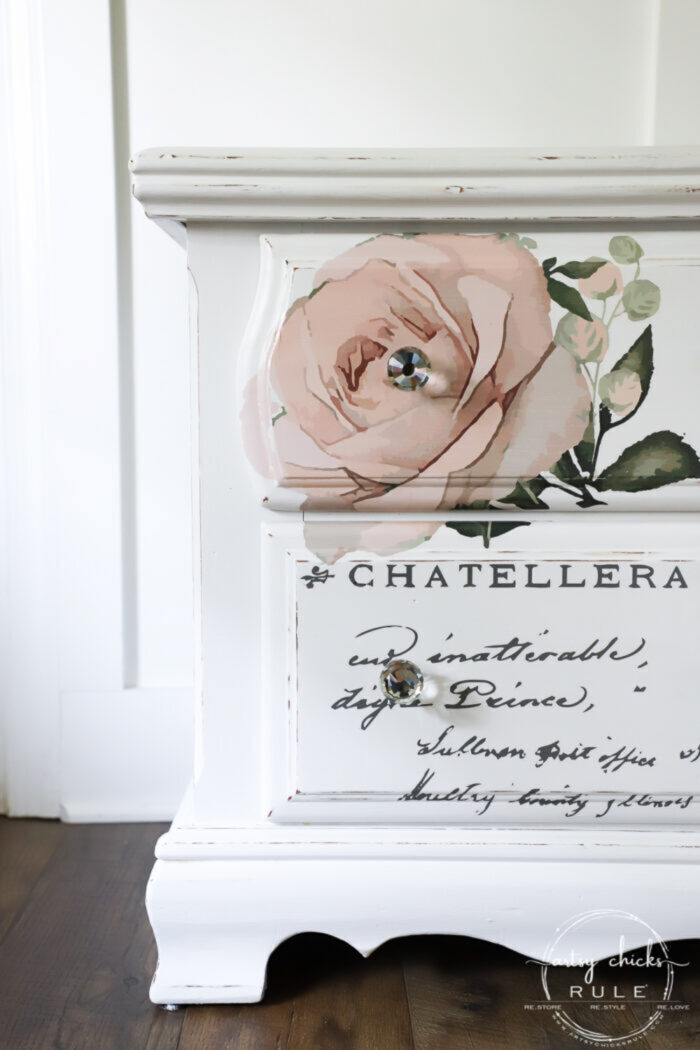
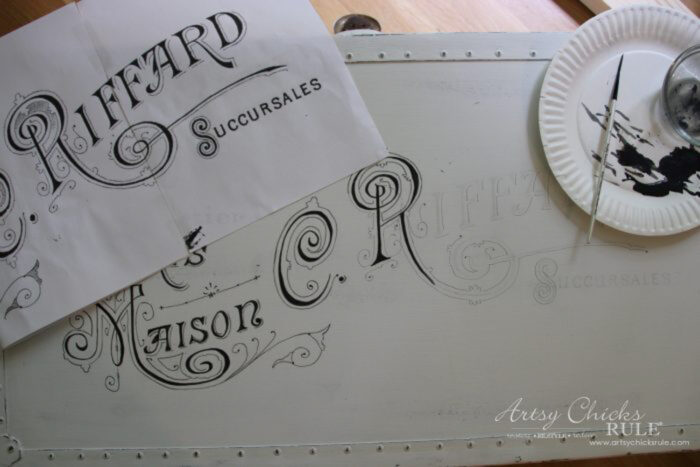
Add transfers, stencils, or graphics. (skip to Step 6 if not doing this)
Now is the time to add transfers, stencils, or graphics. (lettering, etc.)
Here’s a post I wrote on different methods you can use to transfer graphics to your furniture >>> How To Transfer Graphics
Step 6
Finish coat. Wax or Poly? Which should you use?
That is the question. Right?
I’ve used both and everything in between at this point. I have my favorites but my favorites might not be yours.
So, let’s talk about these two. Wax and poly. There’s clear wax, dark wax, matte poly, gloss poly, etc., and so many choices!
First, let me say that I don’t really ever use oil-based poly. And I hardly ever use wax anymore these days either.
But I know there are some hardcore wax lovers out there. And it certainly has its merits. But it also has its drawbacks, as does poly.
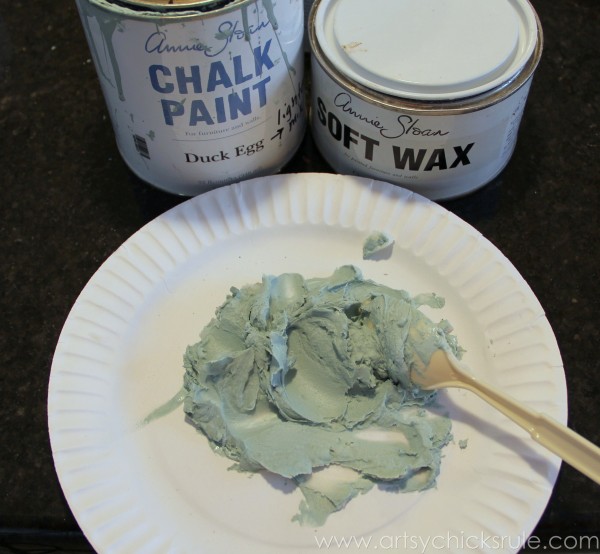
Wax can be applied with a wax brush or a soft t-shirt type material. (I have used wax brushes but my favorite way has always been old t-shirts)
Wax needs to be buffed after application (I usually wait a few hours). You can use a wax brush or a clean t-shirt material for this as well. I like to use t-shirt material for this part too but have used a wax brush.
See the sheen on the right side of the board where I’ve already buffed?
TIP: The key to waxing is you don’t want to use too much. This is where I found the biggest learning curve. Figuring out the wax. I think the best way to do this is to practice on small painted boards until you get a feel for it. (get some scrap wood pieces, paint them and practice, practice, practice!)
Why do I not use wax as much these days??
Well, it’s labor-intensive (in my opinion). It needs more upkeep than poly too.
Don’t get me wrong, I absolutely love a wax finish. That’s all I used when I first learned how to chalk paint.
I have several pieces in my home that I’ve done with wax and they have held up great. And you just can’t really mimic that finish with a poly topcoat. There are some newer polys out that do a decent job but it’s still not exact.
Poly has drawbacks too. It can yellow and that’s a bummer on light or white-colored pieces.
Sometimes yellowing can come from the wood tannins underneath coming though so in that case, a primer would have helped to prohibit that.
My favorite top coat (but I do have others I use and love…this one is my “go-to”, however) is by General Finishes and can be found >>> here.
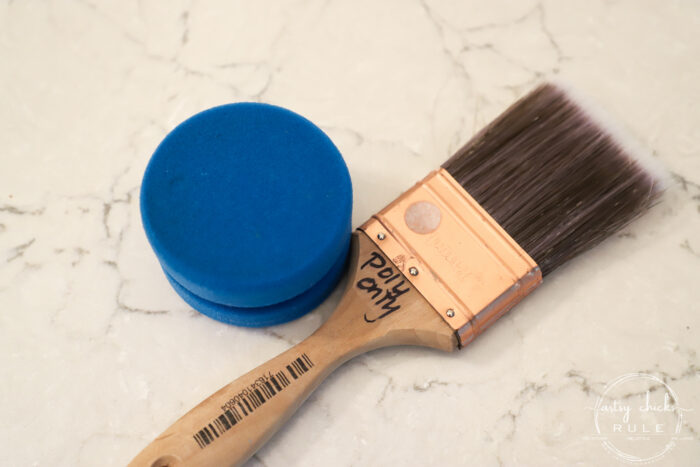
TIP: I keep a brush (marked) that I use for poly only. And another way I like to apply poly is with a sponge like the one below. (>> this one)
Actually, instead of me going over what I’ve already spoken about on this subject, I’ll just send you over to this post for more info on this >>> The 5 Top Ways To Seal Chalk Paint
That post will give you all the info you need on this debate and help you to make an informed choice on what you want to use.
But here are a few more tips:
Don’t use wax on kitchen cabinets or on bathroom cabinets. (well, you can, that’s just my personal preference having experience in this)
Wax on kitchen cabinets can get “grubby” and I don’t think they hold up as well as a good poly will.
Plus it will need retouches from time to time.
Don’t use wax on tabletops, like kitchen tables. You will regret this, I promise!
For example, heat from a hot coffee cup will leave a ring and you will be very sad your hard work has been ruined.
A note on repainting: Don’t try to paint over a piece of furniture (or anything) you’ve waxed. UNLESS you use more chalk style paint. But even then, it can sometimes be a little sketchy unless you again use wax to seal.
Why?? Regular paint and/or poly will not adhere properly to the waxed finish.
Okay, so what do you do if you have a waxed piece you want to repaint, etc? Well, you will have to remove that wax layer by sanding or something such as mineral spirits. Once that is done, you are free to use any type of paint or sealer.
One last thing…
Remember the “& more” in the title above?
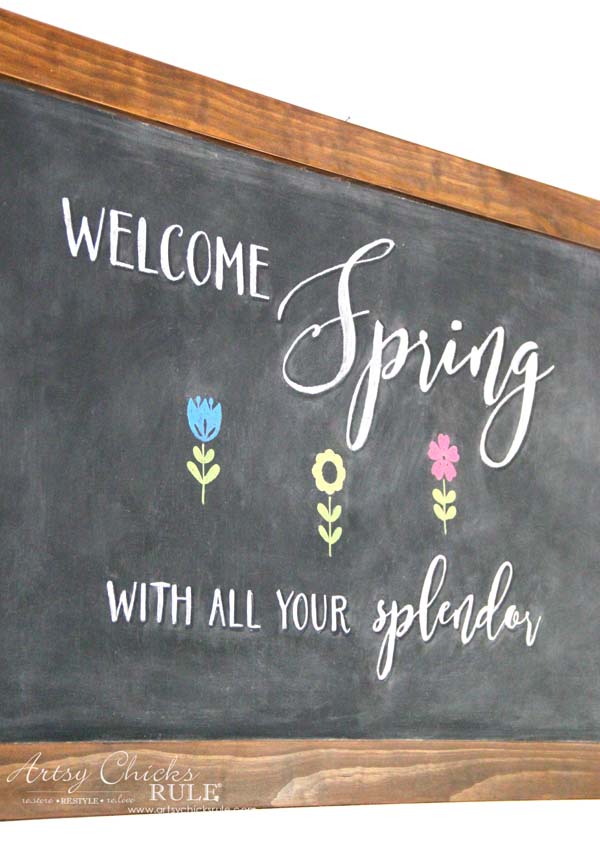
Well, you can use chalk paint on things other than furniture. Things like metal or wood frames, signs, baskets, metal or wood bowls, vases, upholstery, etc. The list goes on and on. And I have done just about all of it! ;)
The “chalky matte” finish qualities are perfect for so many things.
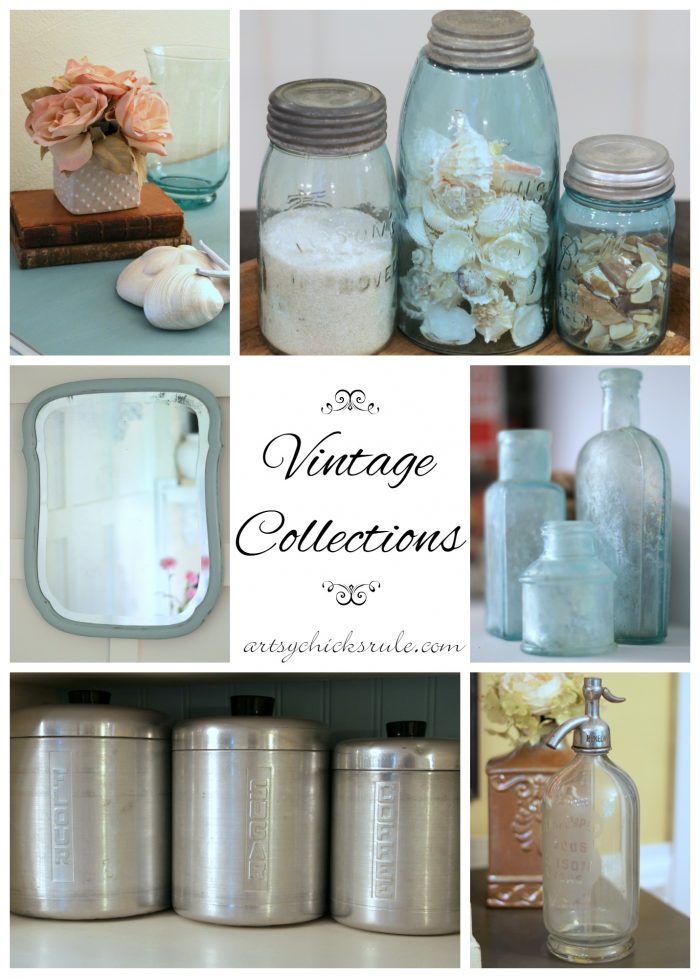
Here are a few “other” items I’ve done chalk painting on here:
You can search my site here and find many, many painted furniture pieces, dressers, coffee tables, nightstands, etc. Lots of examples of waxed pieces, poly sealed pieces, and more.
Still need help? Try reaching out to the manufacturer of the paint or sealer you are using for help. Or pop an email to me and ask! I love helping whenever I can. :) (you can find my contact info on the “contact me” page here on the blog or just comment below with any questions you may have)
I love chalk paint and it’s still what I use most of the time all these years later. I hope you will fall in love too!
Go out and create your own masterpieces and be proud of the beauty you have created. You can do it!
xo
Don't Miss a Thing!! Plus Get My FREE eBook "Creating Fabulous Finishes"!
Wow, Nancy, this is a treasure trove of information! Thank you so much for sharing all of this and the links to your other great articles. I have a few things I want to paint and this is just the inspiration I needed to get busy this weekend.
Be well!
I so hope this will be helpful to everyone! I wanted to get it down and all in one place. (and the other DIY posts interlinked so they can all be found easier) Have fun with your projects this weekend! :) xoxo
I want to chalk paint my bathroom vanity its made of particle board, right now it is need of attention. I want it to look somewhat distressed and have an nautical feel to it.
Hi Frances, if I am understanding what you are asking, you would only have to go over it until you were satisfied with the coat, color, etc. Some colors take only one coat, some others take more. And yes, once it’s completely dry, you can either apply wax or poly to it. :)
I never heard of chalk painting furniture before until I saw this post of yours Nancy. I will surely try to apply chalk painting to my old furniture at home. Thank you for sharing!
Thanks so much for the basics all in one place with great examples! I have a vintage dresser that I would like to chalk paint. I’m undecided because I love the wood grain on it (it’s a very nice cherry wood) but I hate the yellowish stain that was used back in the 30’s and 40’s. I hate to cover the grain pattern, do you have any suggestions? Thanks!
You are so very welcome! OH I know! I have a hard time painting certain pieces too. Not every one gets painted. :) But I agree, not a fan of the yellowish colors. Hmm, could you possibly just remove some of the finish to rid it of the yellow-y color? You could then put another coat of poly on and keep the cherry wood tone. Otherwise you could use a gel stain to change it completely. Check out this other post of mine if you think you might want to keep the wood grain >>>> here.
Loved your article! It was very helpful. Question- where do you find your furniture transfers? I’ve really only found decent ones on Etsy but they are so limited. Thank you for any suggestions
Well, now, that is a first I must say! I have painted just about everything with chalk paint or chalk-style paint…except a car. I don’t have any tips at all on this, sorry! Painting a car is out of my realm. I would say probably not a great idea though. Good luck with whatever you choose to do!
Don't Miss a Thing! Plus,Get My FREE ebook,"Creating Fabulous Finishes"!
Get My FREE ebook Now!
Want to be inspired, learn new skills, discover all the tricks to furniture makeovers, creating new out of the old and more?
You'll also receive my FREE ebook "Creating Fabulous Finishes" PLUS access to my private Printables Resource Library, too!
Sign up to get the Weekly Newsletter! Our emails include an unsubscribe link and you may opt-out at any time. Your information will *never* be shared or sold to a 3rd party.
Don't Miss a Thing! Plus,Get My FREE ebook,"Creating Fabulous Finishes"!
Don't Miss a Thing!! Plus Get My FREE eBook "Creating Fabulous Finishes"!


")
")

")


Wow, Nancy, this is a treasure trove of information! Thank you so much for sharing all of this and the links to your other great articles. I have a few things I want to paint and this is just the inspiration I needed to get busy this weekend.
Be well!
I so hope this will be helpful to everyone! I wanted to get it down and all in one place. (and the other DIY posts interlinked so they can all be found easier) Have fun with your projects this weekend! :) xoxo
Thank you for sharing all this information with us. I appreciate it!
You are so very welcome! xo
Thanks for the tips! There were lots of good pointers in this article.
So very welcome!! I hope it will be helpful to you! xo
I want to chalk paint my bathroom vanity its made of particle board, right now it is need of attention. I want it to look somewhat distressed and have an nautical feel to it.
Hi Candace! Did you have a specific question about that? I’d be glad to help!
I adore that blue buffet/sideboard of yours as well. I can see why you do! If I lived closer I would have you do all of my furniture!
Aw thanks so much, Rose, that is so sweet!! :) xoxo
How many times to u have to go over your chalk paint that your painting and after its completely dry then u wax it
Hi Frances, if I am understanding what you are asking, you would only have to go over it until you were satisfied with the coat, color, etc. Some colors take only one coat, some others take more. And yes, once it’s completely dry, you can either apply wax or poly to it. :)
I never heard of chalk painting furniture before until I saw this post of yours Nancy. I will surely try to apply chalk painting to my old furniture at home. Thank you for sharing!
Thanks so much for the basics all in one place with great examples! I have a vintage dresser that I would like to chalk paint. I’m undecided because I love the wood grain on it (it’s a very nice cherry wood) but I hate the yellowish stain that was used back in the 30’s and 40’s. I hate to cover the grain pattern, do you have any suggestions? Thanks!
You are so very welcome! OH I know! I have a hard time painting certain pieces too. Not every one gets painted. :) But I agree, not a fan of the yellowish colors. Hmm, could you possibly just remove some of the finish to rid it of the yellow-y color? You could then put another coat of poly on and keep the cherry wood tone. Otherwise you could use a gel stain to change it completely. Check out this other post of mine if you think you might want to keep the wood grain >>>> here.
Thank you for your suggestion. I’ll check out the post you suggested and go from there. This may be a project I can report back on. Thanks again.
You are very welcome! Good luck and have fun! xo
Loved your article! It was very helpful. Question- where do you find your furniture transfers? I’ve really only found decent ones on Etsy but they are so limited. Thank you for any suggestions
Great! So glad it was helpful! Some of my favorite transfers from Amazon >>> here. :)
Hi, I am thinking about painting my car with chalk paint. Has this been done before, do you have any tips. Thanks (from the uk)
Jon
Well, now, that is a first I must say! I have painted just about everything with chalk paint or chalk-style paint…except a car. I don’t have any tips at all on this, sorry! Painting a car is out of my realm. I would say probably not a great idea though. Good luck with whatever you choose to do!